
Style Your Fall Table With This DIY Succulent Centerpiece Idea

Need a pretty fall centerpiece idea?
Try making this easy and stylish DIY succulent pumpkin centerpiece as an idea to display on your kitchen table this fall. It even makes a thoughtful hostess gift!
This is such a FUN craft, you’ll want to warm up that glue gun and start right away! In fact, I think these succulent pumpkins would be such an adorable craft to do with friends as a creative girls night.
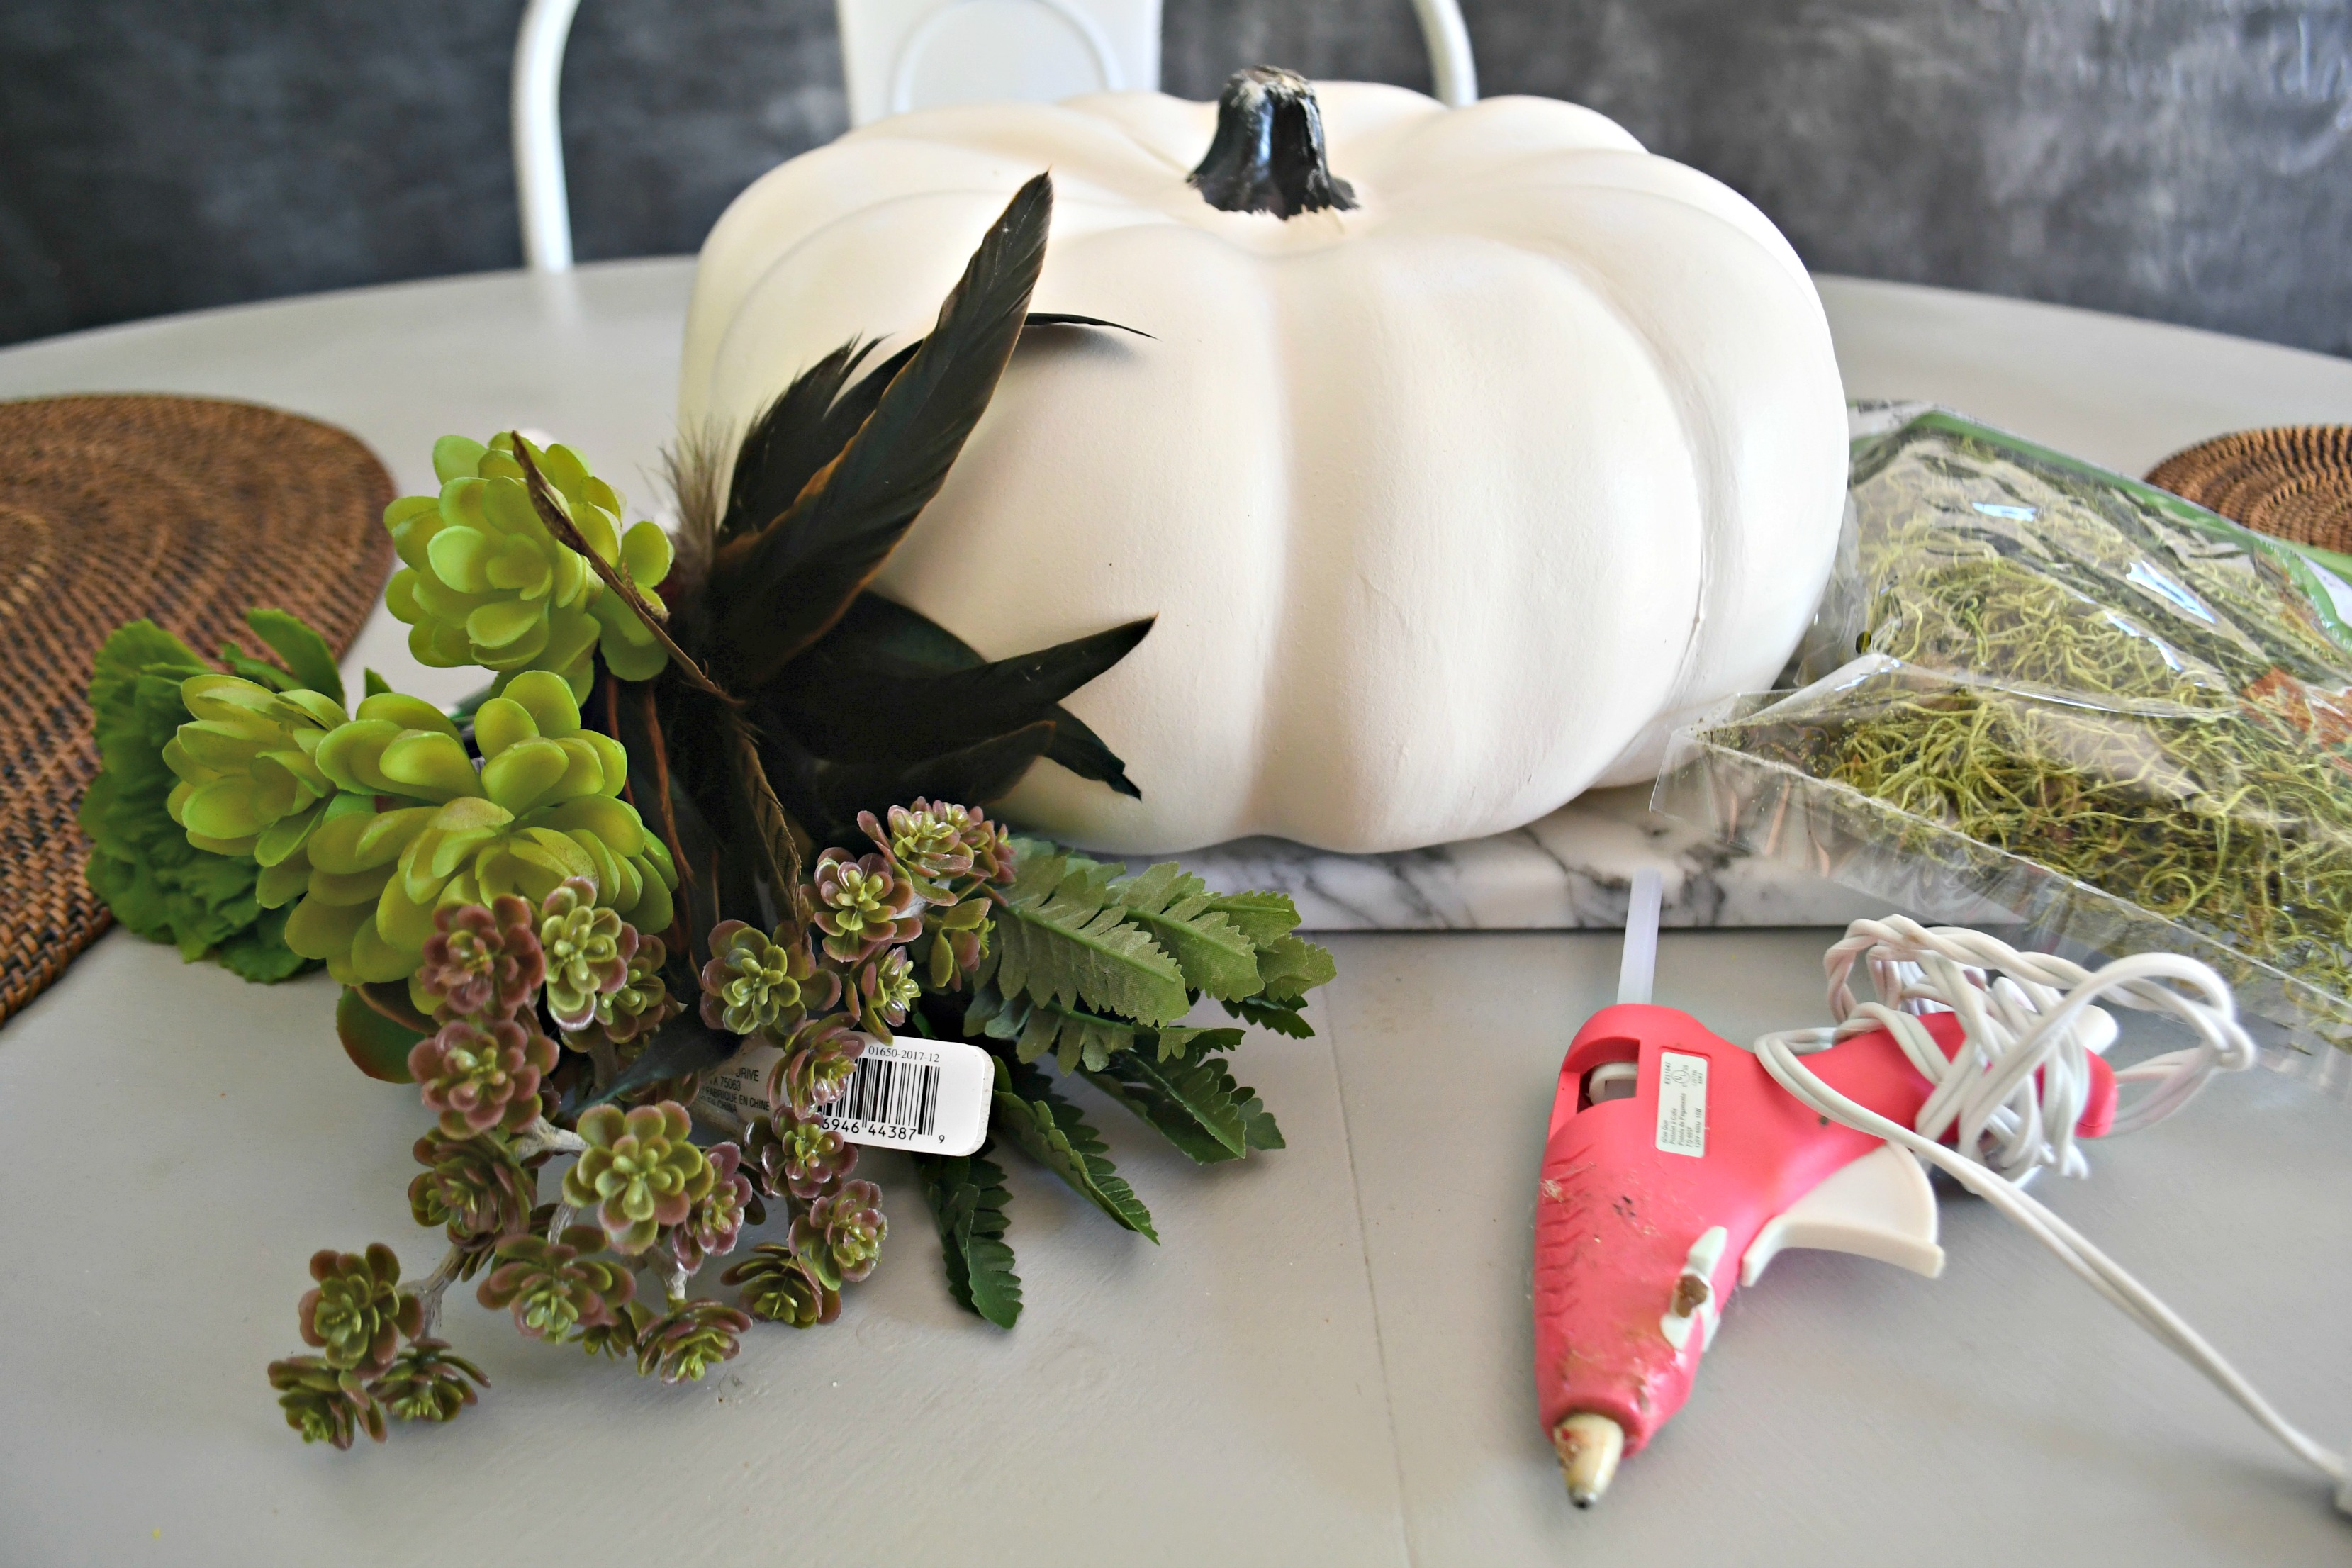
Grab some gourd-eous supplies from your craft store!
You’re gonna need a large and preferably flat-shaped faux pumpkin. Michaels has some nice varieties of real-looking craft and decorative pumpkins this year if you’re looking for one like mine! My faux succulents are also from Michael’s. Make sure to always have your paper or digital coupons ready for extra savings when shopping there.
If you happen to already have any craft pumpkins on hand which can use a refresh, use those (you can even paint them as desired first).
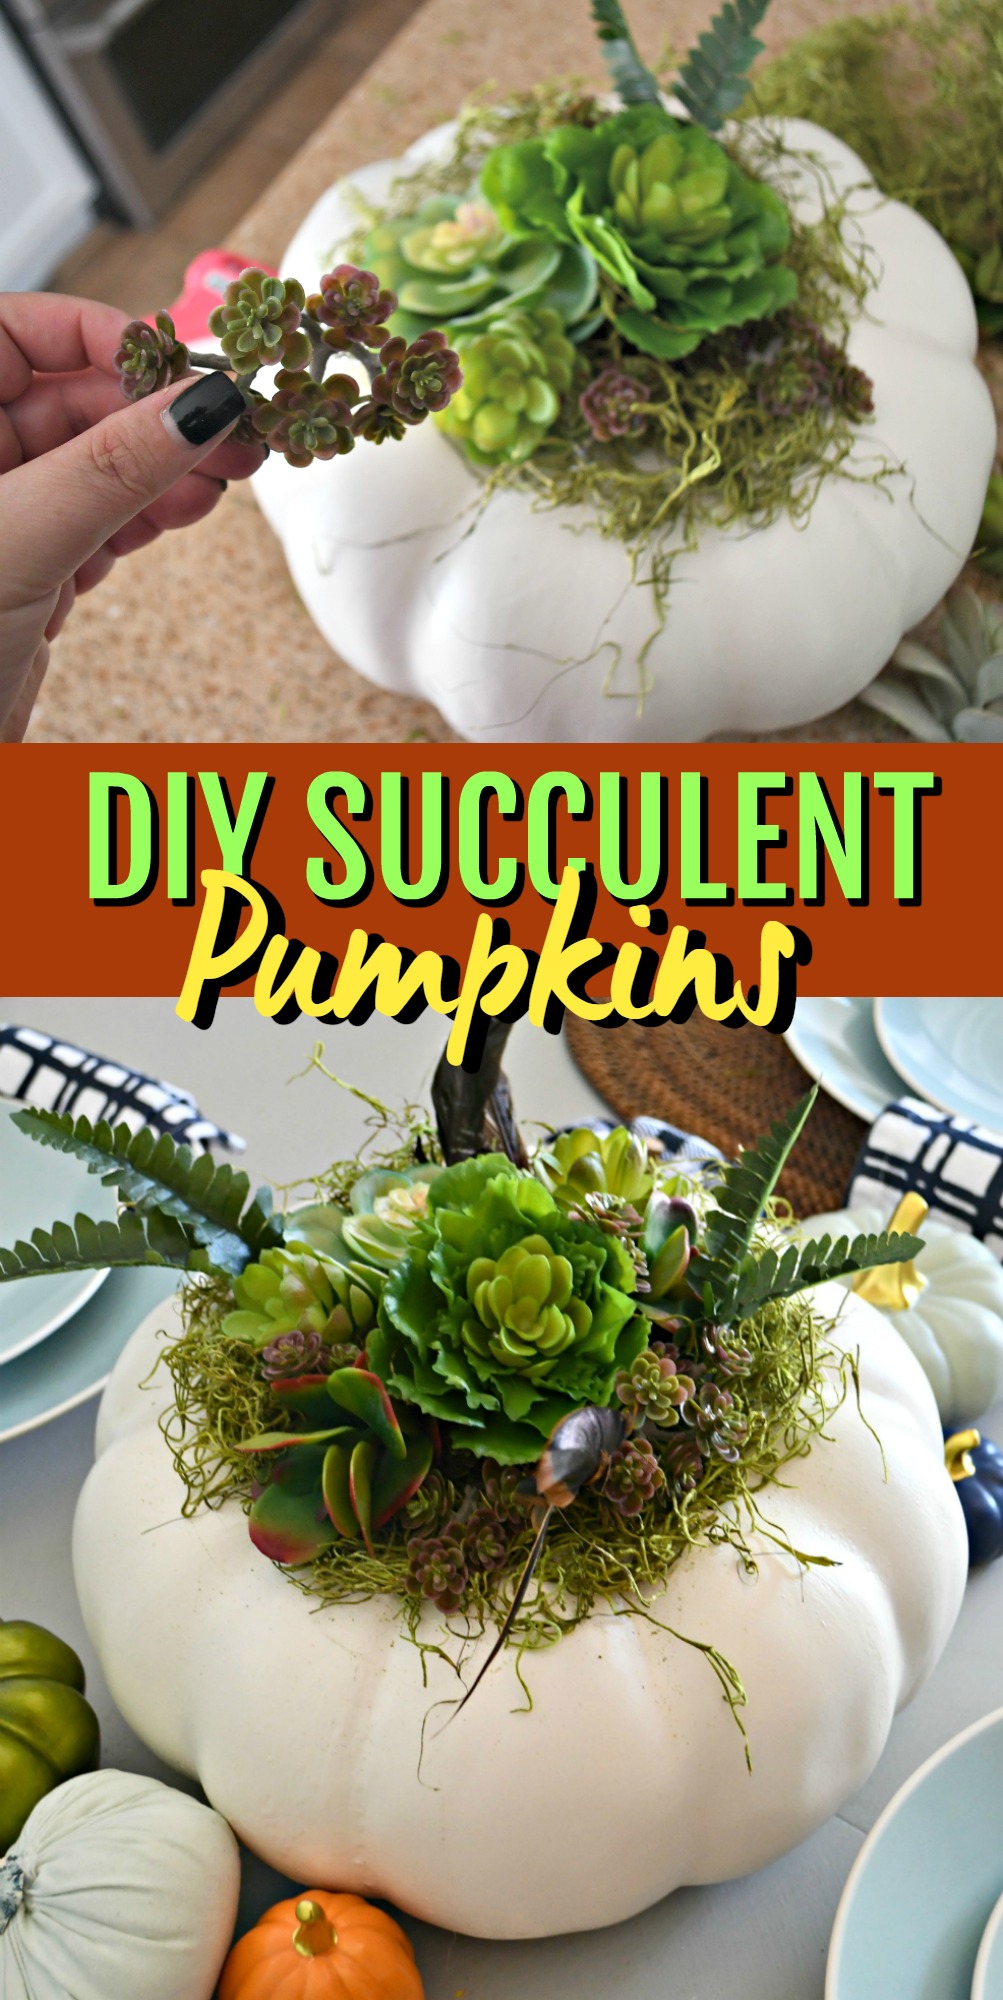
DIY Faux Succulent Pumpkin Centerpiece
Supplies Needed:
- large faux pumpkin
- variety of faux succulents
- hot glue gun and glue
- any other embellishments such as feathers (optional)
Directions:
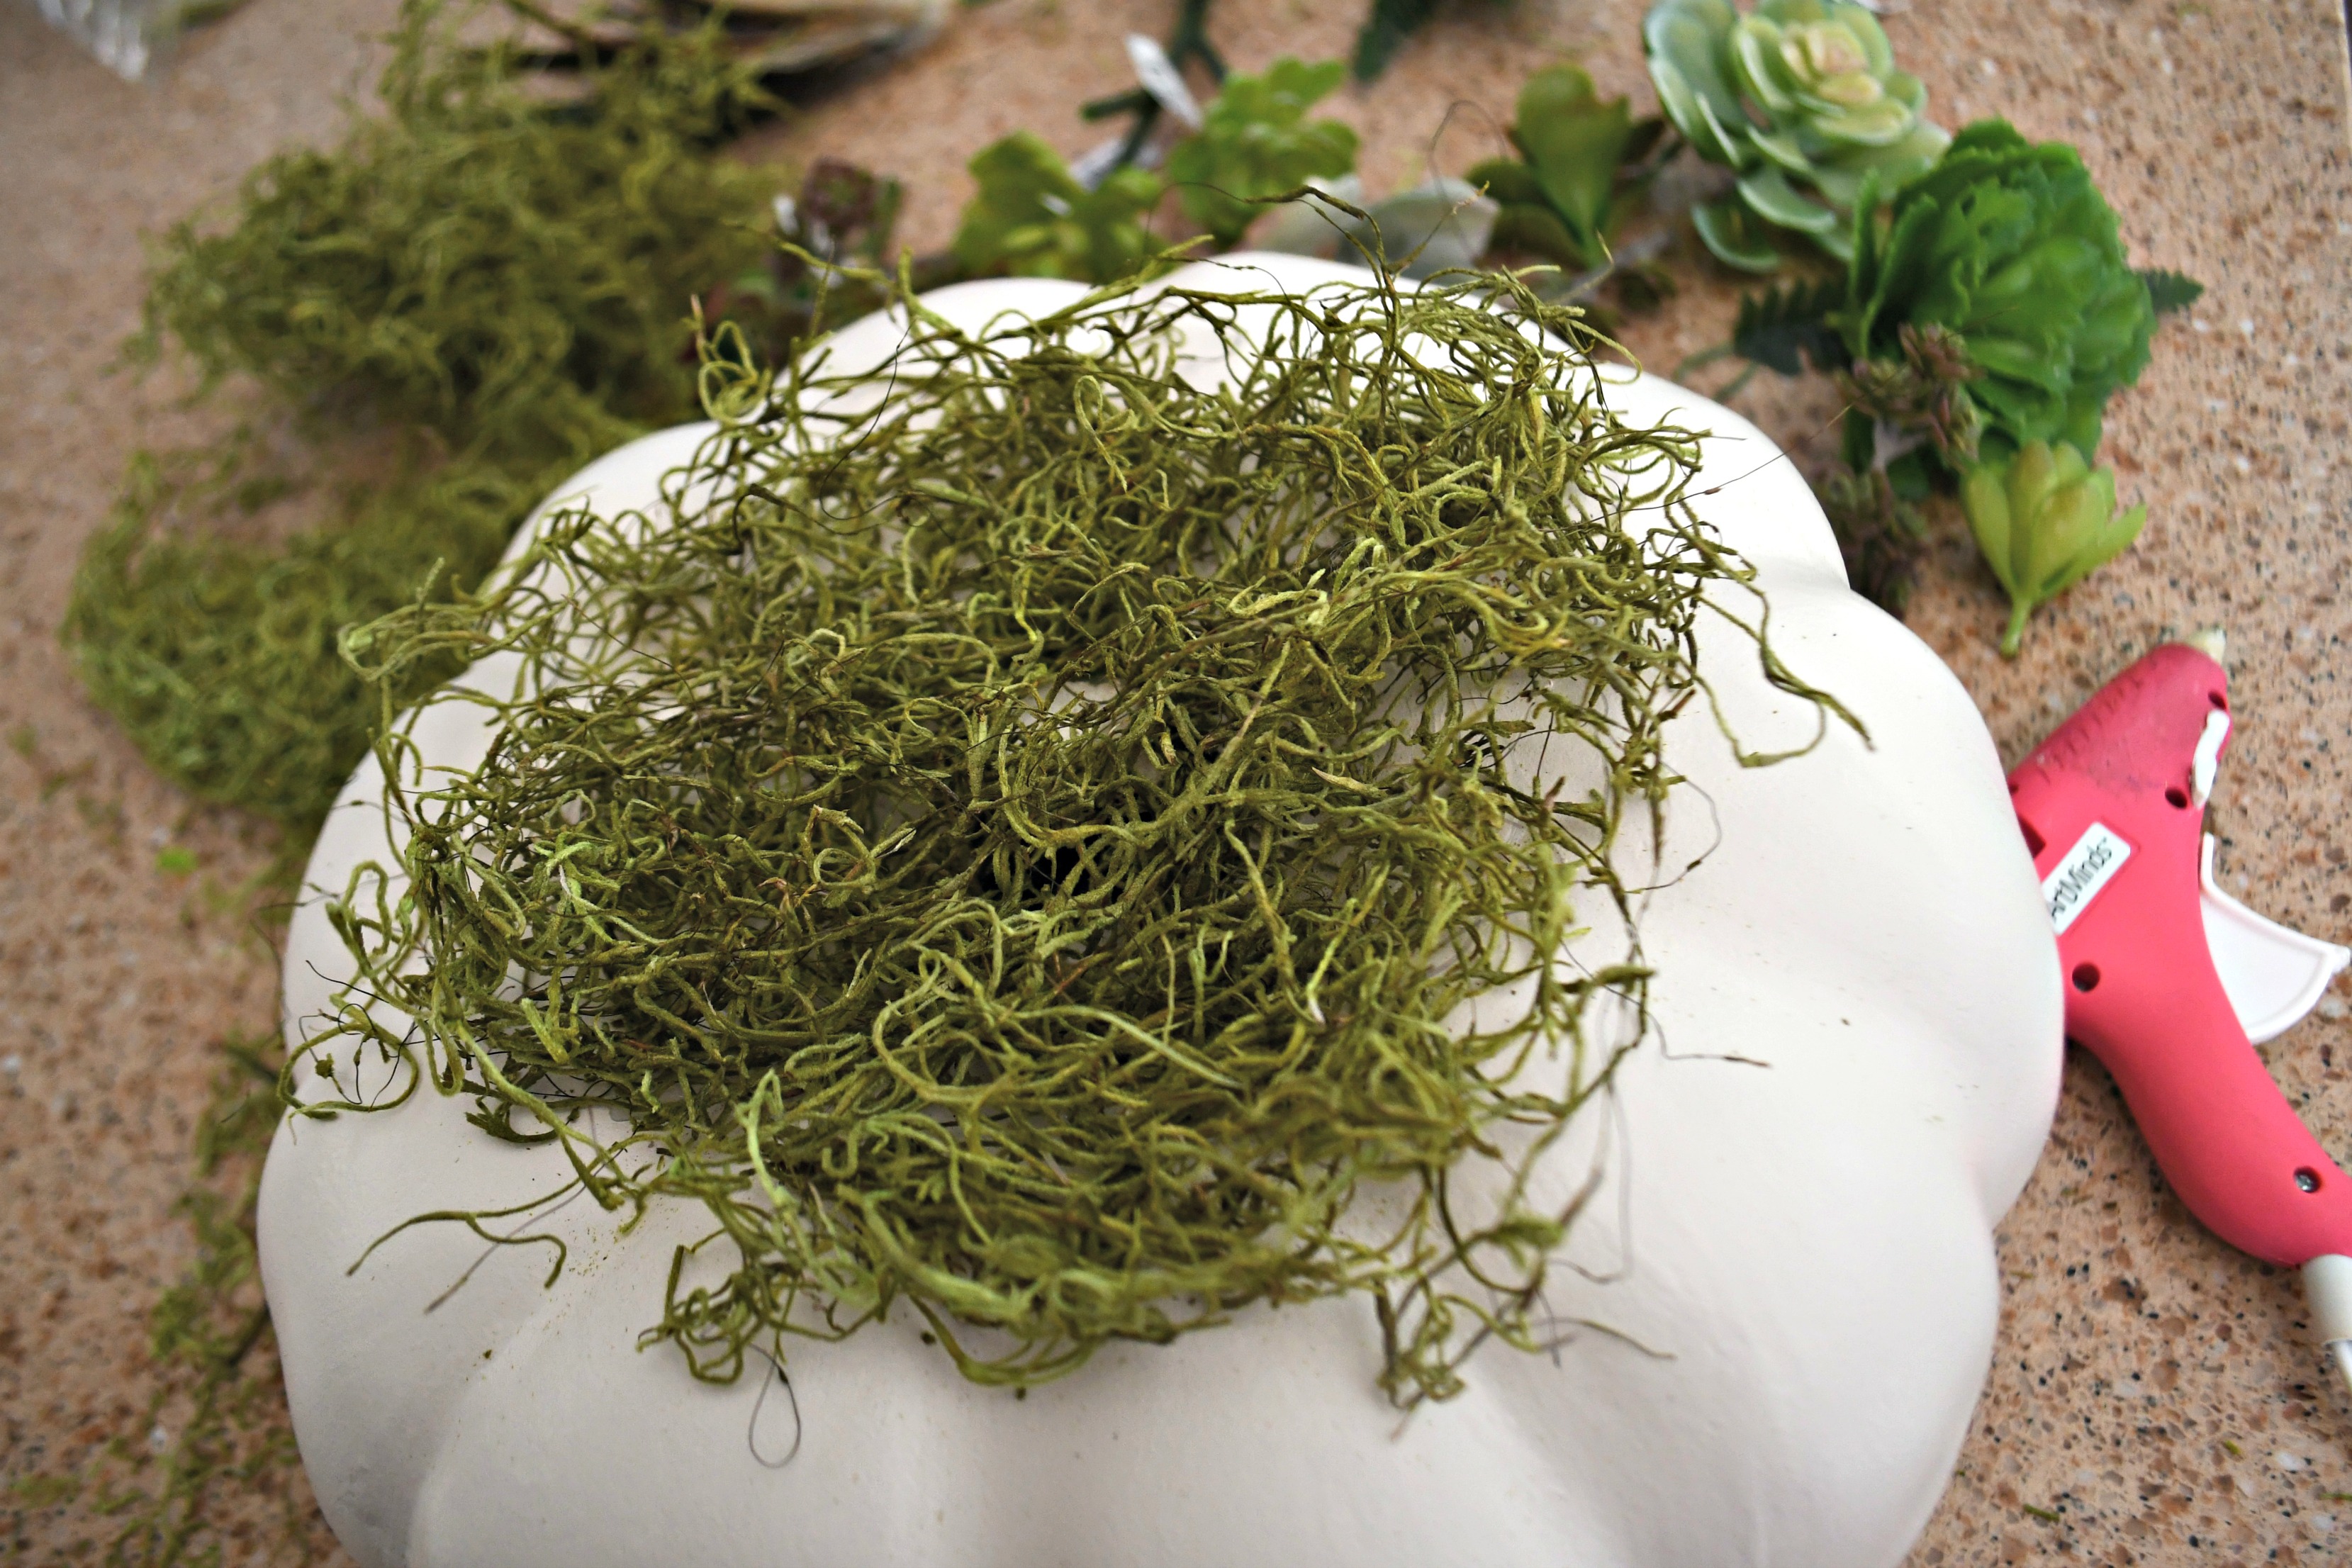
- Cut off the stem and glue moss to the middle of the pumpkin.
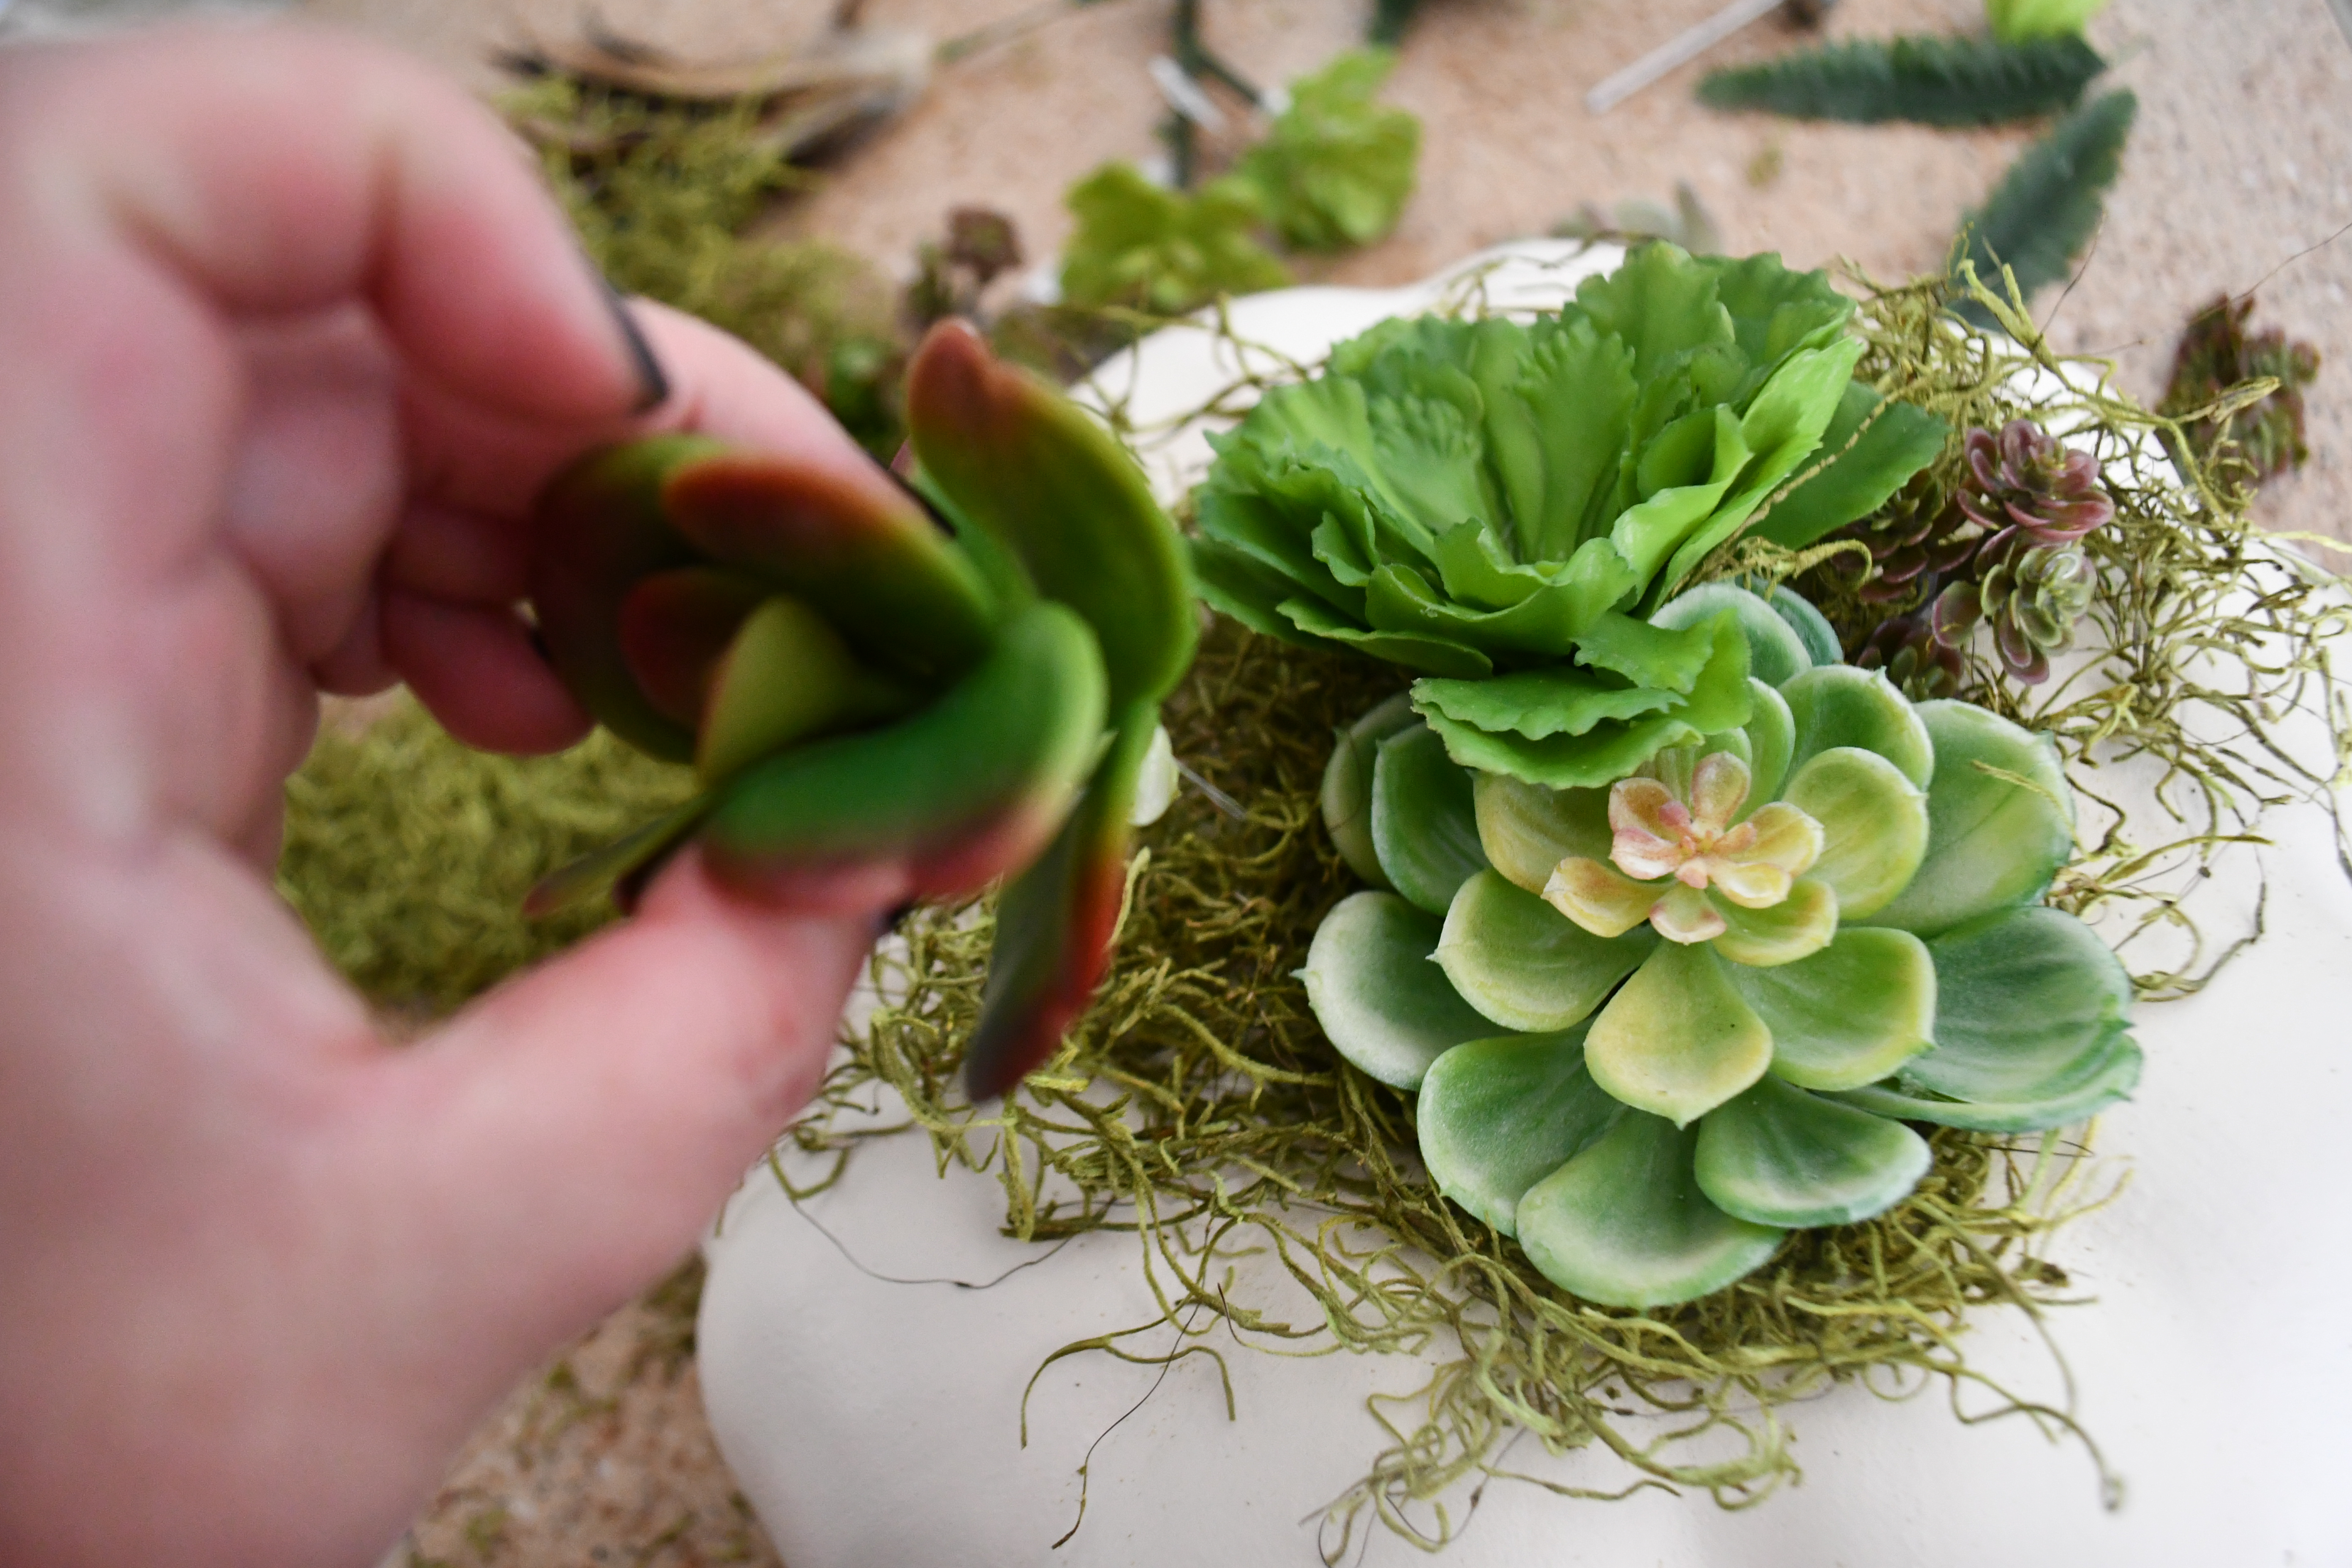
- Separate and cut apart the succulents into smaller pieces. Start with your largest pieces and hot glue them down to the pumpkin first.
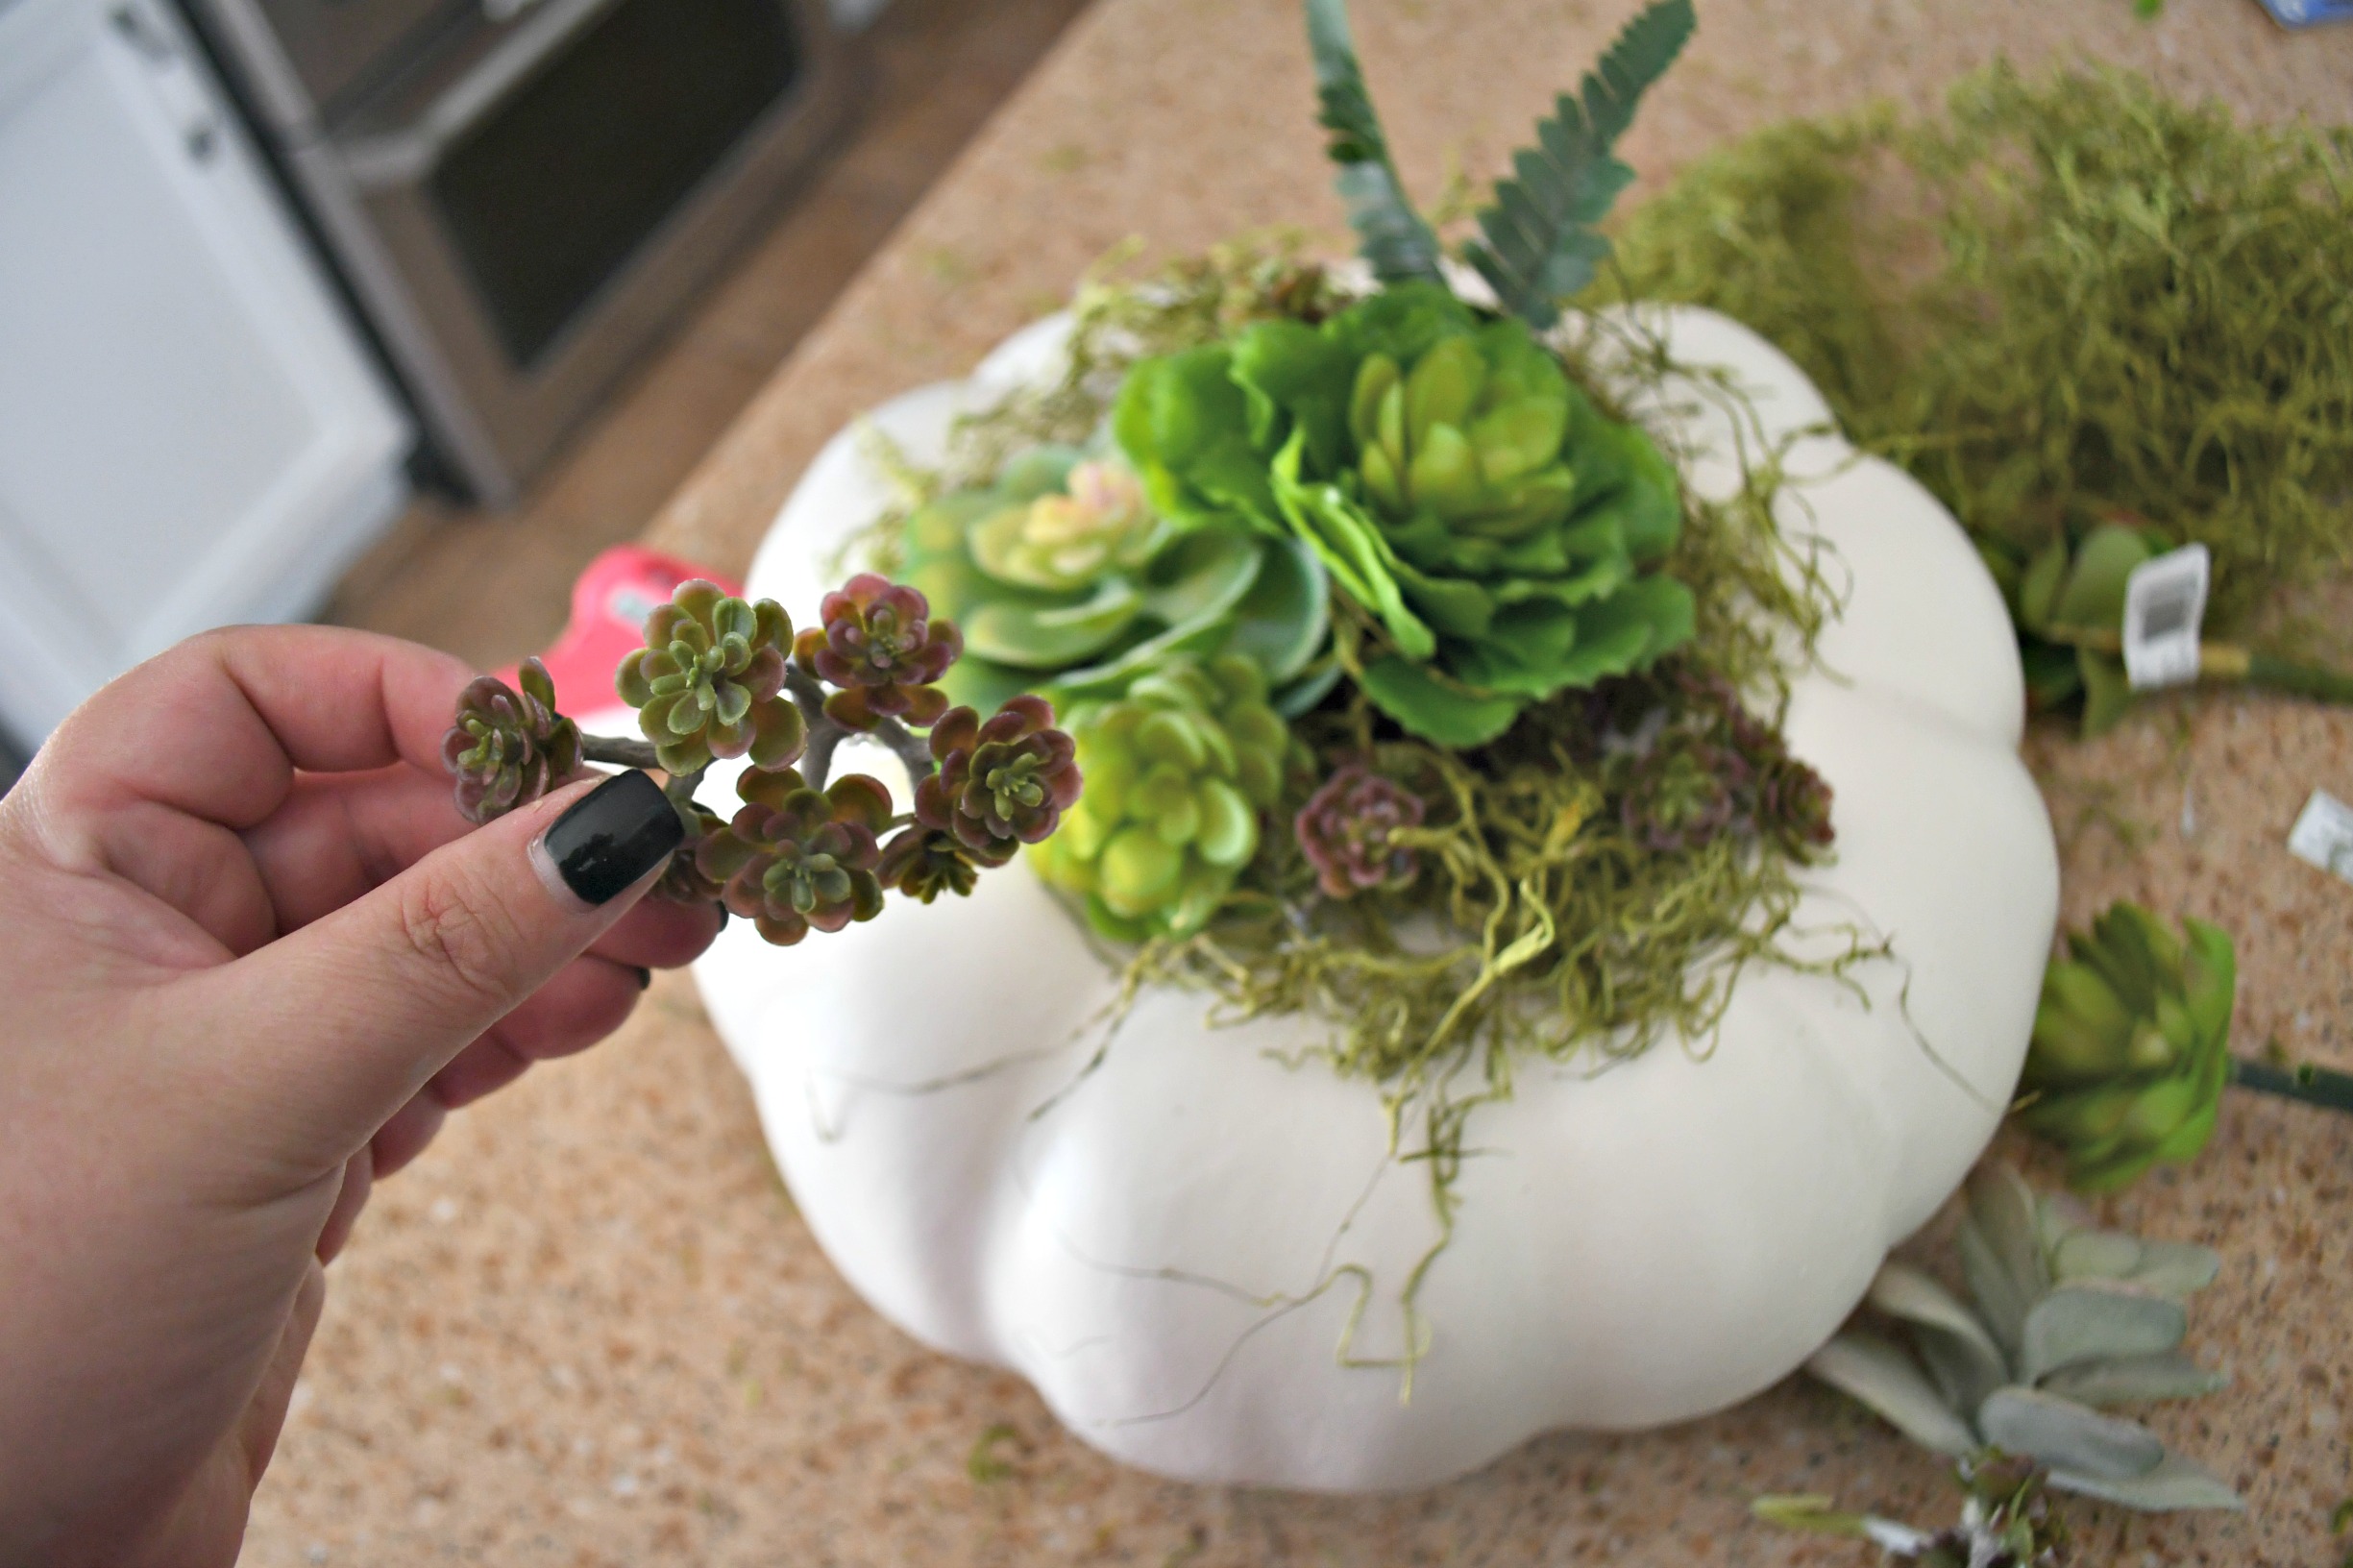
- Keep adding and arranging smaller pieces until you reach the desired fullness on your pumpkin. Also fill in any empty spots with additional moss if desired, using glue. I added a few feathers too, but that’s optional.
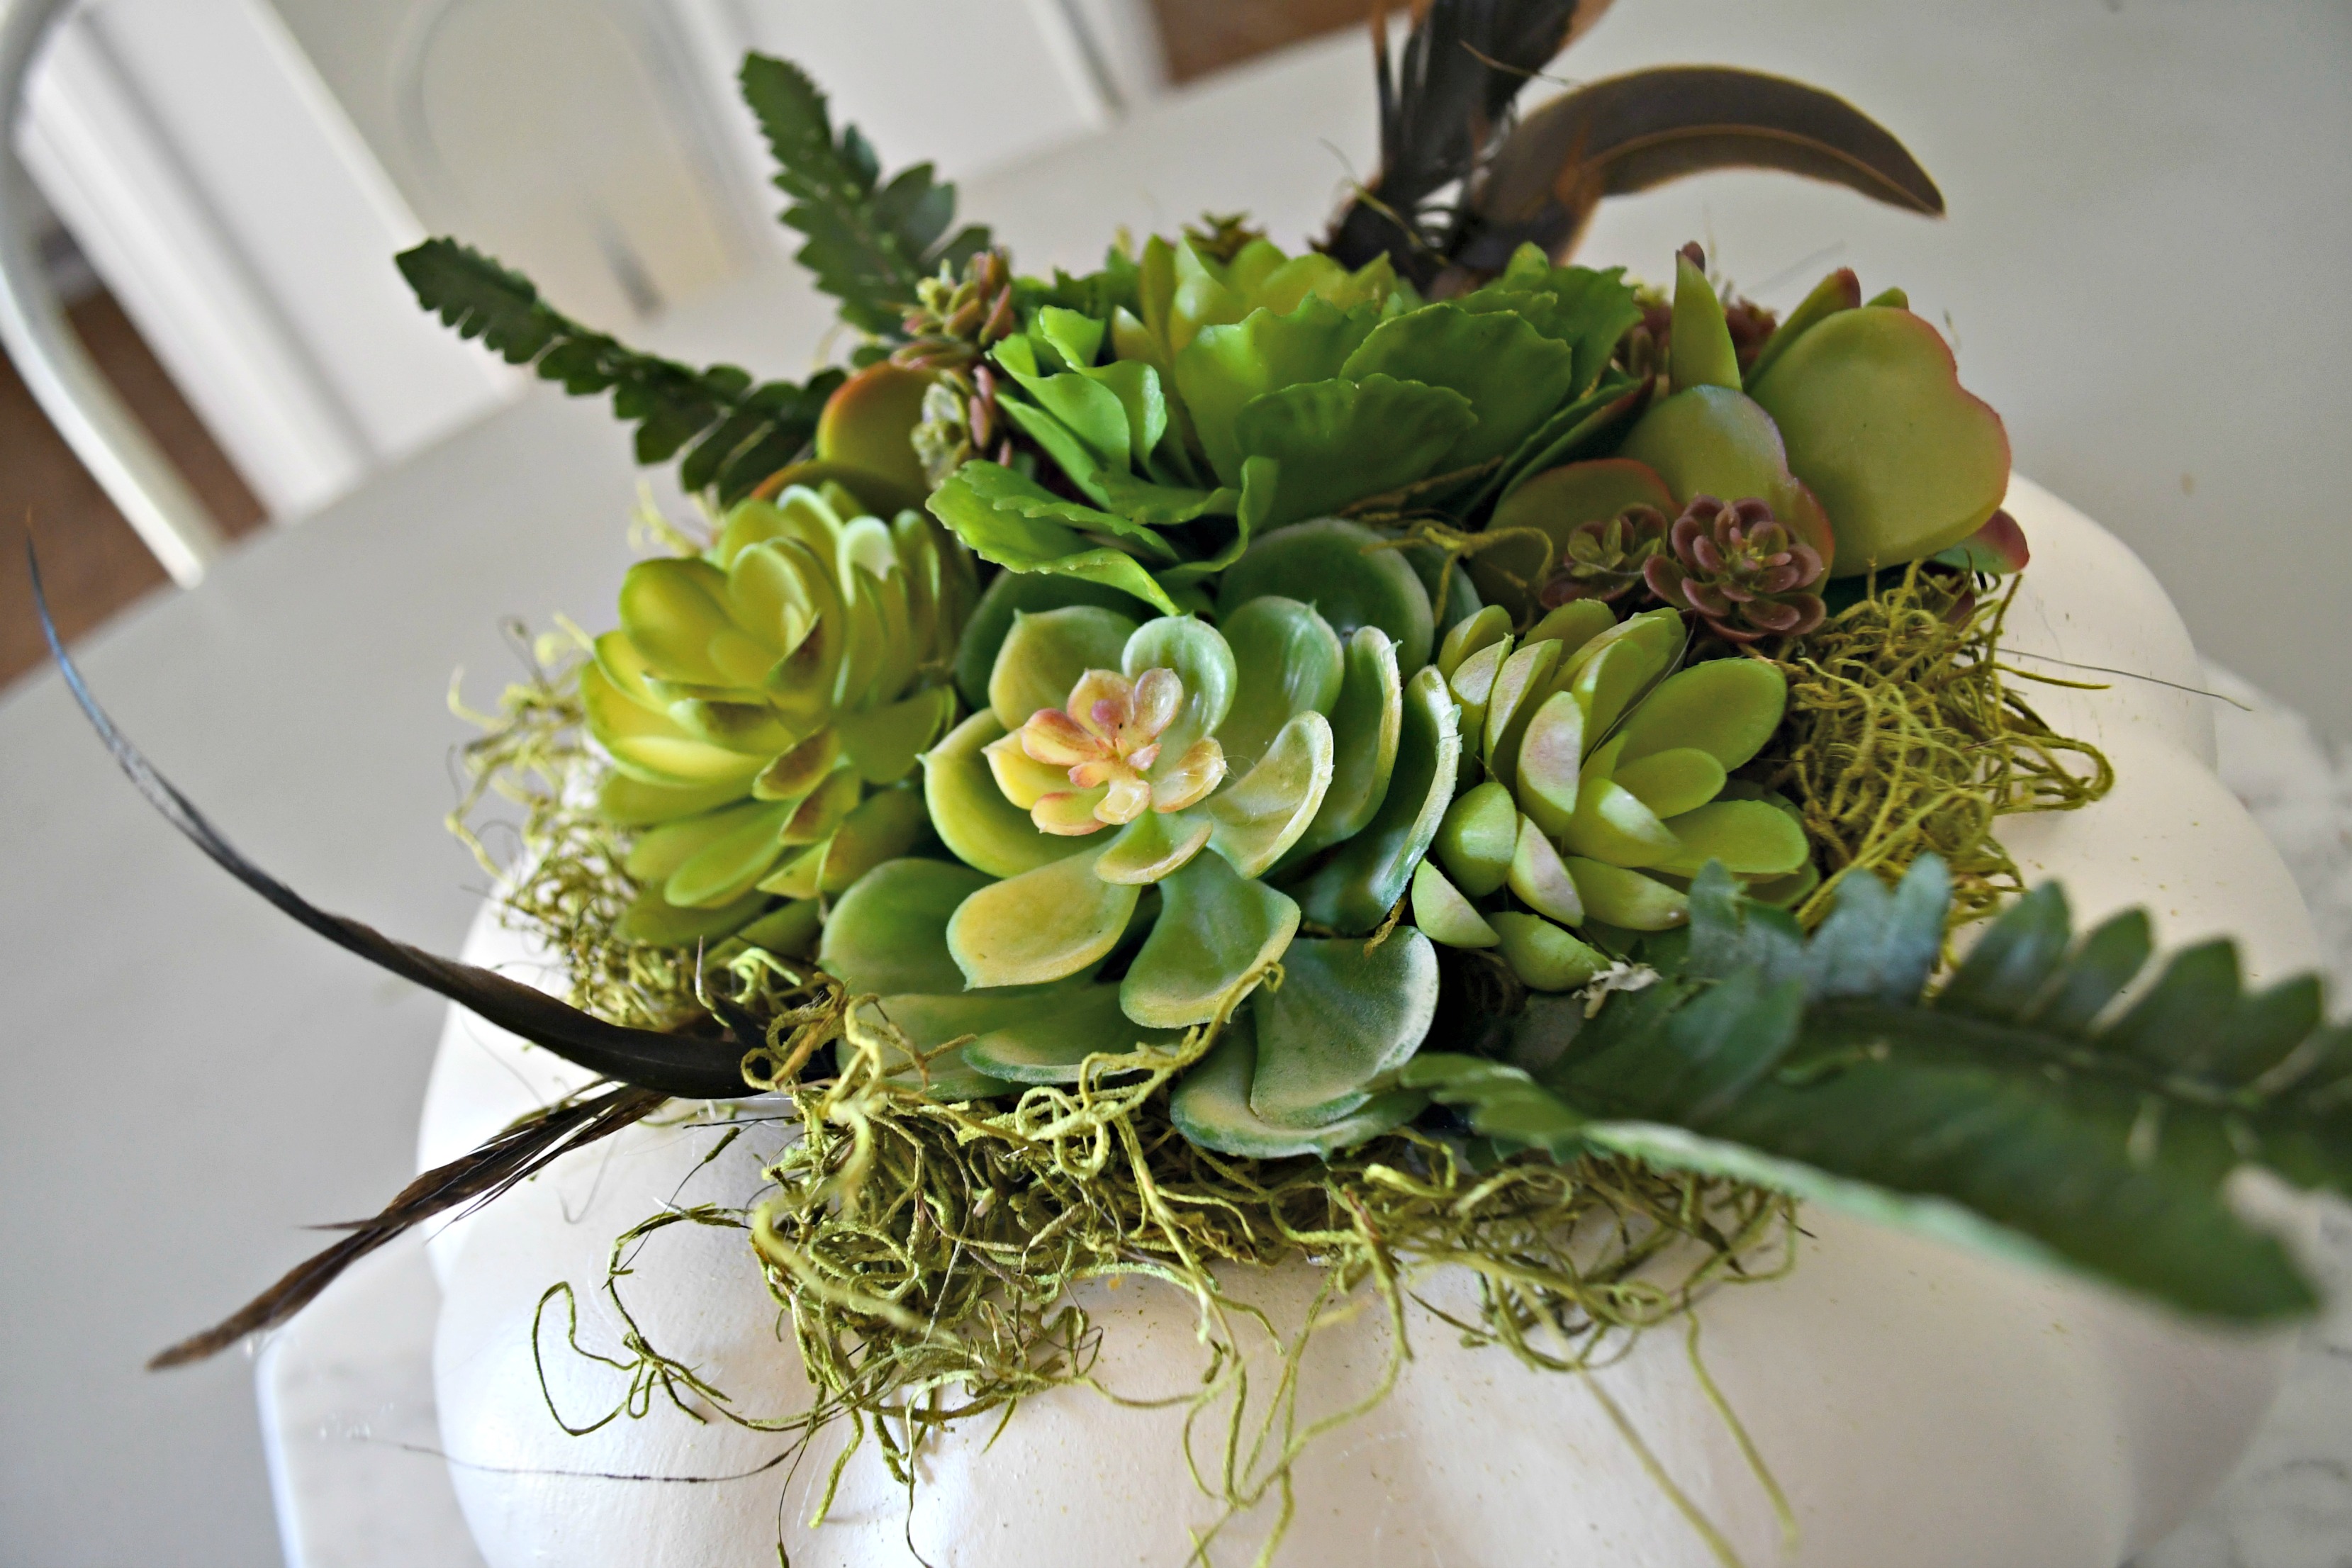
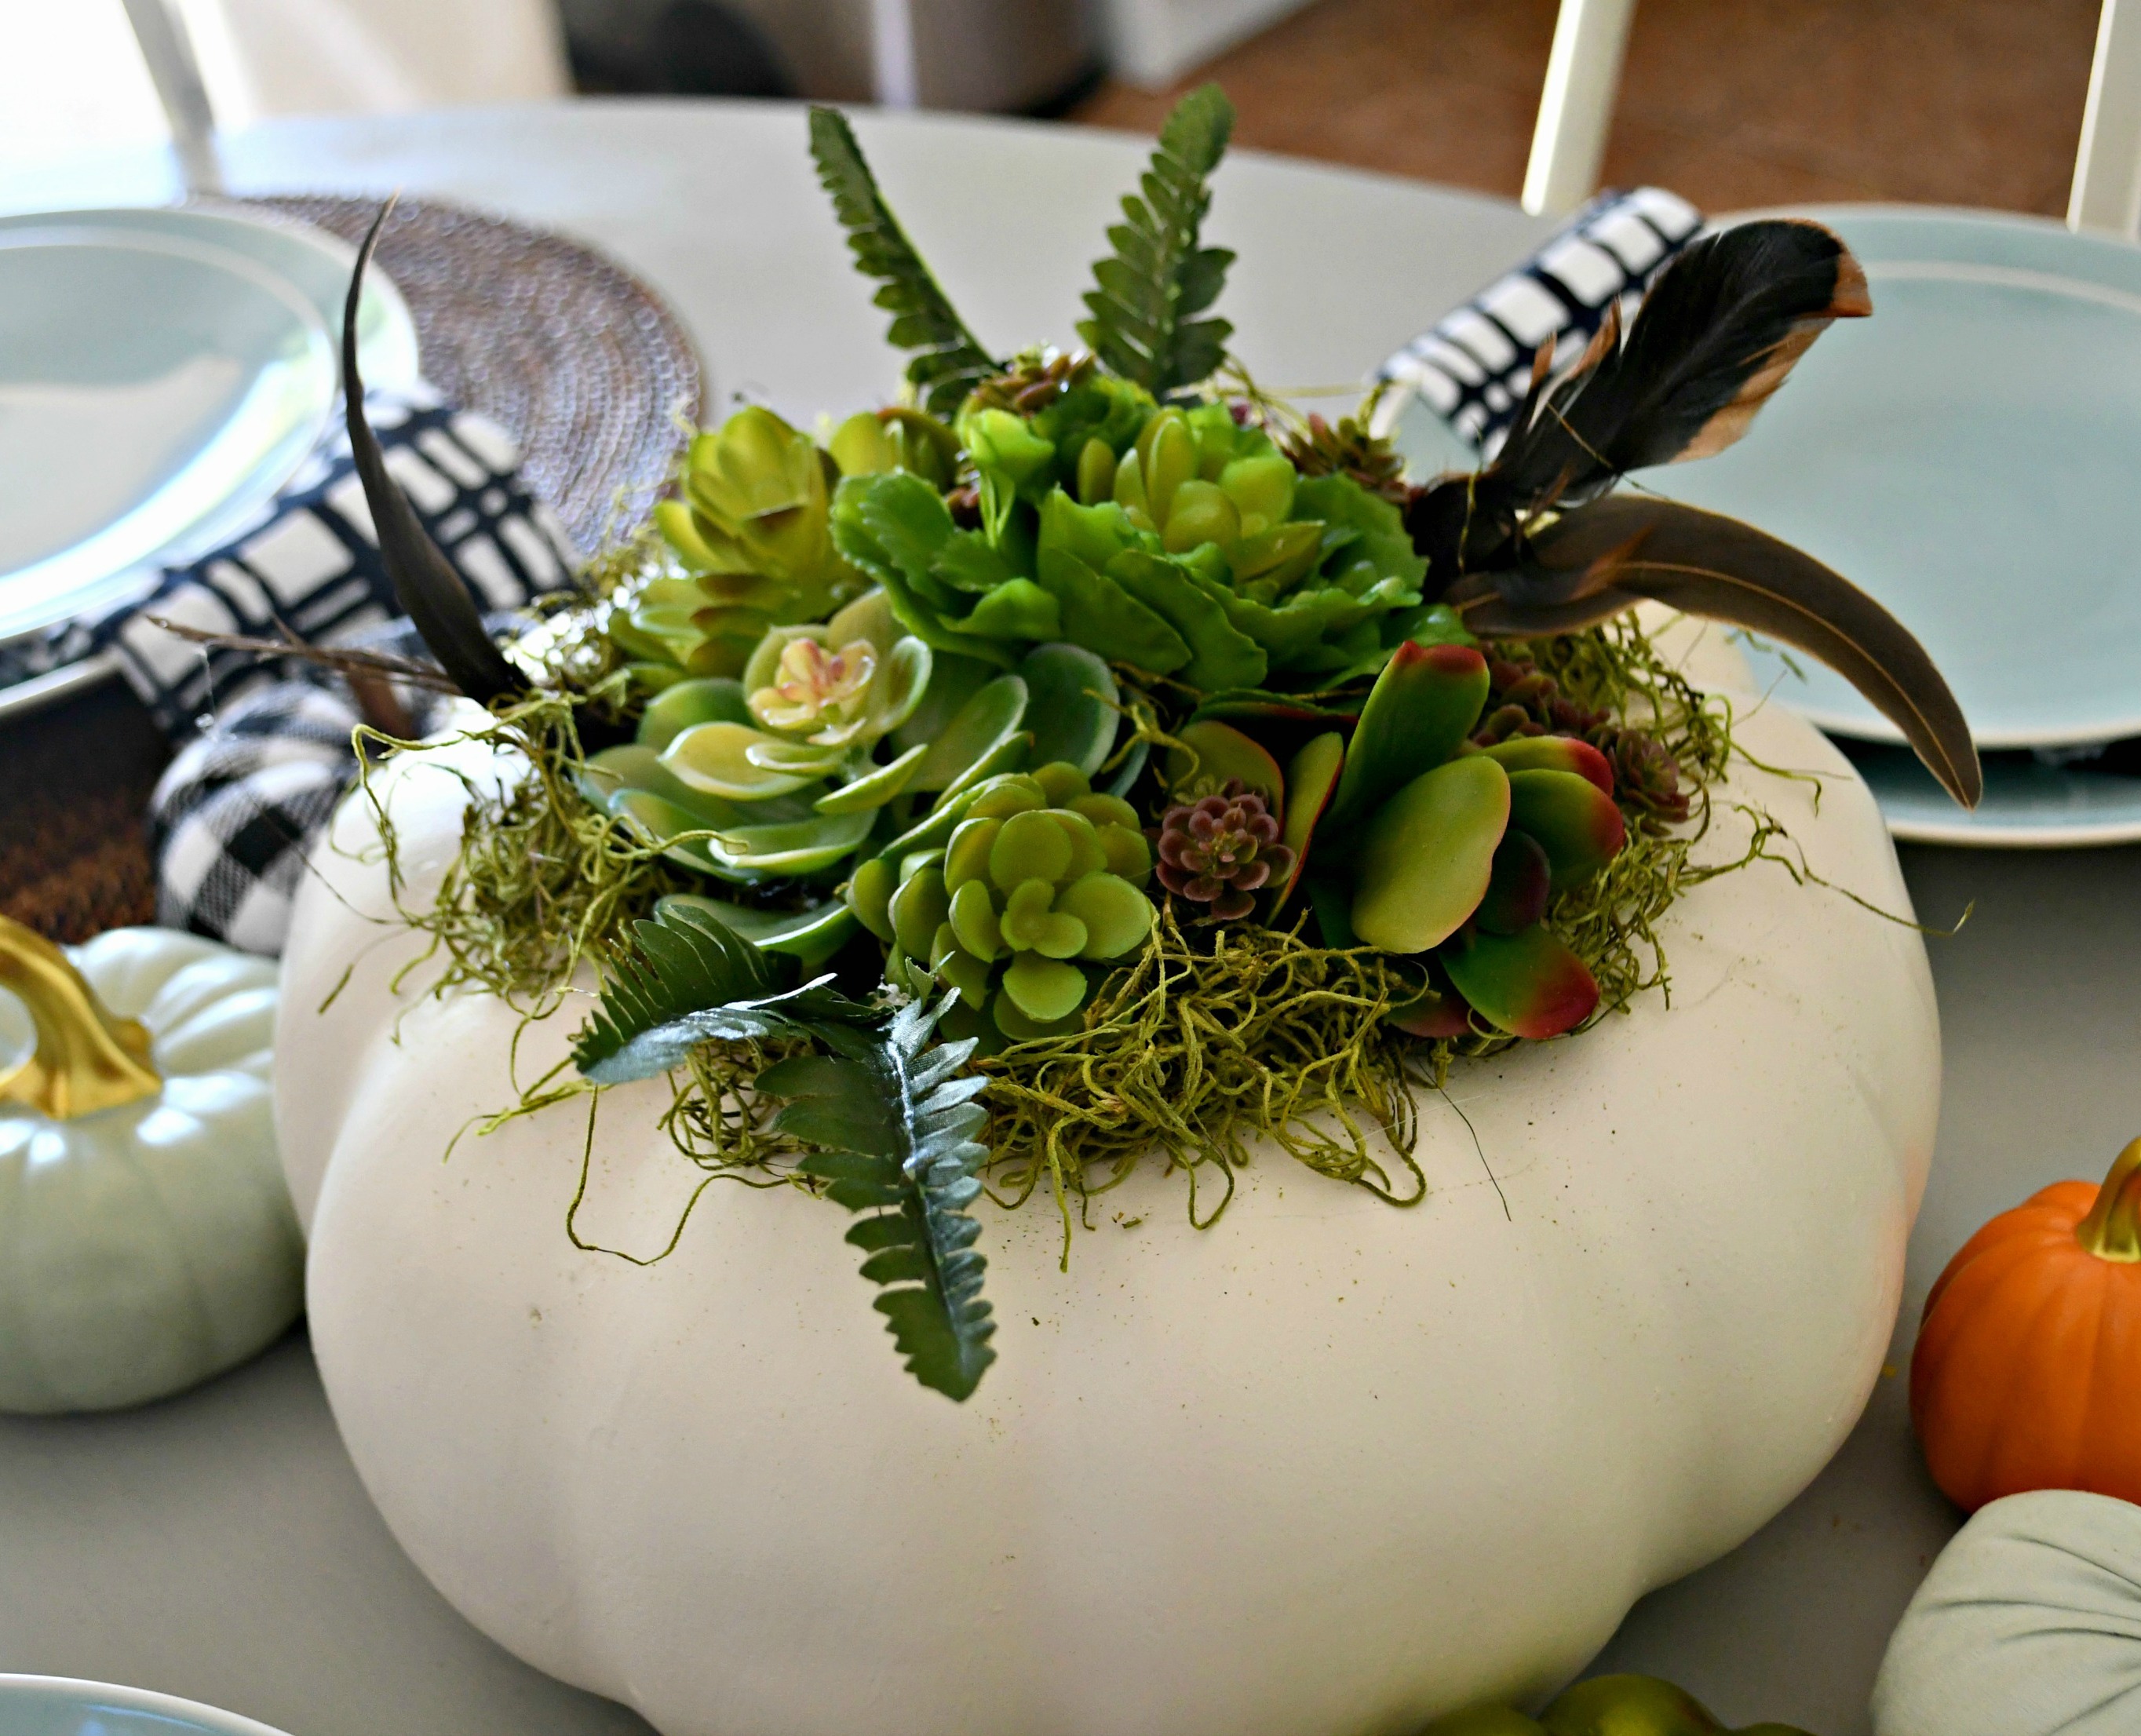
I’m so in LOVE with this pumpkin centerpiece!
I chose a white pumpkin for that farmhouse vibe, and I love the contrast with the succulents. What a fun and simple craft idea that you can use year after year. I had fun arranging these succulents, and I can’t wait to make another. I think this would such a fun gift idea, too!

Have a more limited budget? Check out my miniature Dollar Tree succulent pumpkin I put together! Yep, this is a $1 pumpkin!
I first painted the orange Styrofoam pumpkin according to THESE instructions, and then I inserted the larger succulent to the top, which is also from Dollar Tree. I also glued moss and small pieces of leftover succulents pieces from the larger pumpkin!
Want to use real pumpkins and succulents?!
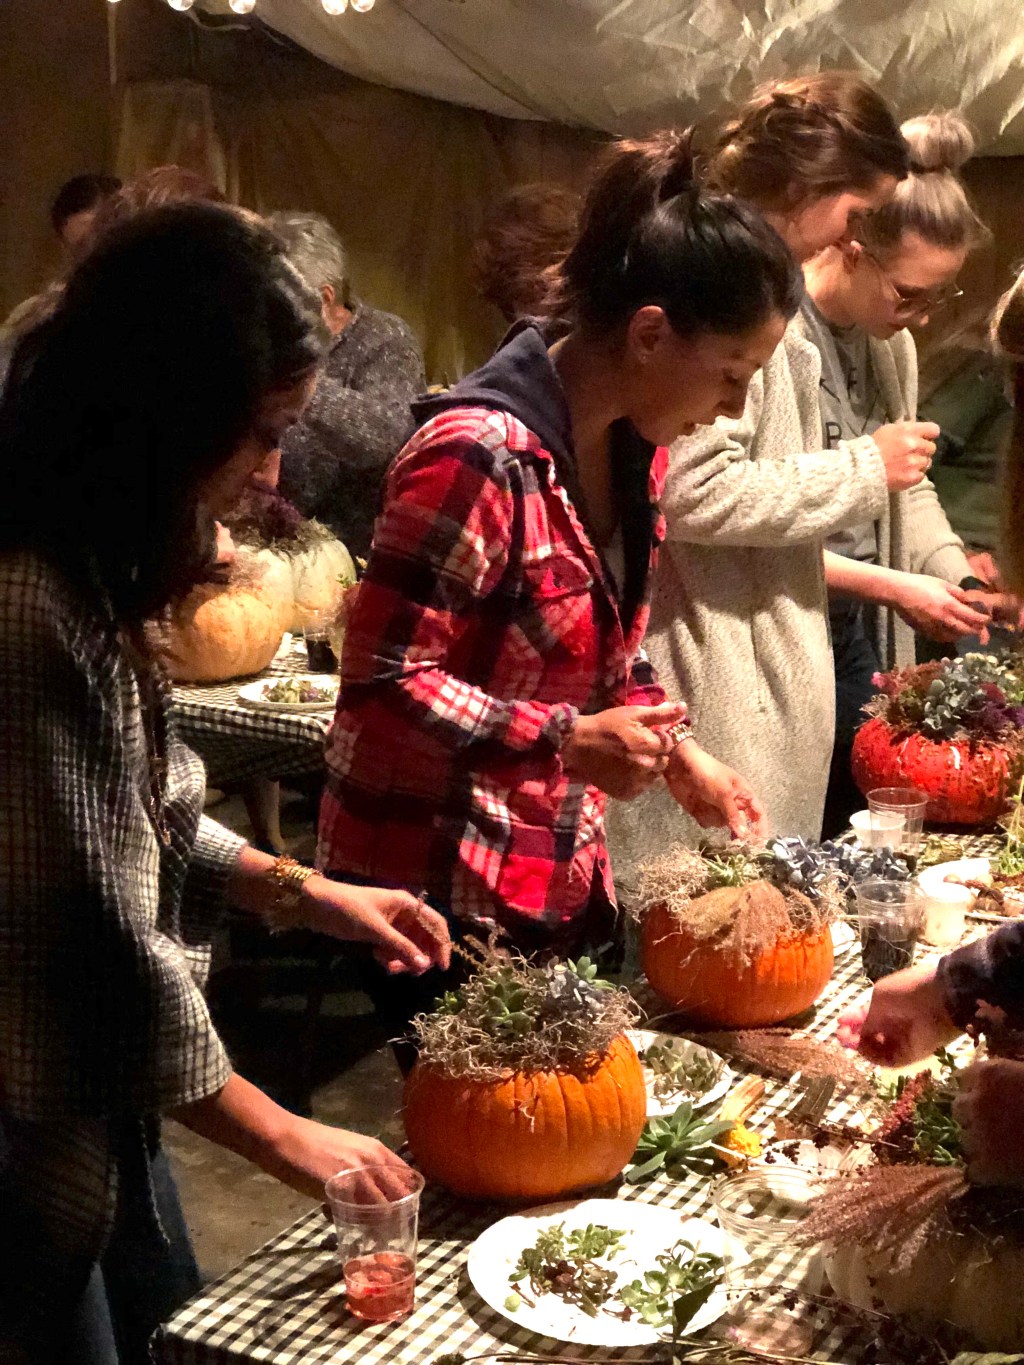
You can, and it will last a couple months with some extra care of the living succulents. In fact, Hip2Save sidekick Emily, makes these incredible living centerpieces, pictured above, each year, as a tradition with her family. She confirms they do last through the holiday season. Head to BHG.com for full directions on how to make a succulent pumpkin centerpiece using real succulents.
“My mom and I hosted a party making these real pumpkin succulent arrangements in her garage, and we had like 20 women come. You had to BYOG (bring own gourd) and an appetizer and everyone had a great time! To keep the succulents alive, I would spray them with some water every other day. “ -Emily S.
Written by Lina for Hip2Save. Lina is a proud mom of 2 kids who loves photography, all holidays, cooking, thrift store makeovers, bargain shopping, and DIY makeovers. Her goal is to create a beautiful life and stylish home on a dime! To see all of Lina’s DIY/Crafts created just for Hip2Save, click here.


Love this idea! Think I might do this with my girls!
Yay! Enjoy 😉
Side question: I love your plates! Where did you get them, brand, style name?
Thanks! You know what? They are one of my favorite Goodwill finds! I found a service of 10 plates and salad bowls one day there. It’s a brand called Home. I found them on eBay here just so you can see brand 🤗
https://www.ebay.com/itm/Set-Of-4-Furio-Home-Thailand-Matte-Green-Worldview-Jade-Dinner-Plates-Sage-Green-/182857768273!