
DIY Hanging Treat Bag Advent Calendar
Here’s an easy homemade Advent calendar idea!
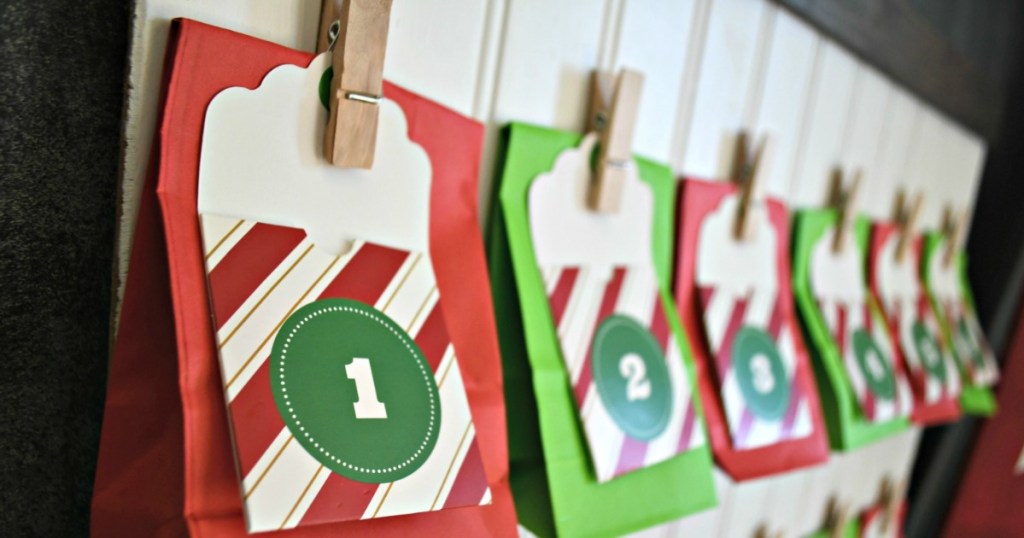
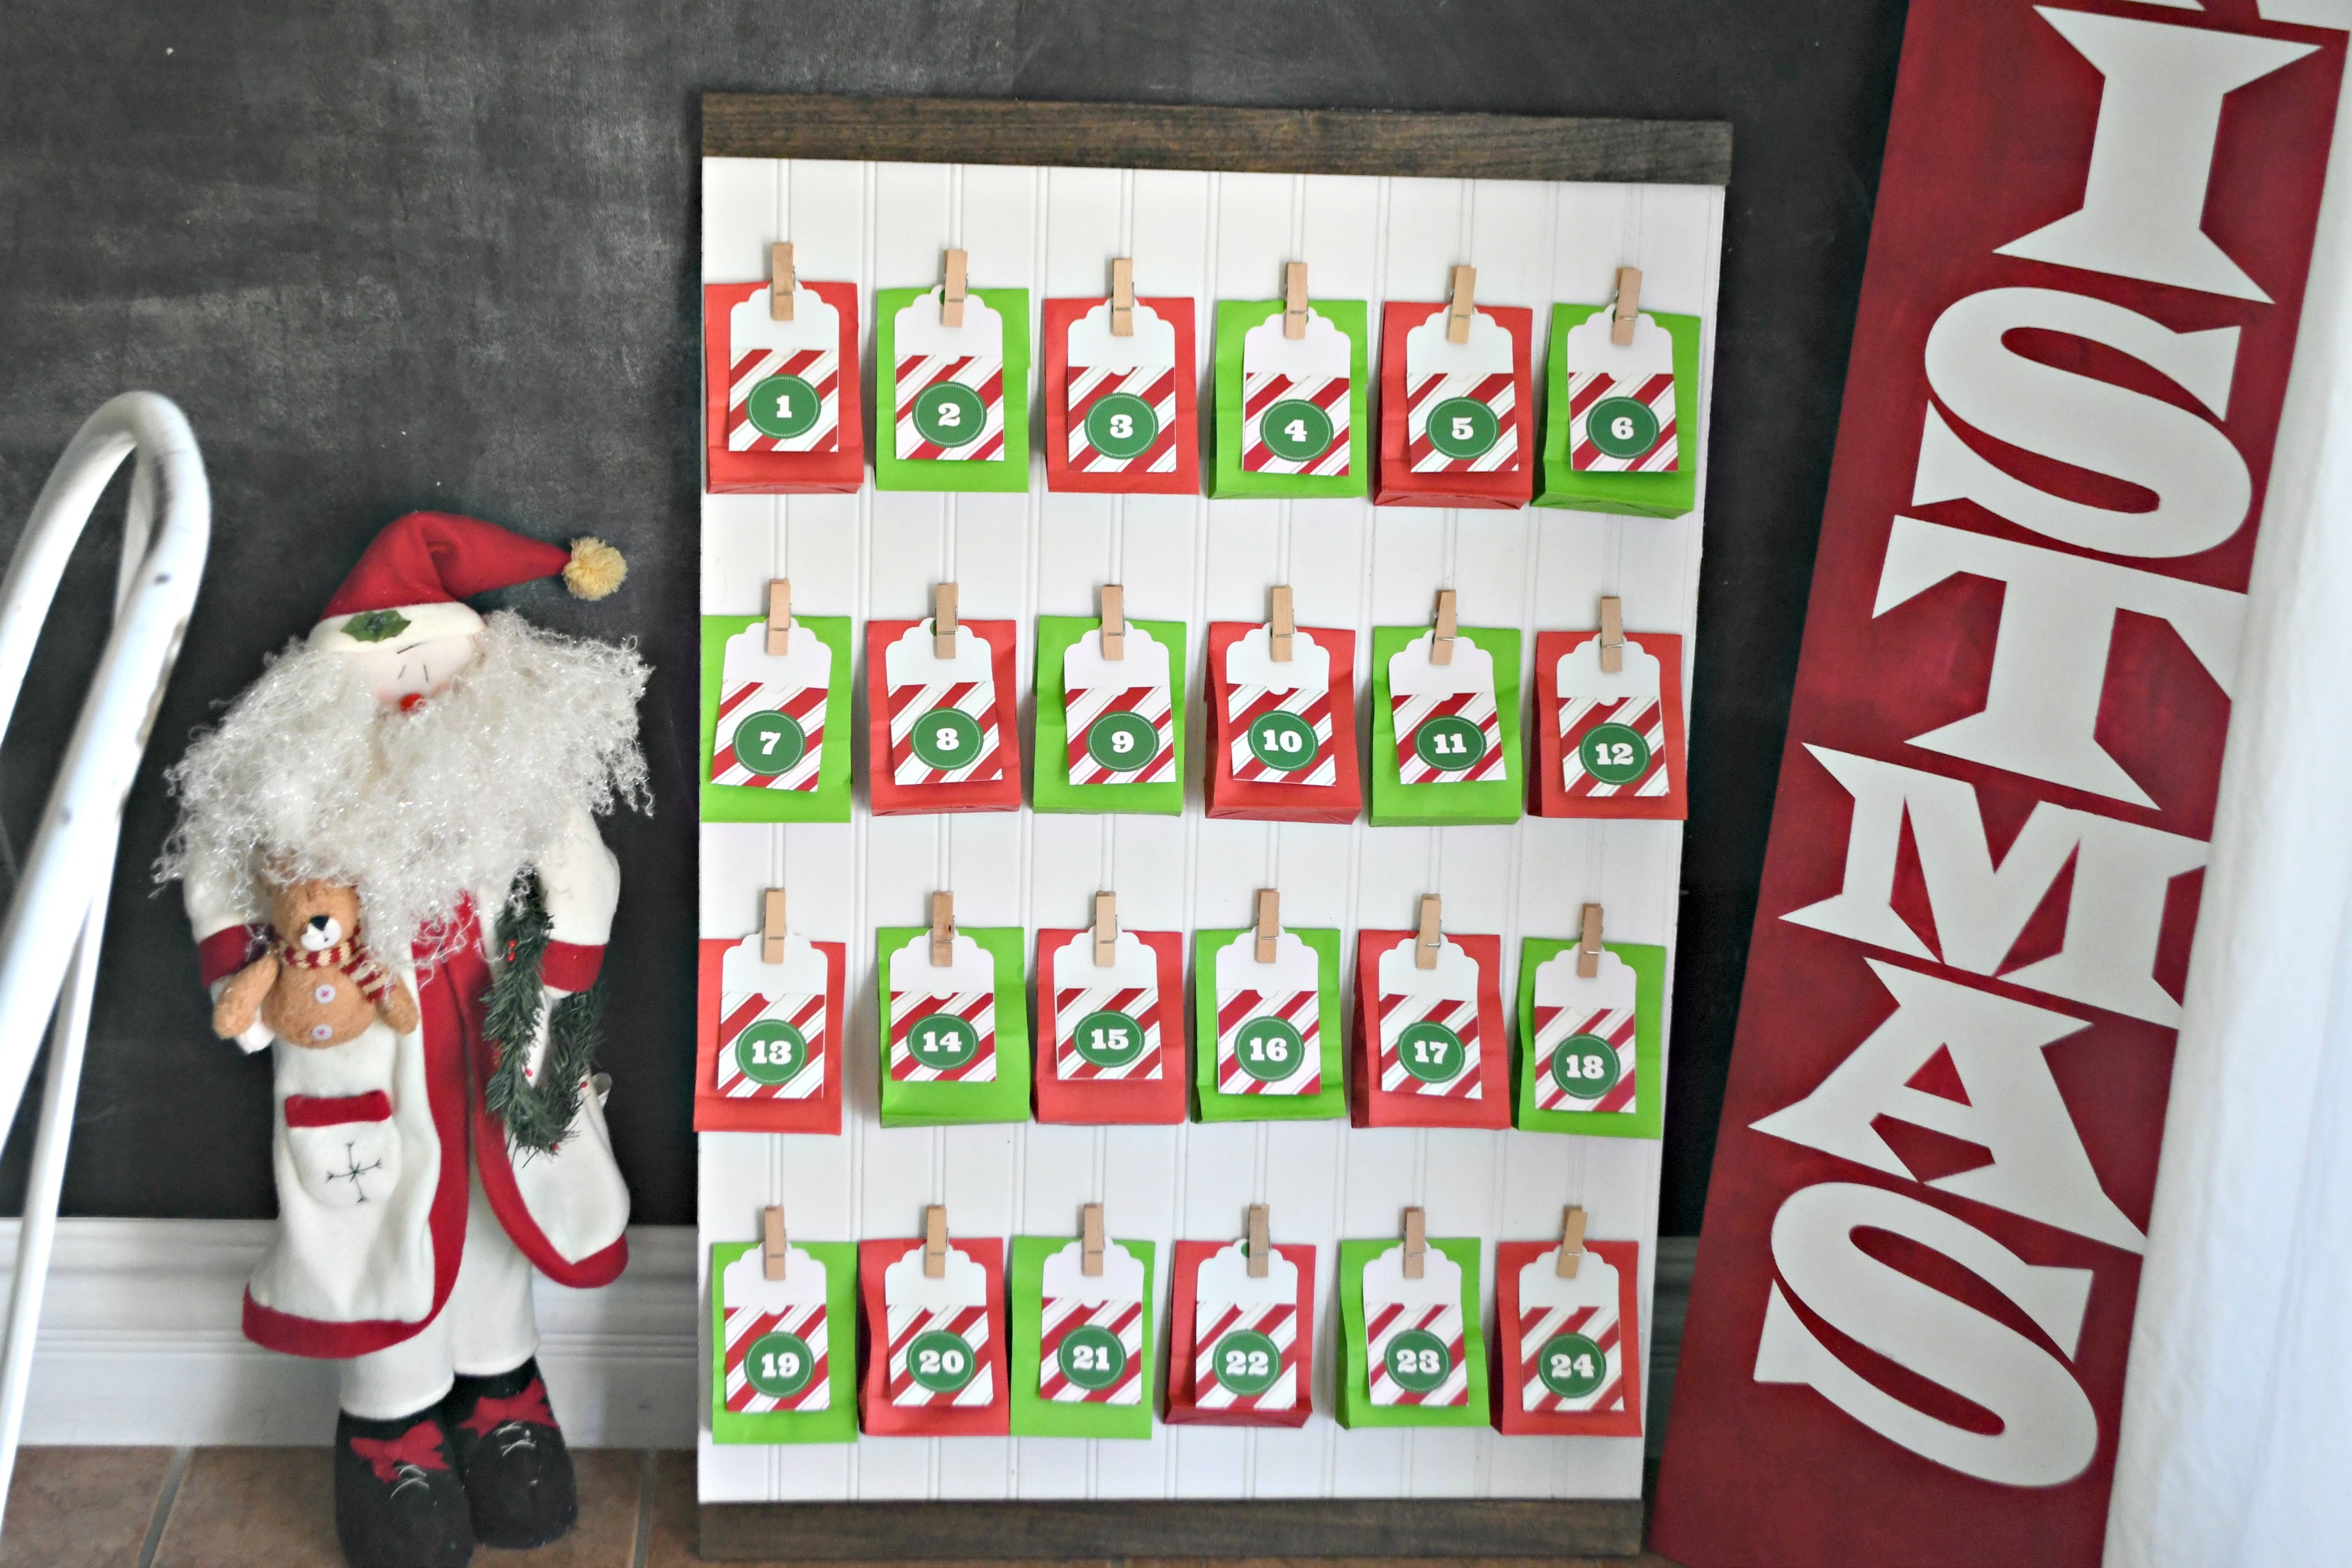
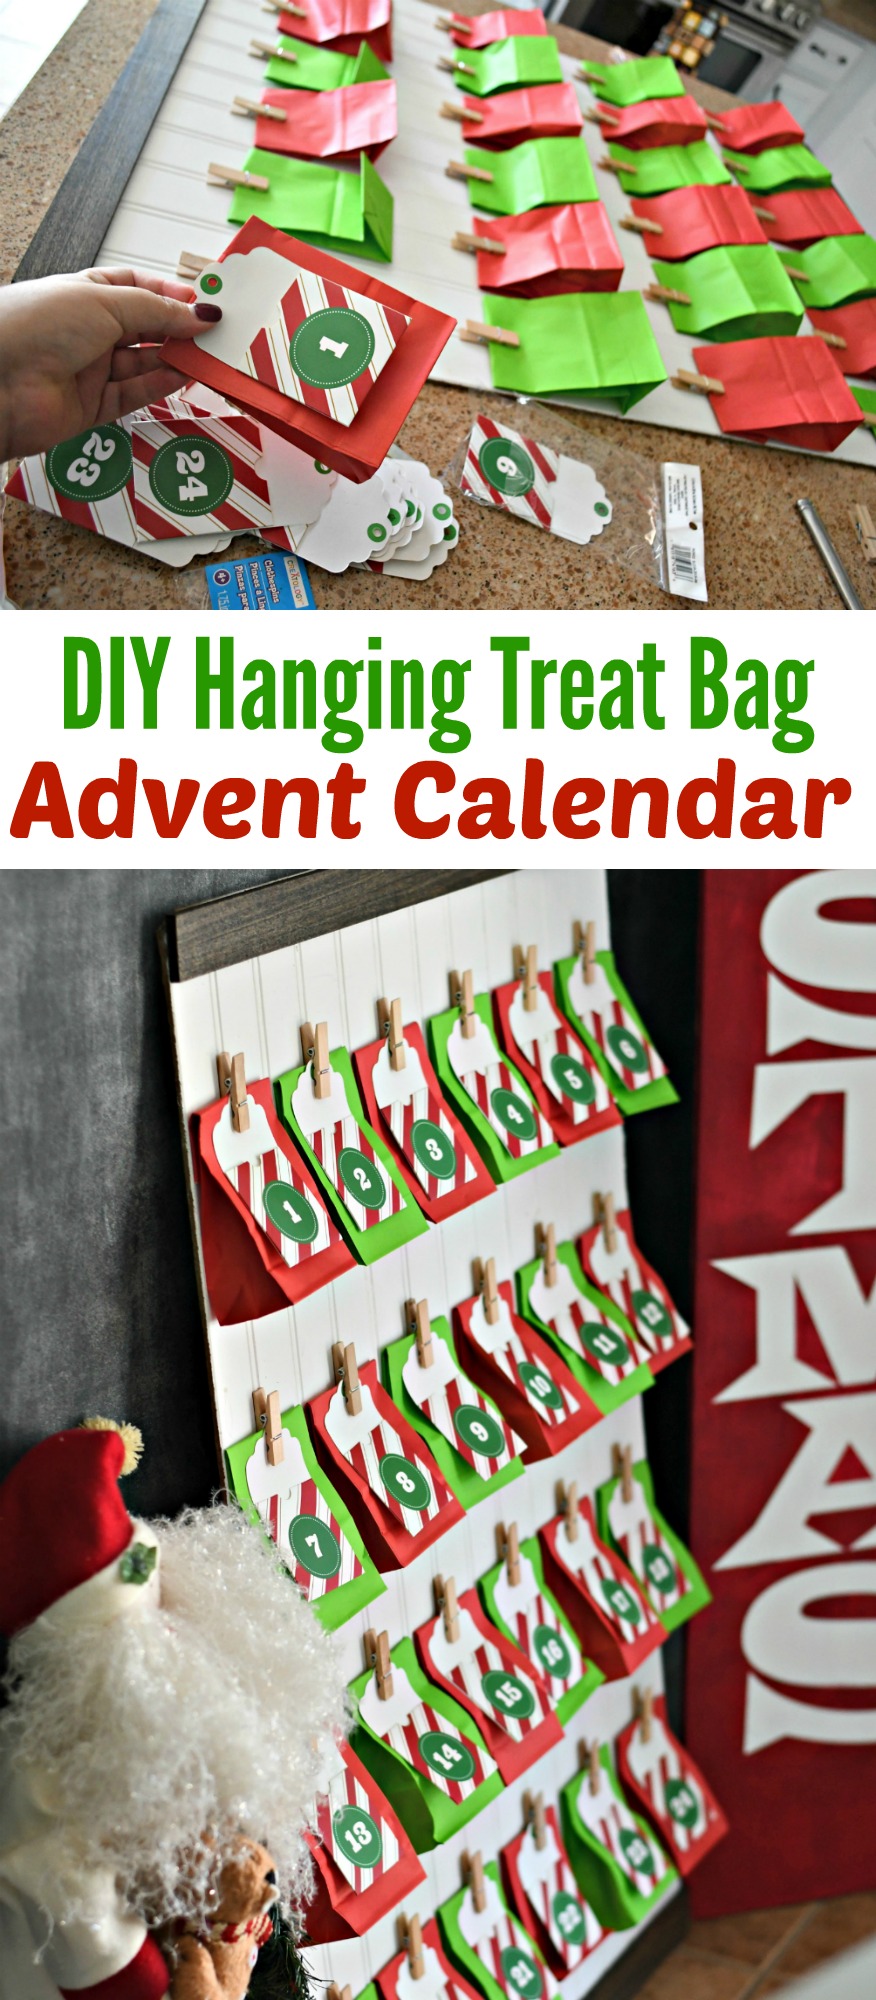
Try making this simple and inexpensive DIY Advent calendar by hanging little treat sacks with small clothespins! Each day during December your family can look forward to opening a different little sack. Fill bags with small toys, party favors, stickers, treats, written messages, or even acts of kindness.
Advent calendars are such a fun tradition, and this DIY turned out so cute!
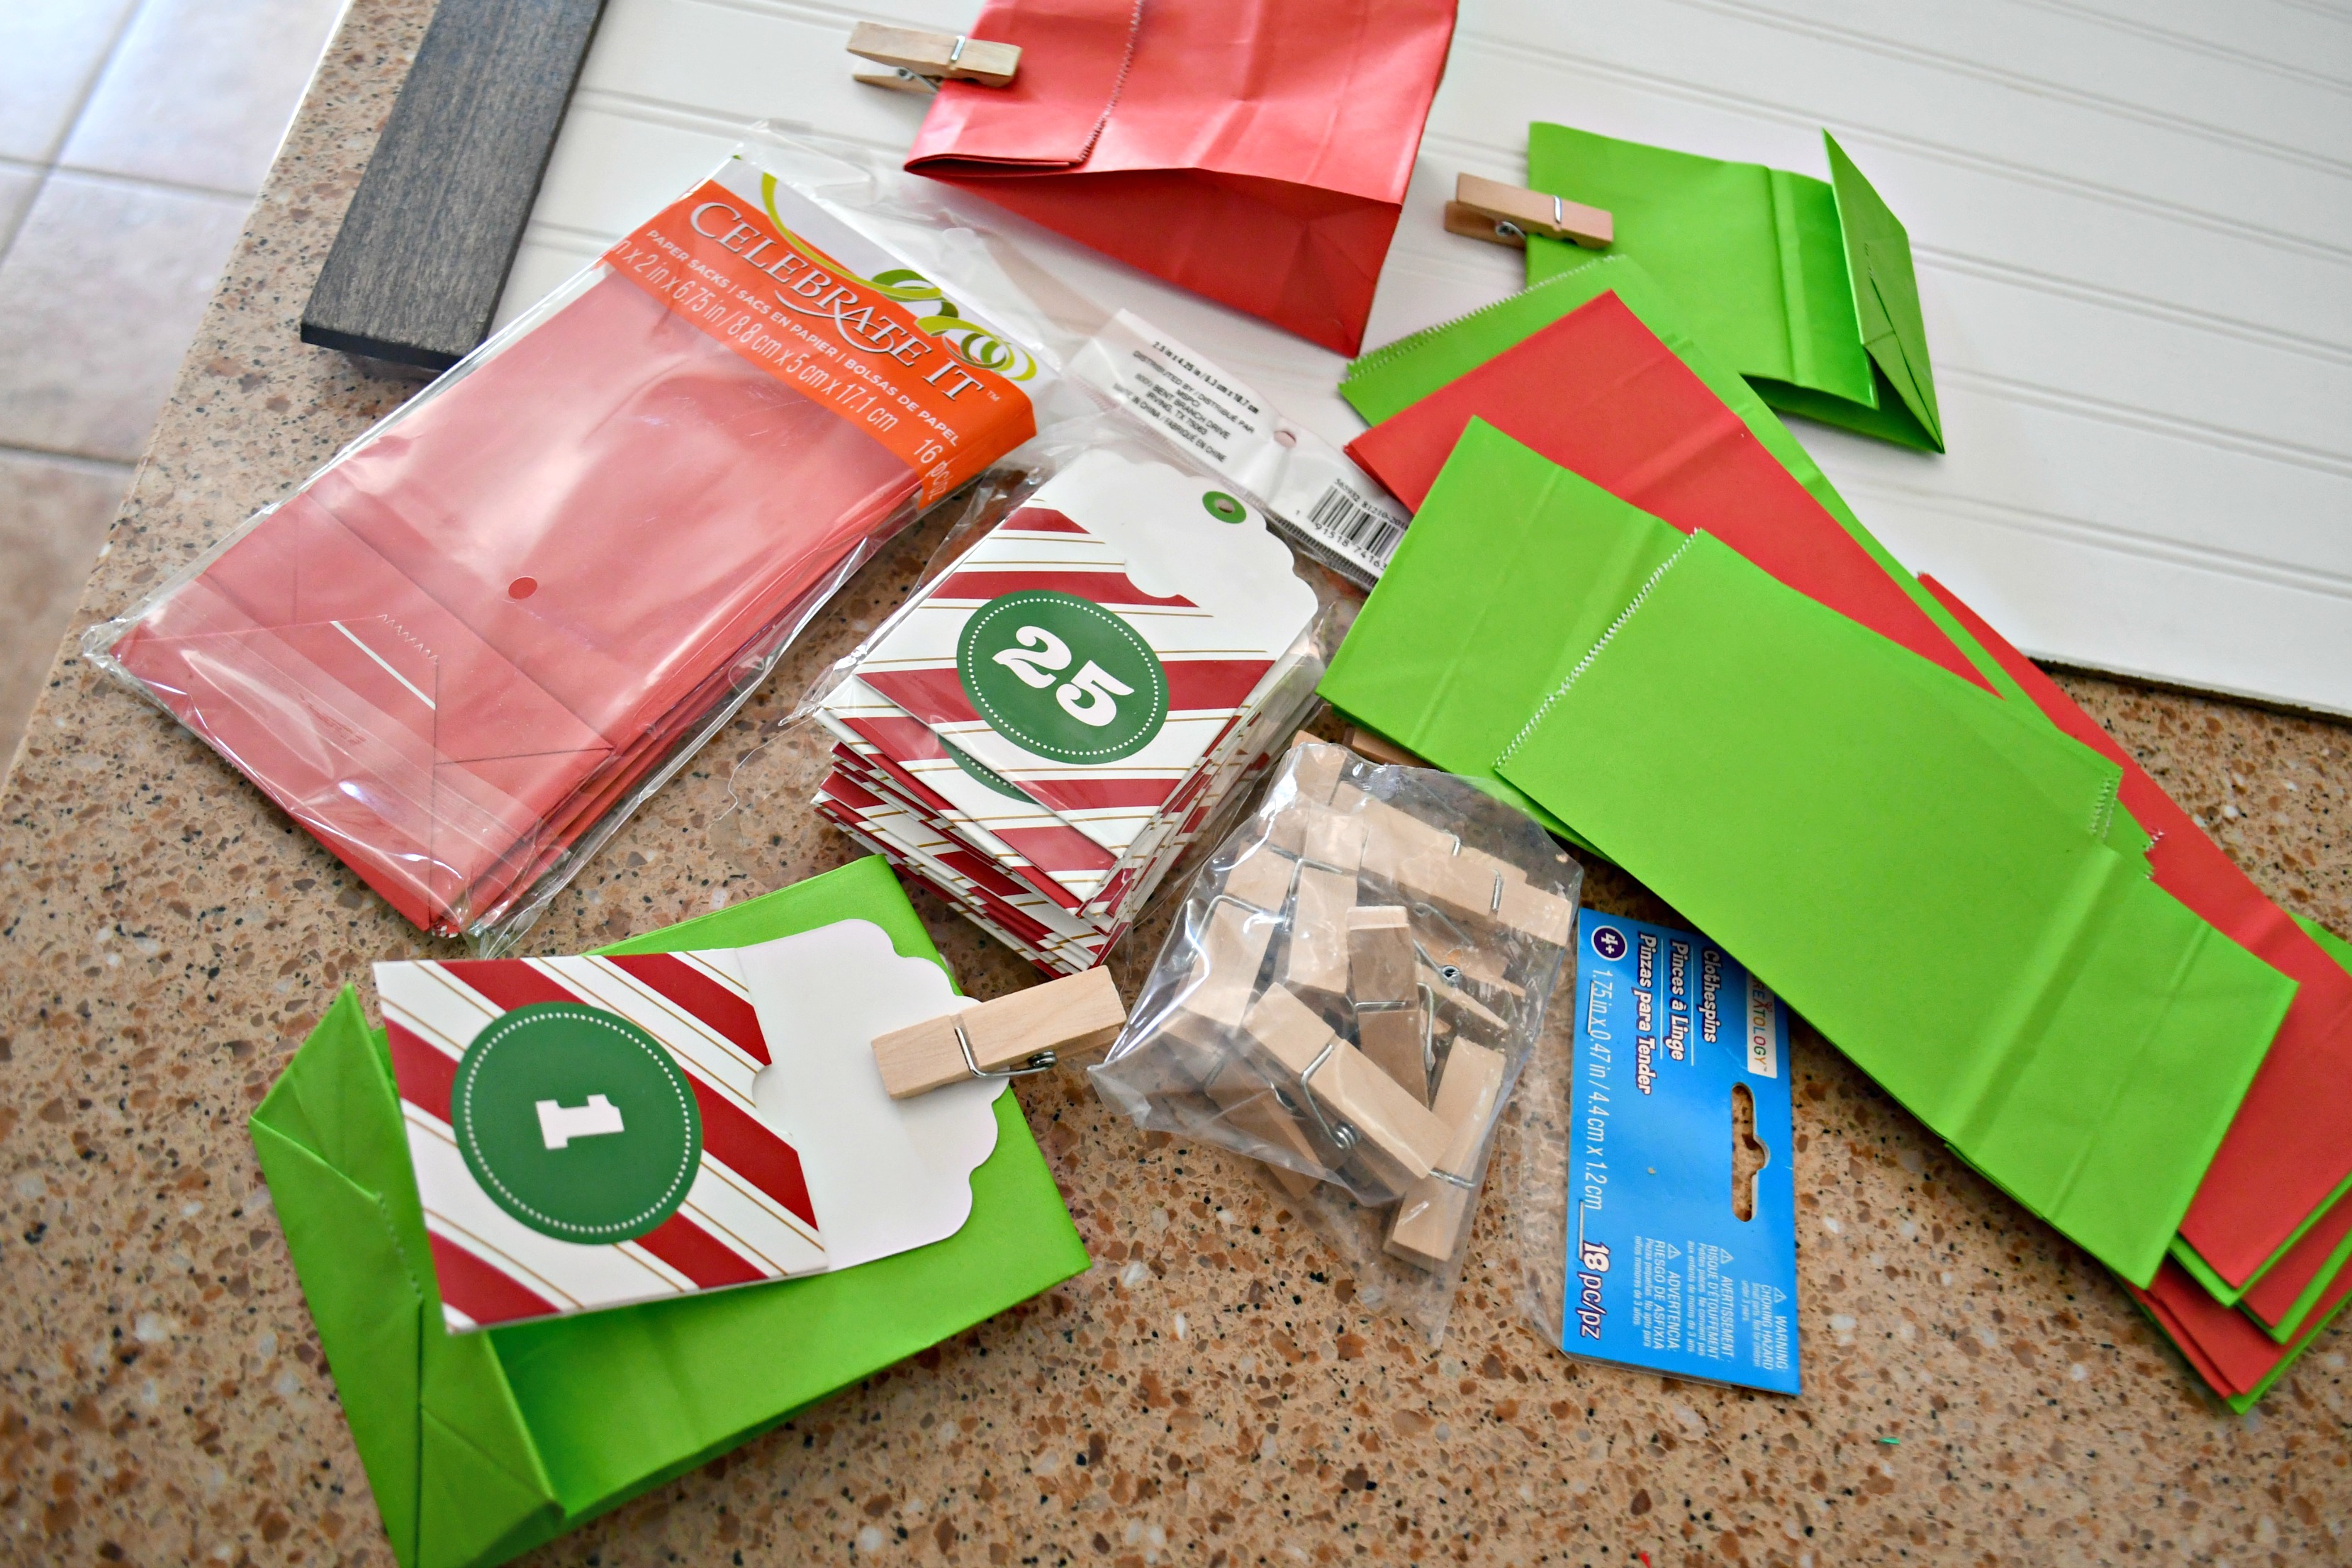
Simple craft supplies
First, you’ll need a few inexpensive craft supplies for this project. My small clothespins and paper treat bags are from Michaels and come in a variety of patterns and colors. I found the Christmas numbered Recollections brand gift tags in-store at Michaels. If you can’t find them, blank gift tags will work, too. Simply write each number out instead. I was able to purchase what I needed for around $15!
Here’s how I made mine…
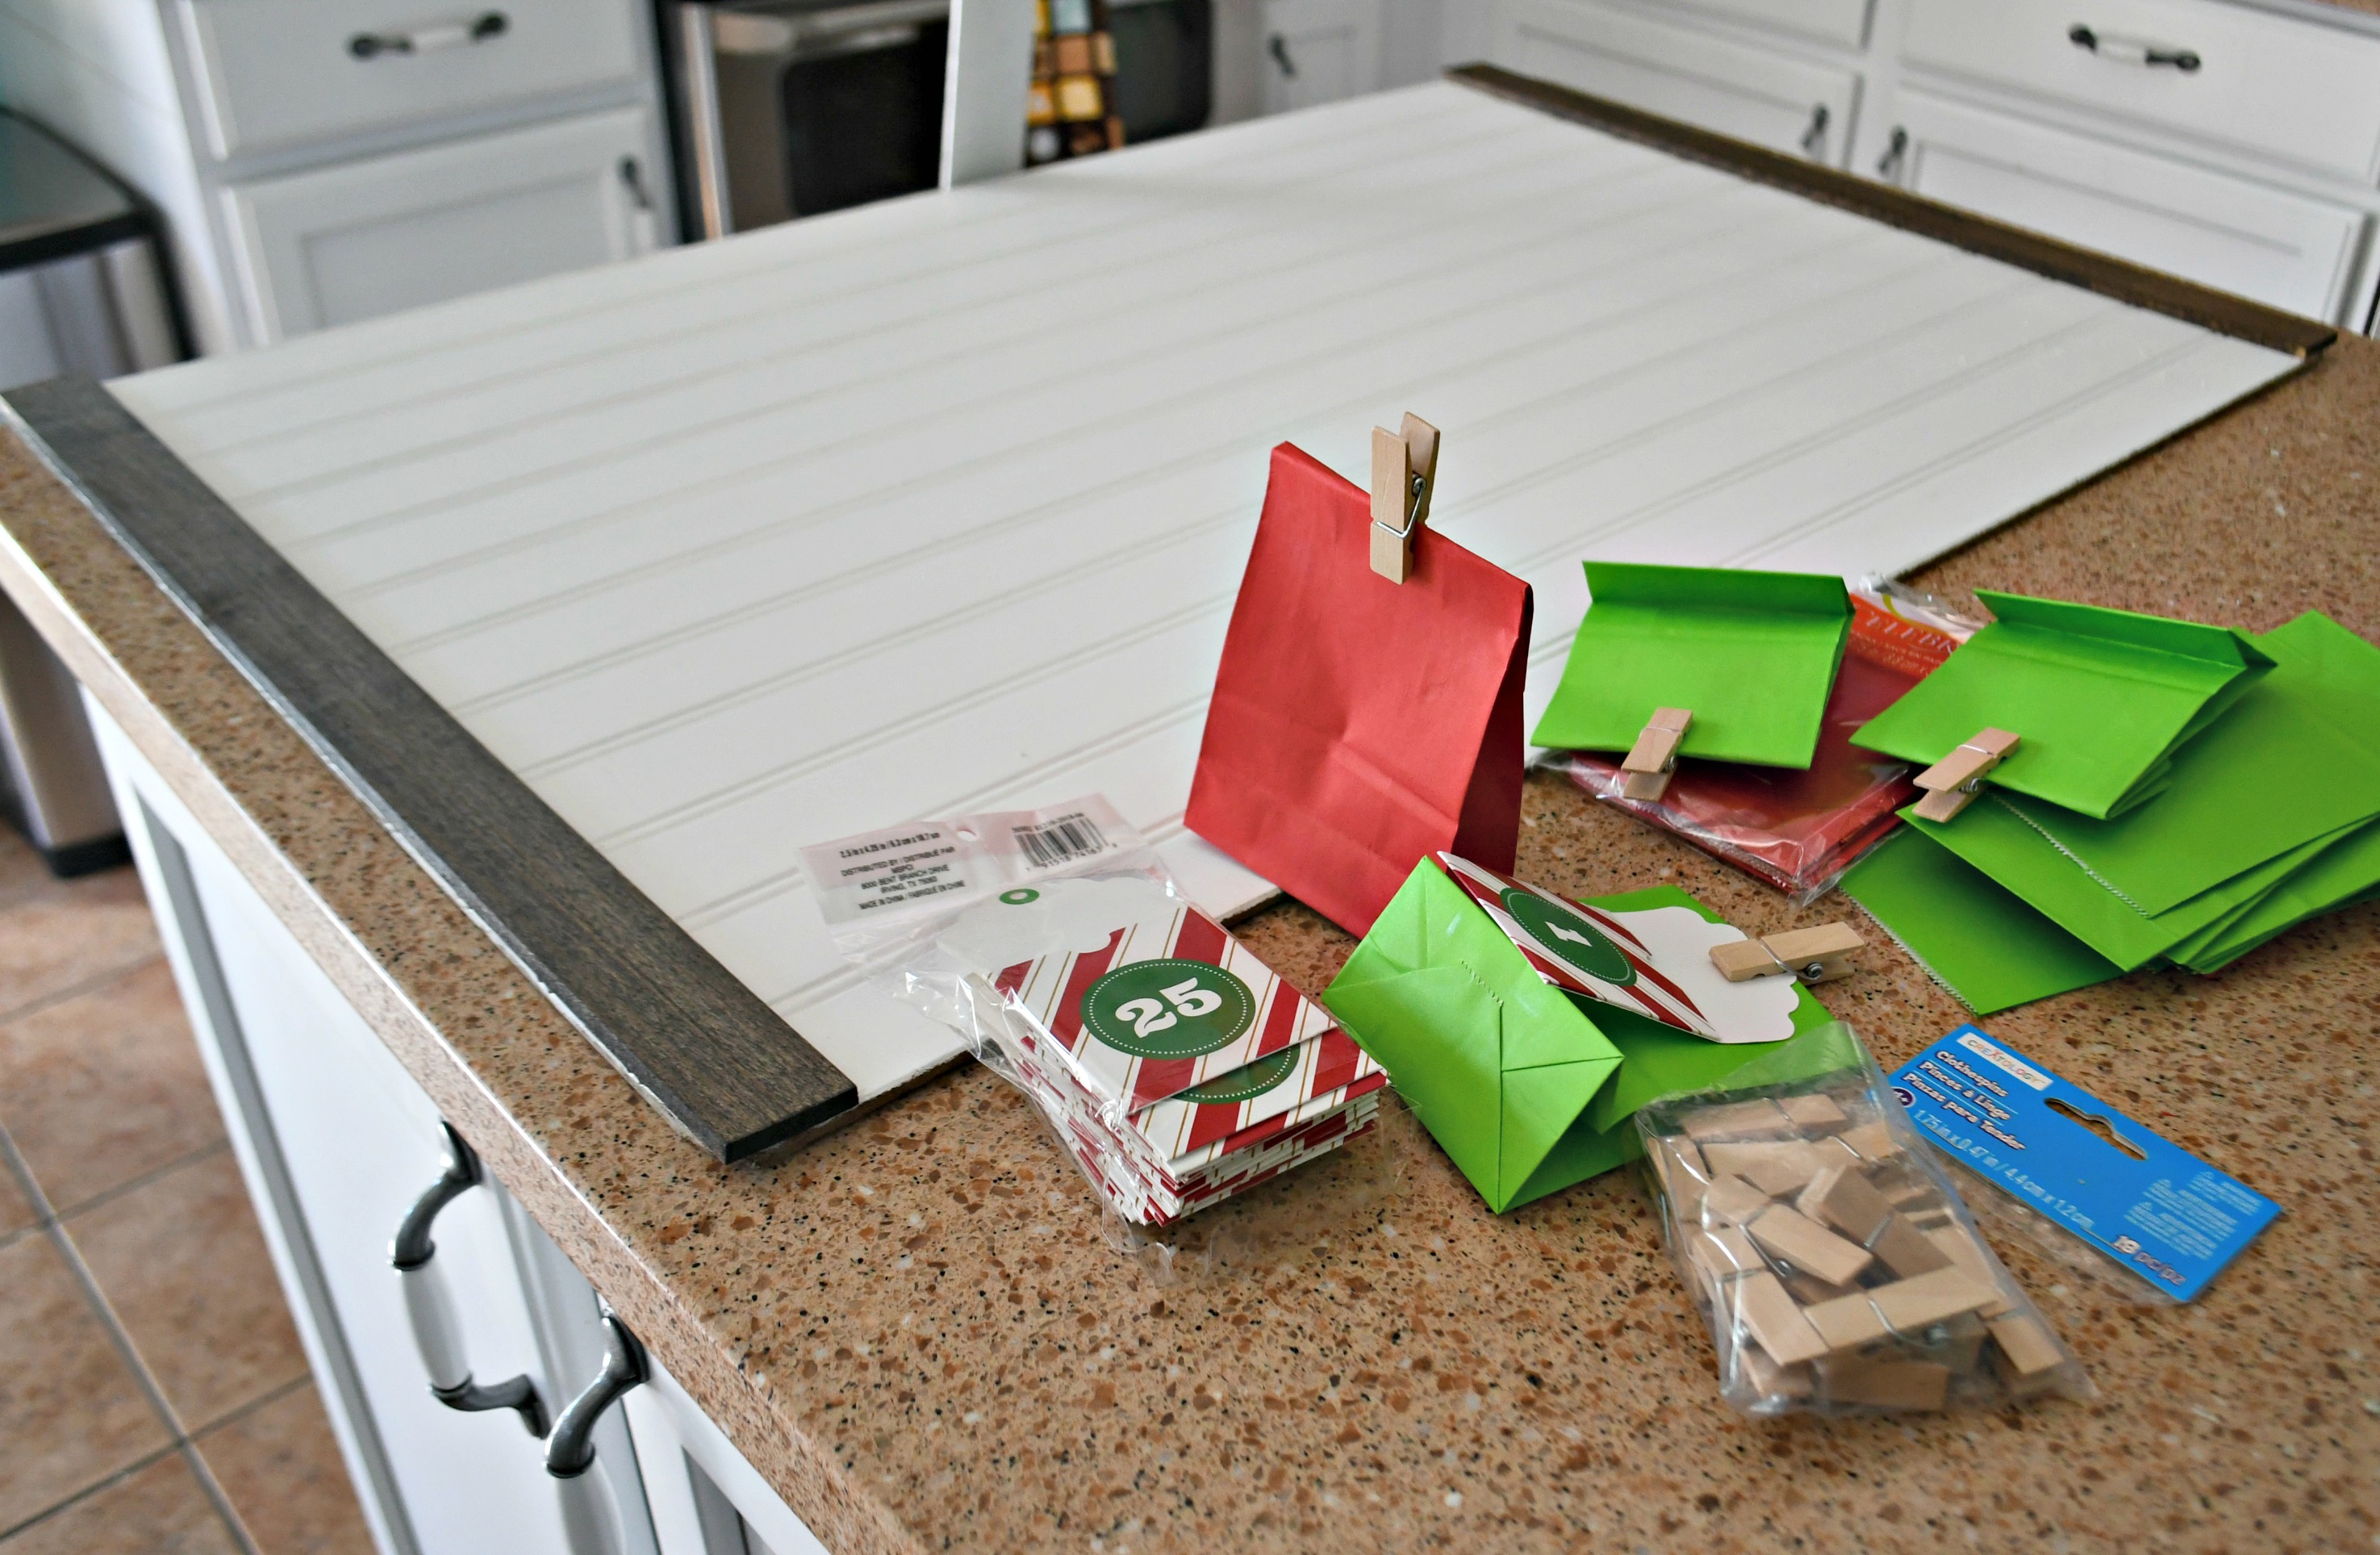
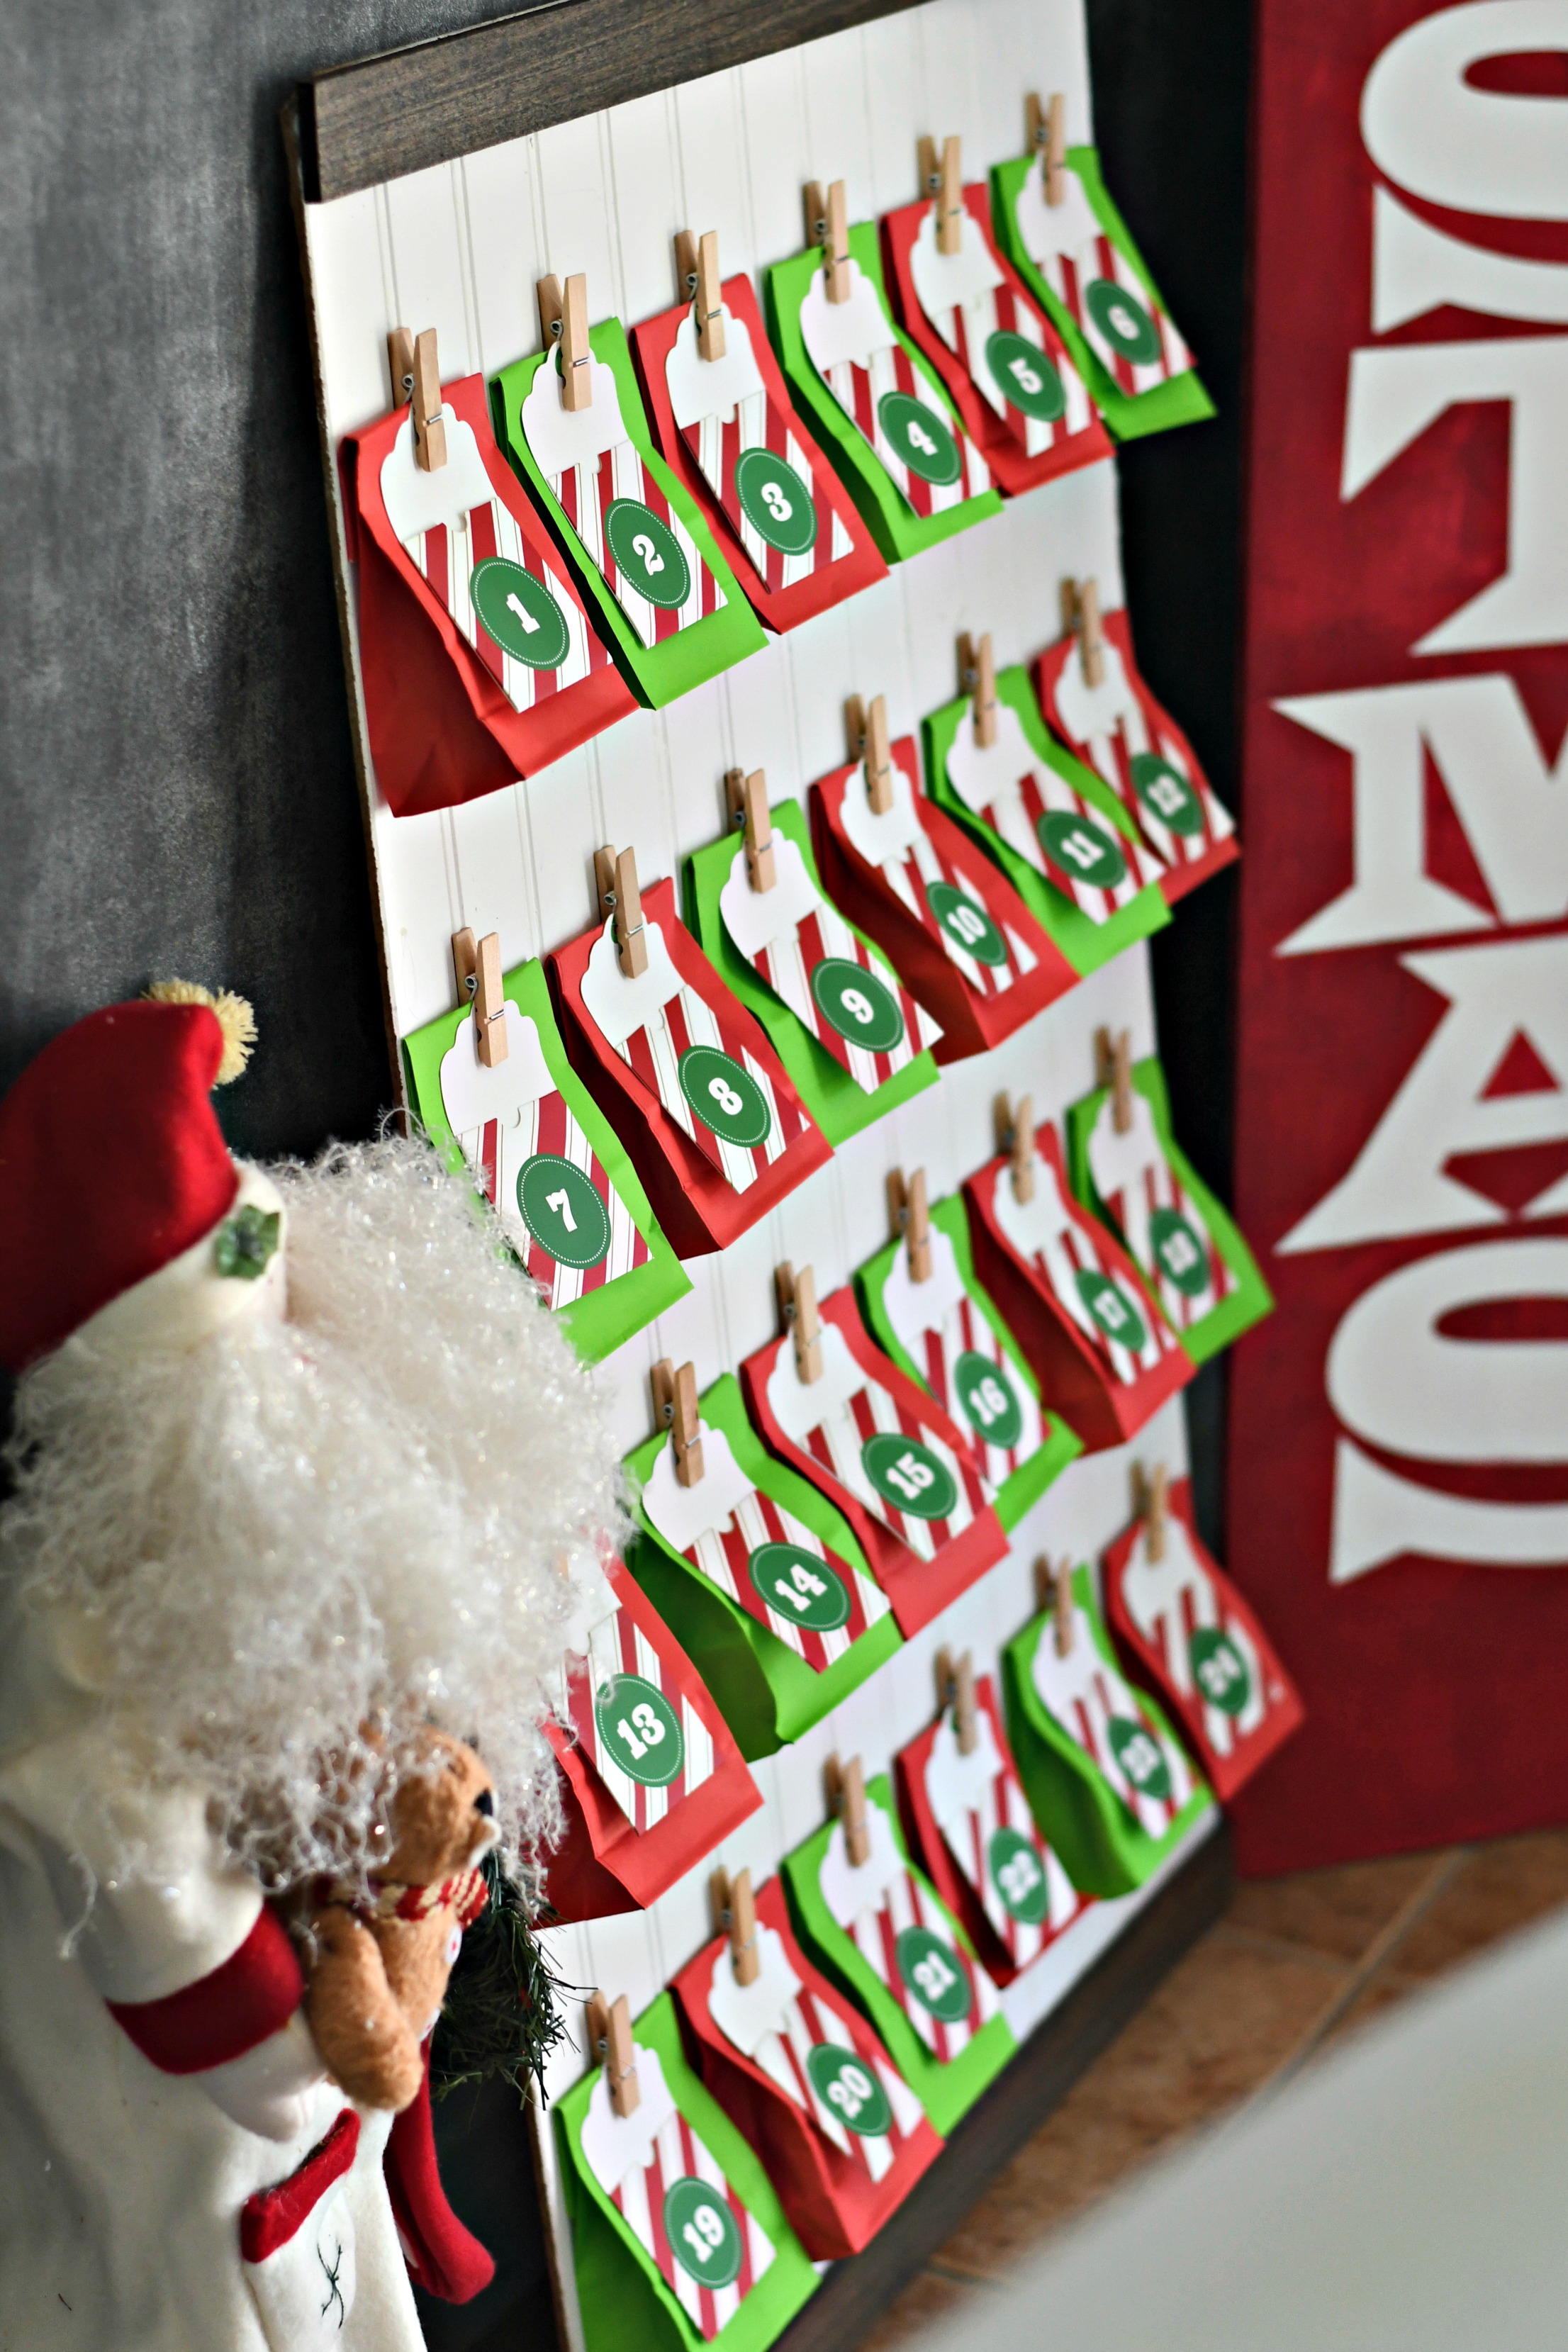
I used a piece of scrap wood (a piece of beadboard that I already had in the garage). I painted it with a fresh coat of white paint for this project, then I glued the clothespins to the board. If you like this beadboard look, pick up a piece and have it cut to size at the hardware store, or even use a different wood – it’s up to you!
The bottom and top pieces of trim are thin pieces of poplar hobby board from the hardware store that I stained and glued to my board using Liquid Nails. I think it gives a more finished look, but it’s definitely optional.
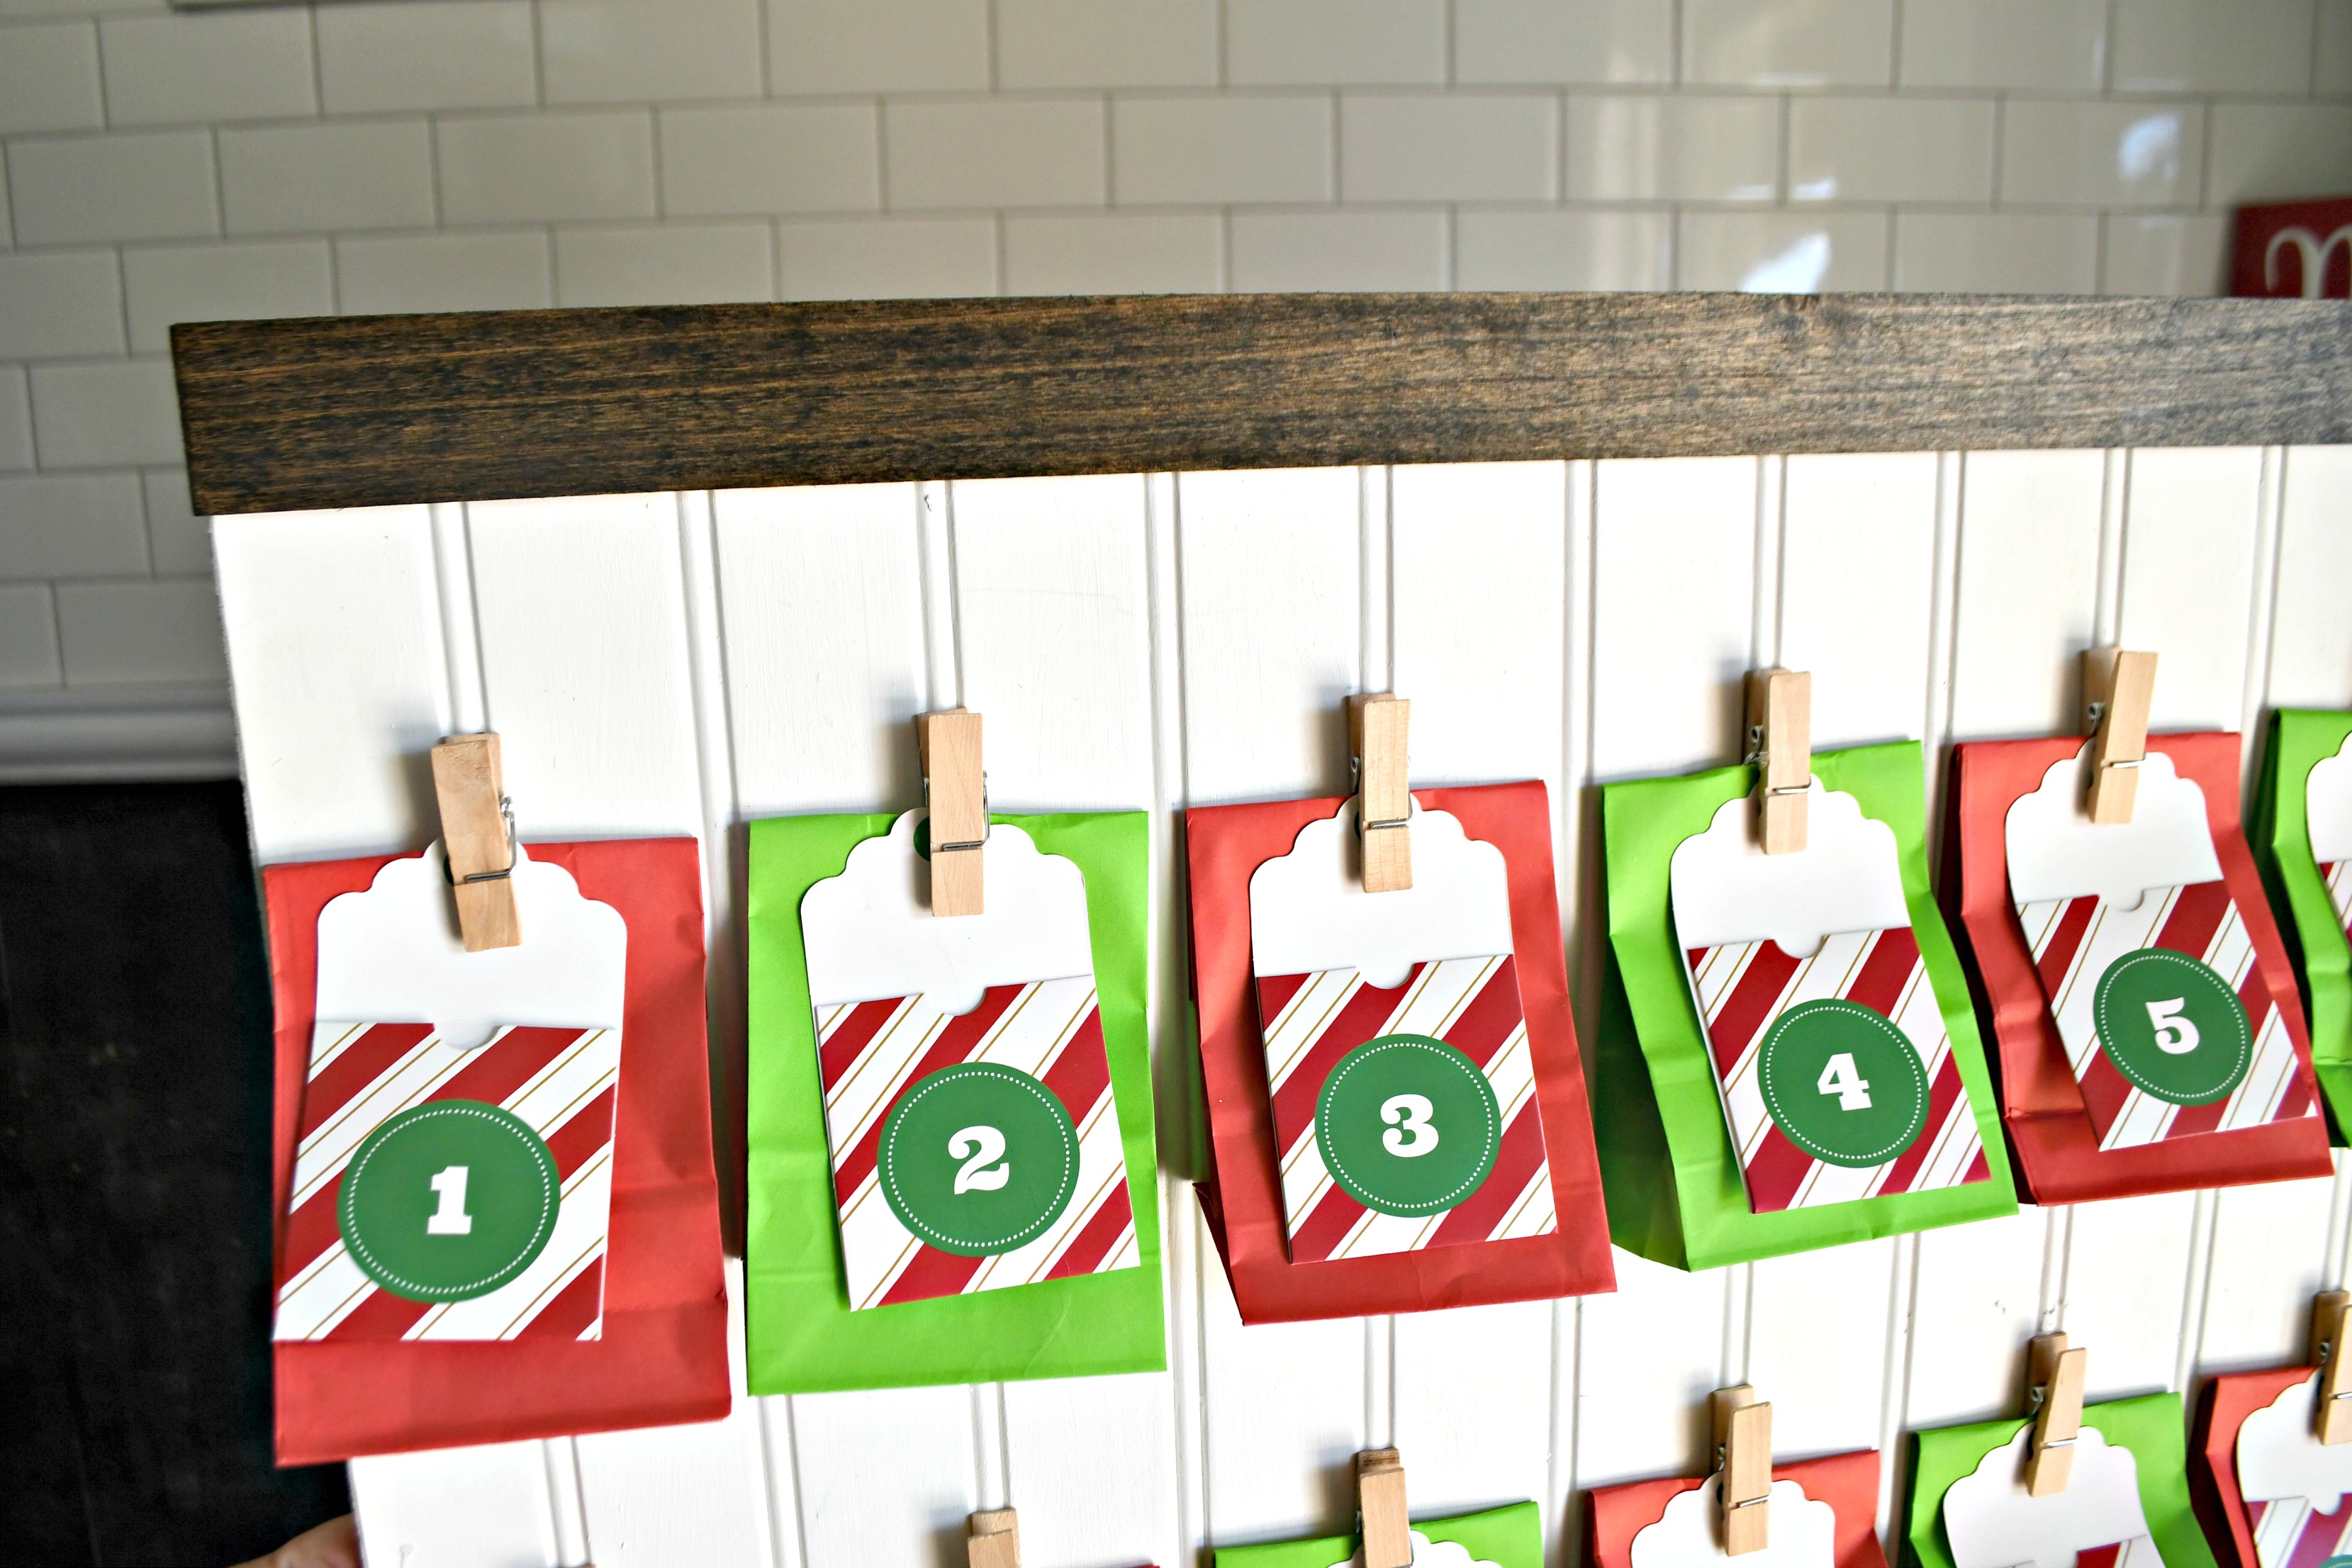
Then, I just hung each bag and numbered tag to the board. The best part is I can re-use this Advent calendar next year! So fun. I plan on leaning this against the wall in my kitchen next to my Christmas Tree or on my mantel, but you can add a picture hanger to the back and hang it up, too.
DIY Hanging Treat Treat Bag Advent Calendar
Supplies Needed:
- 24 small paper treat bags
- 24 gift tags (numbered)
- 24 clothespins
- hot glue gun & glue
- 34-inch x 24-inch wood board, painted
- 2 pieces 2 ft x 1.5 ft. poplar hobby board, stained
- Liquid Nails
Instructions:
- Prep wood board with paint and trim pieces with stain as desired. Glue trim to top and bottom using Liquid Nails. Let dry.

- Measure out 4 rows of 6 treat bags and attach clothespins using hot glue. I used a T Square tool as a guide to make sure I was placing clothespins evenly and straight, but a ruler would work!

- Fold each bag and hang the numbered tag with clothespins.
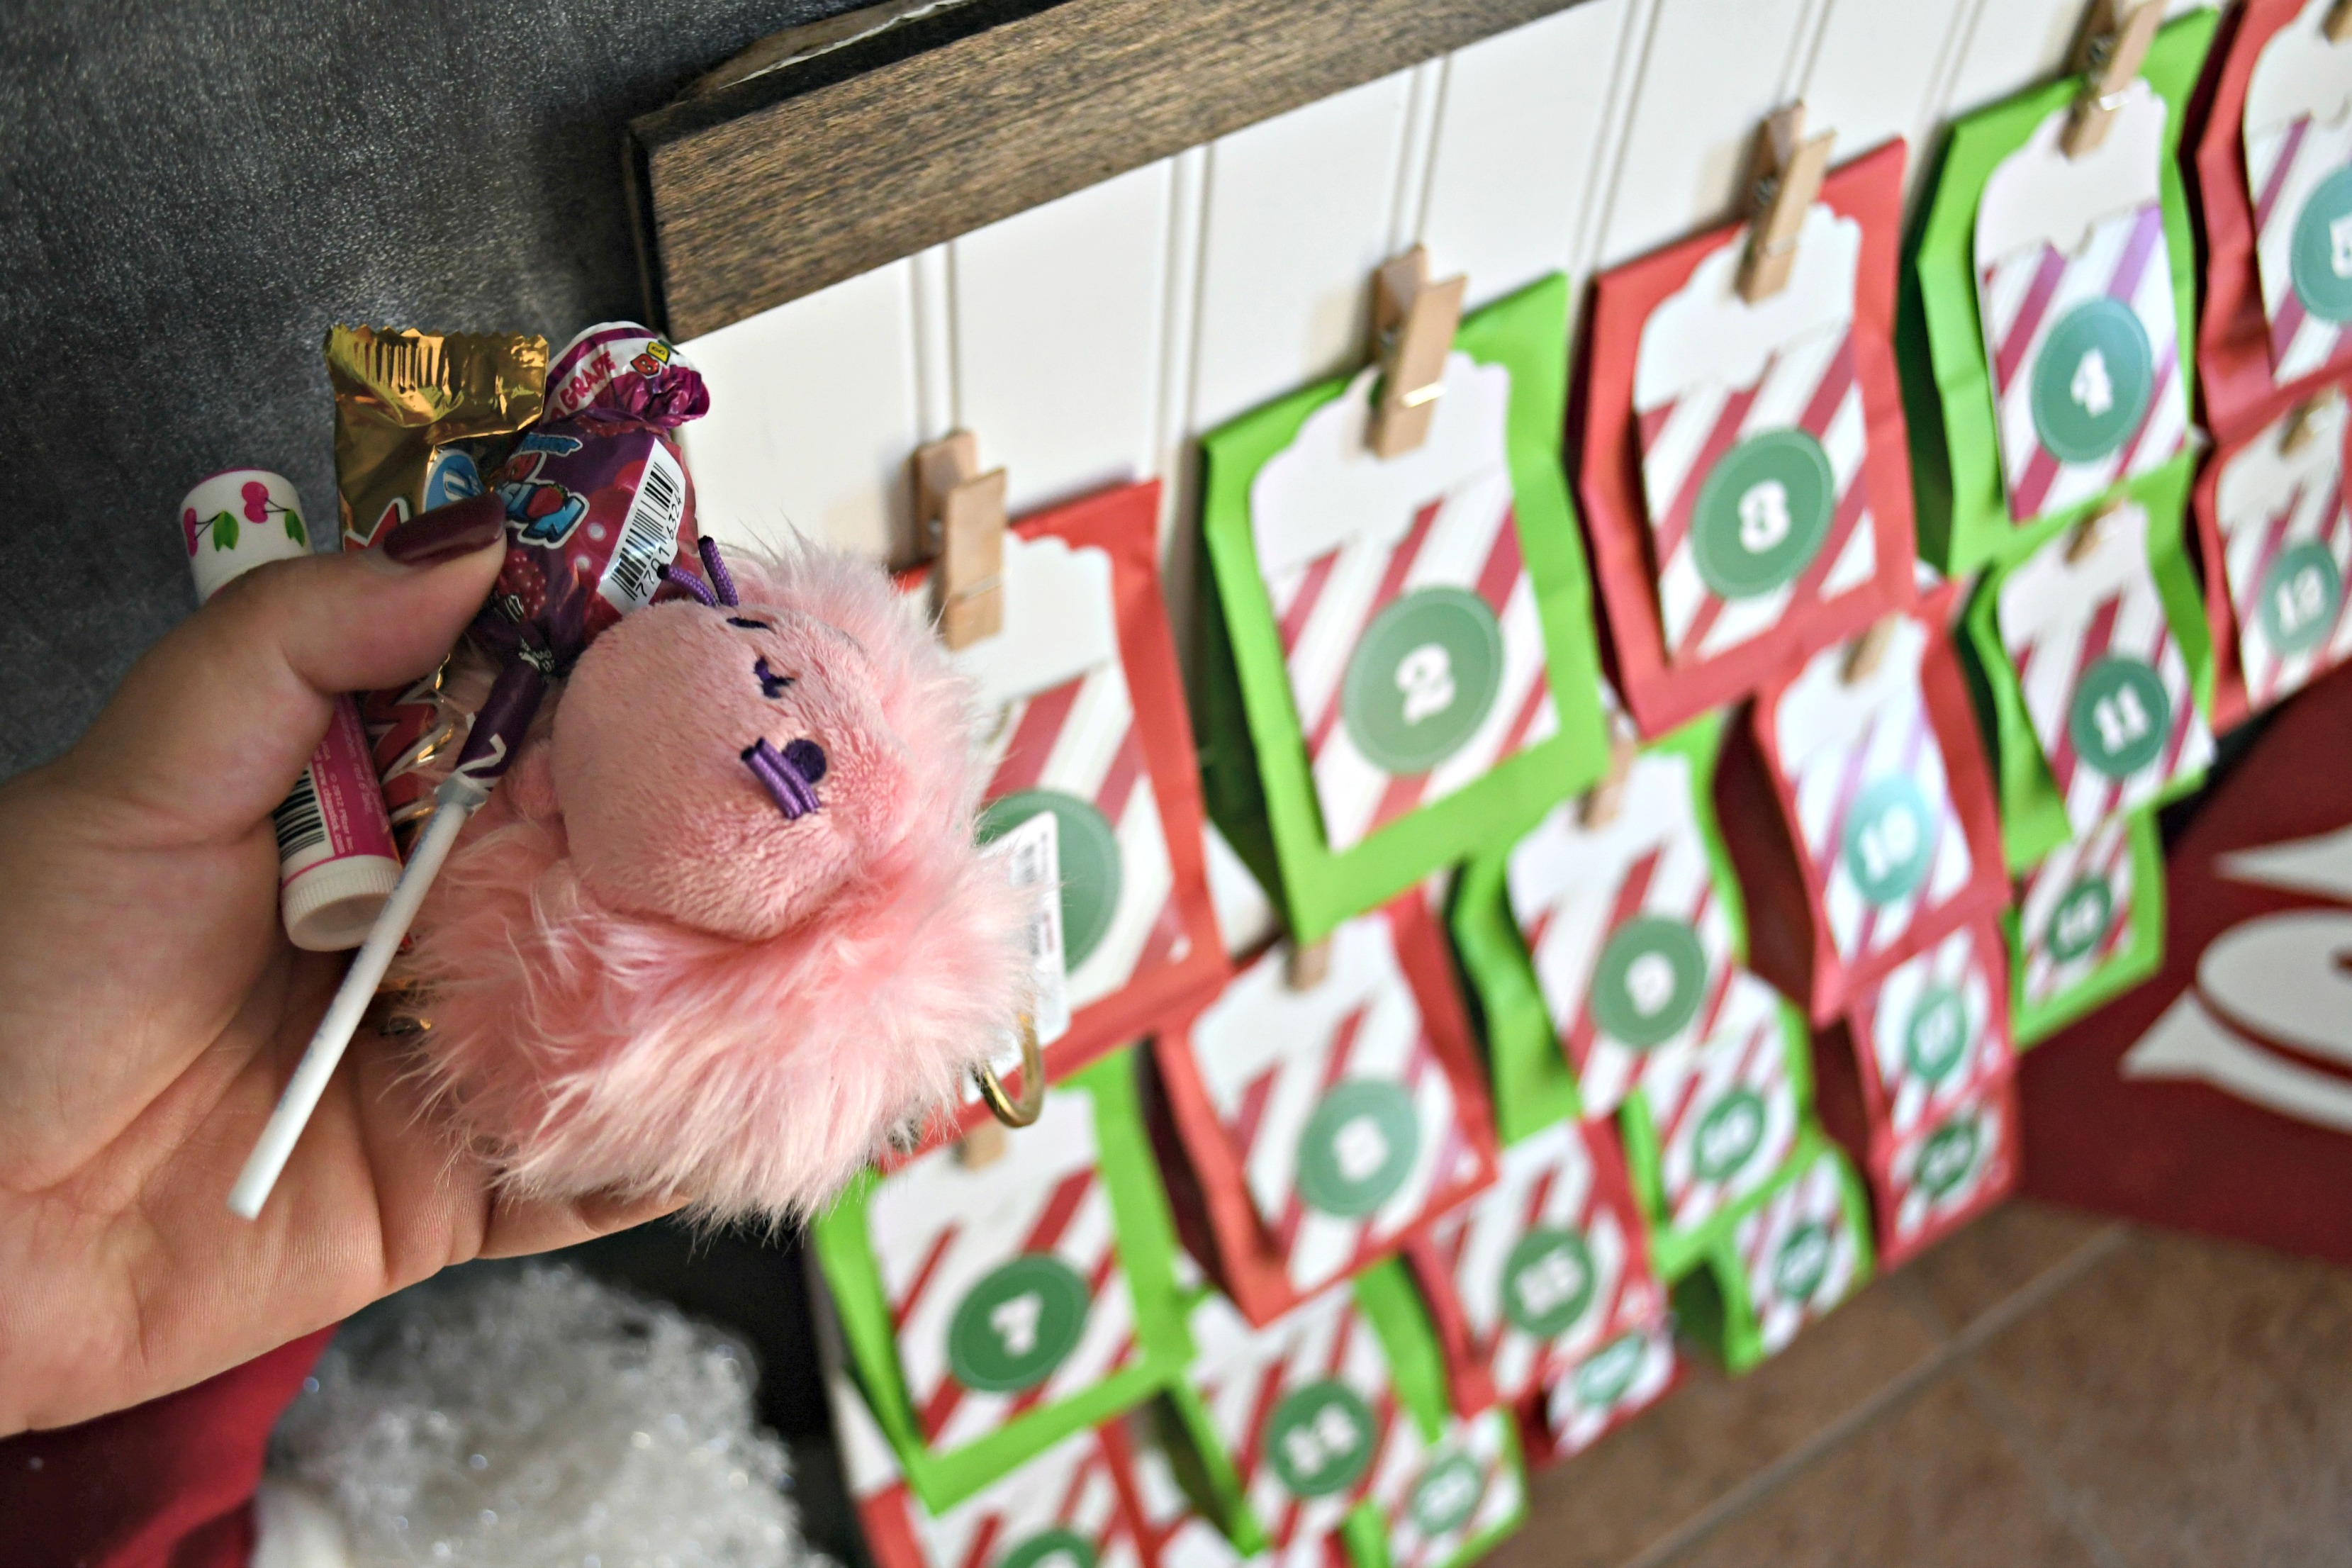
- Fill each bag with desired goodies for each day in December. The contents don’t have to be expensive. In fact, maybe consider checking out the Dollar Tree for fun and inexpensive items or re-purpose Halloween candy if you have leftover.
This makes me so excited for Christmas! 🎄
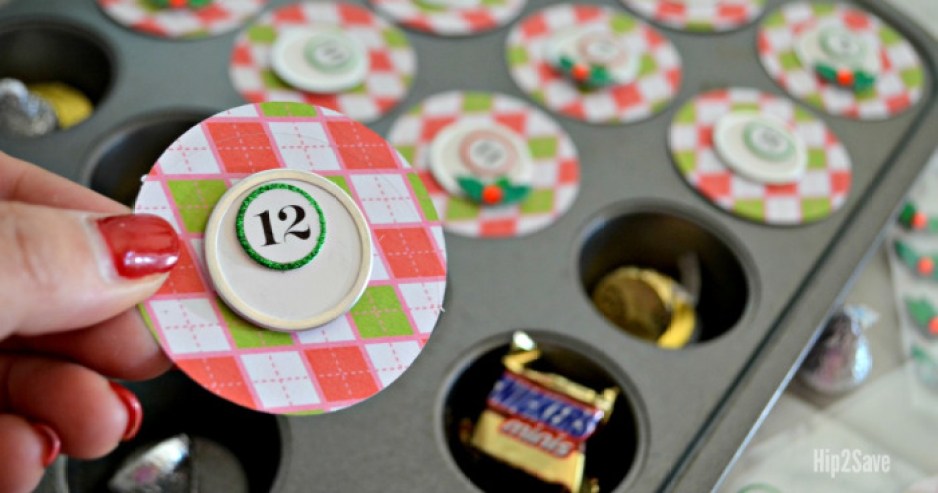
I love how this Advent calendar turned out, and I look forward to using it! I know it’s early in the holiday season, but it’s nice to plan ahead for things like an Advent calendar so you can start thinking about making one now instead of mid-December! Ha. In fact, check out the Mini Muffin Pan Advent Calendar I put together last year. That was a fun one, too!
Make this Reversible Wood Sign Craft for Fall and Christmas!


This is adorable! I love it!😊
Thanks so much Tris!!
Oh my gosh!!! I love this idea! I’m definitely gonna make this for my niece with a paw patrol theme! Thank you!
Oh how cute Mary! Have so much fun ❤️
Love it! You have the best ideas!
Aw thanks Shannon! ❤️
Love it! What was the total cost without the filling?
So for me using scrap wood and scrap pieces of trim – I had everything except for the bags, clothespins, and numbered tags – so under $20.
I finally got around to making this (just in time!) and put Hot Wheels and Hershey’s Kisses in it for my boys! Thank you guys so much!!!
Also, used scrap shiplap from HomeDepot, and had a 40% off your entire online order from Michael’s… so this was SUPER affordable and I can use it all again next year!
Oh great score on the coupon! Nice!
Yay! I’m so glad! Thanks for coming back and sharing. ❤️