
The Easiest DIY Santa Ornaments Using Handprints & Air-Dry Clay
These festive Santa ornaments will make a Christmas keepsake to enjoy for years to come!
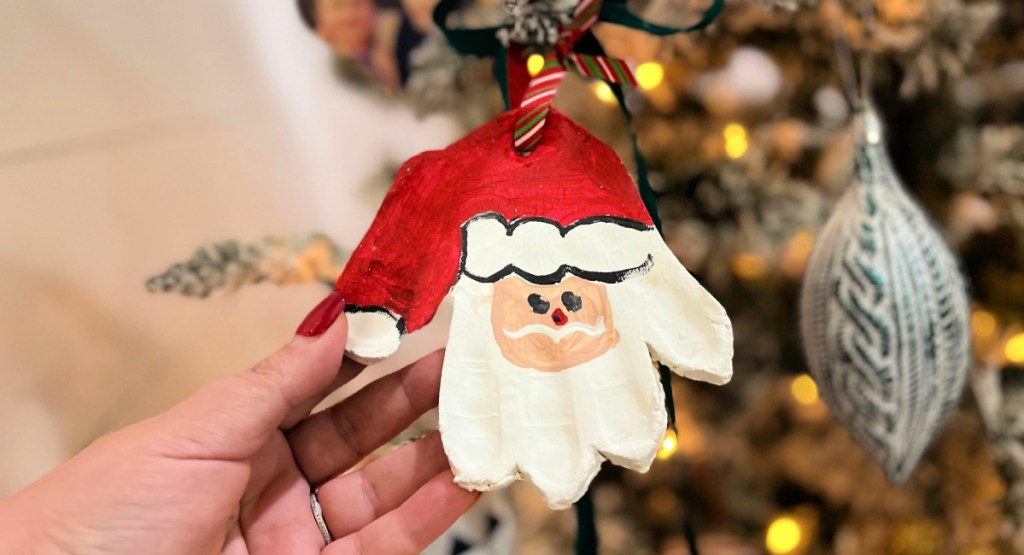
Here’s a special ornament idea to make this season!
Christmas crafts are my favorite, especially ornaments. Years ago when my kids were little, I made these festive Santa ornaments with them. Unpacking all the handmade sentimental ornaments is such a fun part of holiday decorating.
I do miss having little ones, so thank goodness I can now include my young nephews in crafty fun things like this! They are the perfect ages to create hand-print ornaments, and we had a blast doing this project with them as a holiday activity.
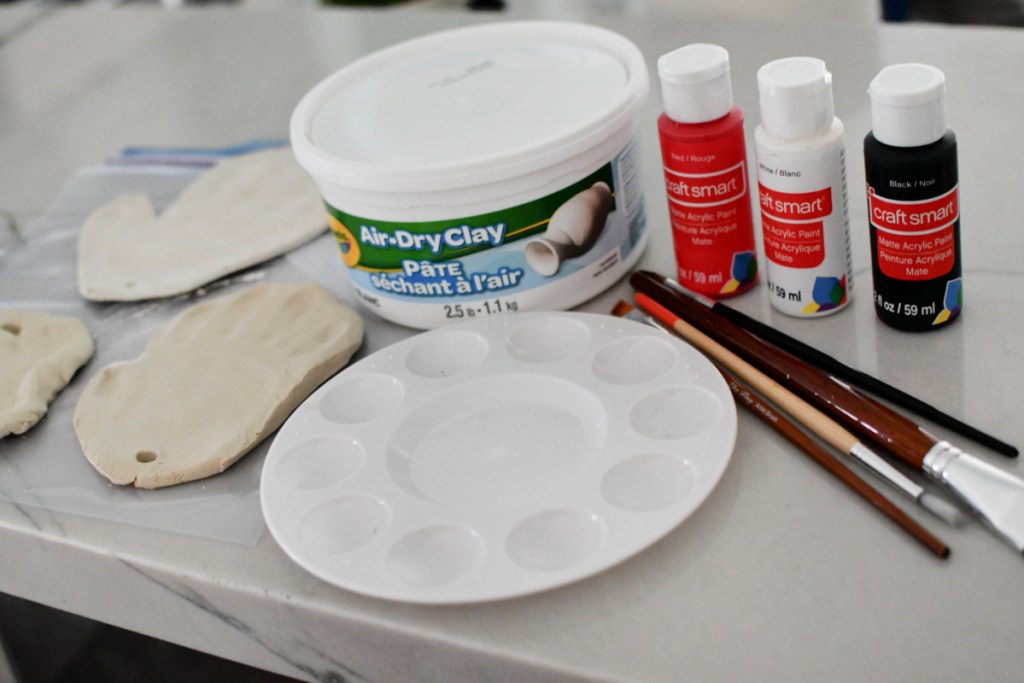
Air-dry clay is easy and convenient for making homemade ornaments!
The Crayola brand clay I am using is durable and ready to mold and use. There is no need to bake afterward as it dries hard in about 12-24 hours. Our original ornaments are now almost eleven years old, so I can vouch that ornaments can stand the test of time.
Hip Tip: My teammate Sara recently shared her recipe for making homemade salt dough ornaments. You could go that route instead if you’d like to make your own dough!

Air-dry clay is very versatile for other ornament shapes!
Here is an example on my tree this year of a fun Christmas ornament I made in 2011 using air-dry clay, a cookie cutter, and stamps. I painted the whole ornament white and I love that it’s still around 11 years later! You can really get creative and use any shape or color you’d like.


Santa Christmas Ornaments
PrintSupplies Needed
Directions
1
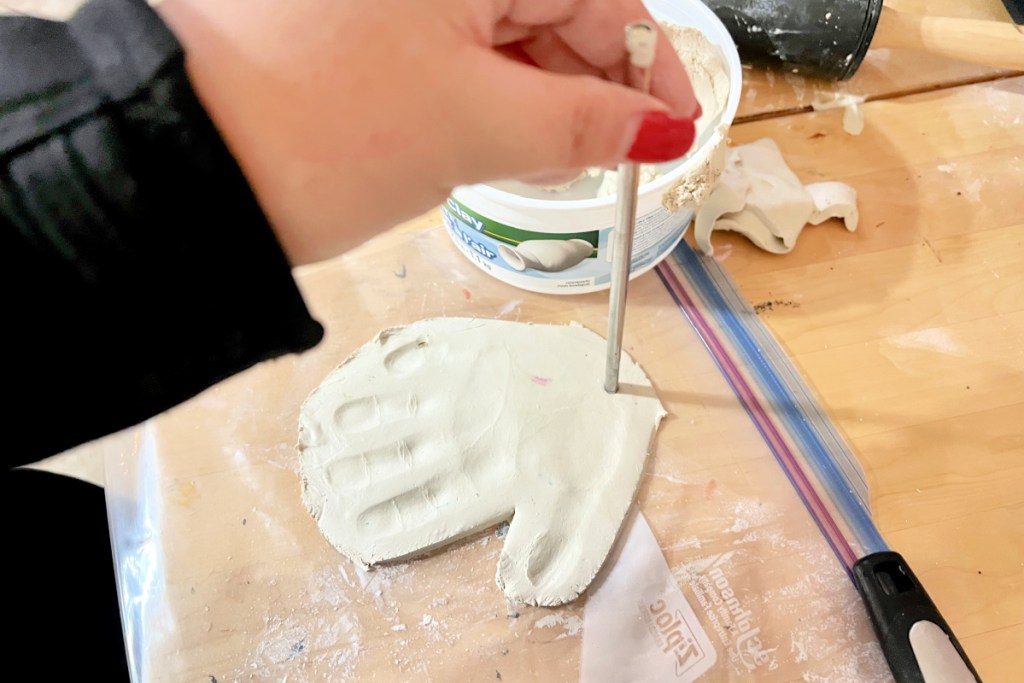
On a piece of parchment paper or plastic, roll out a ball of clay to about 1/4 inch thick.
2
Place the child’s hand onto the clay to make an imprint, making sure the fingers are spread a little apart.
3
Use a knife or tool to cut around the edges of the handprint. Use a straw to make a hole at the bottom of the hand so you can hang it. Let it air dry completely.
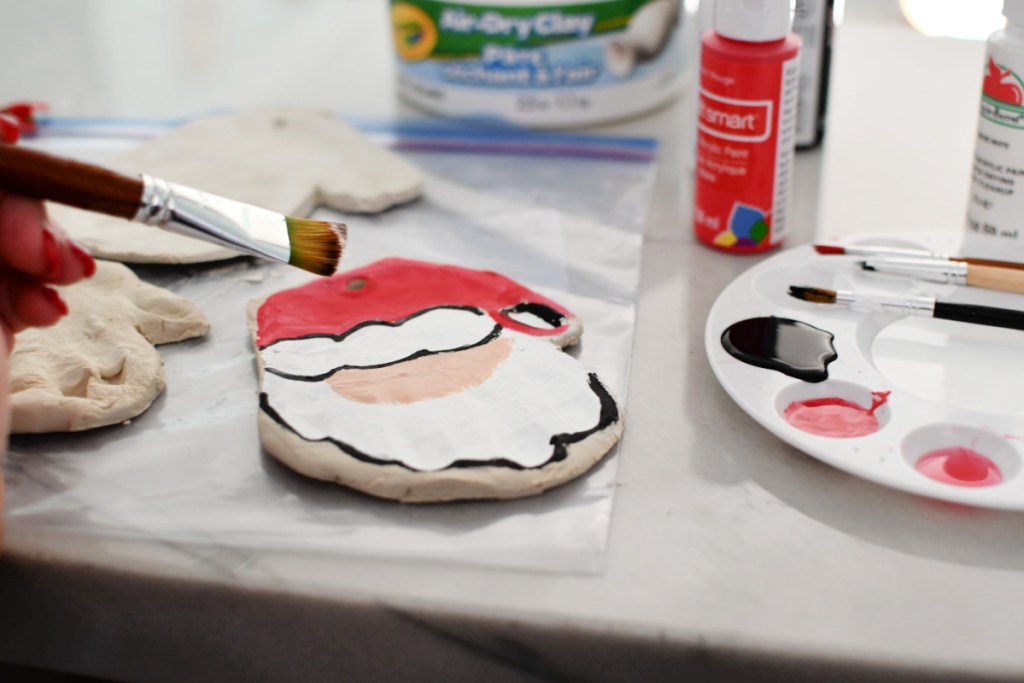
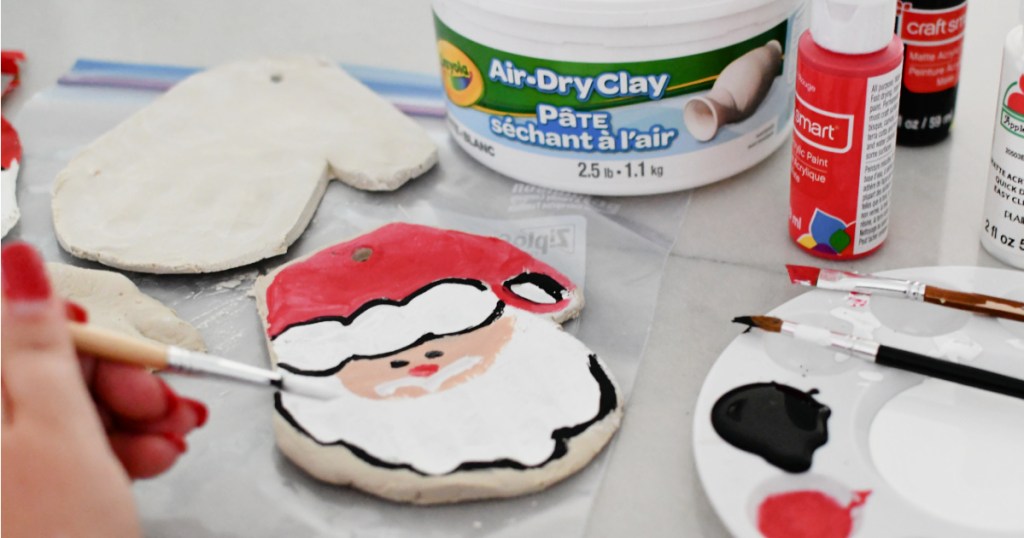
4
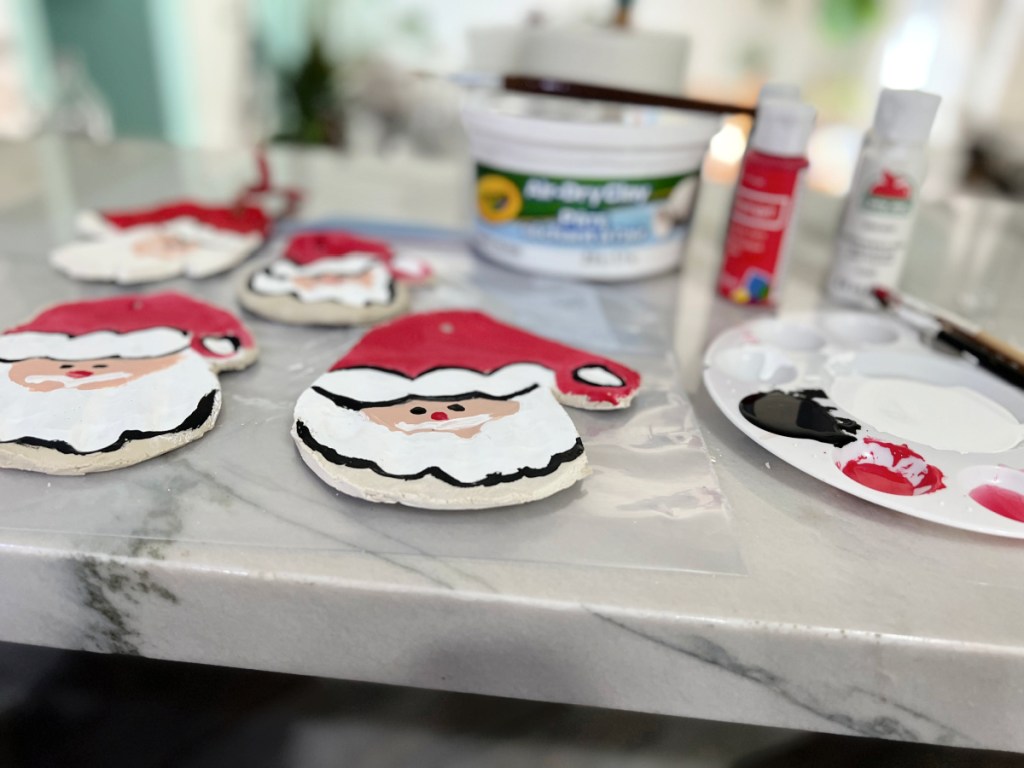
Once the clay is dry, paint the details around the fingers white (for Santa’s beard.) Then go back and paint on the Santa fat and hat details using the other paint colors.
5
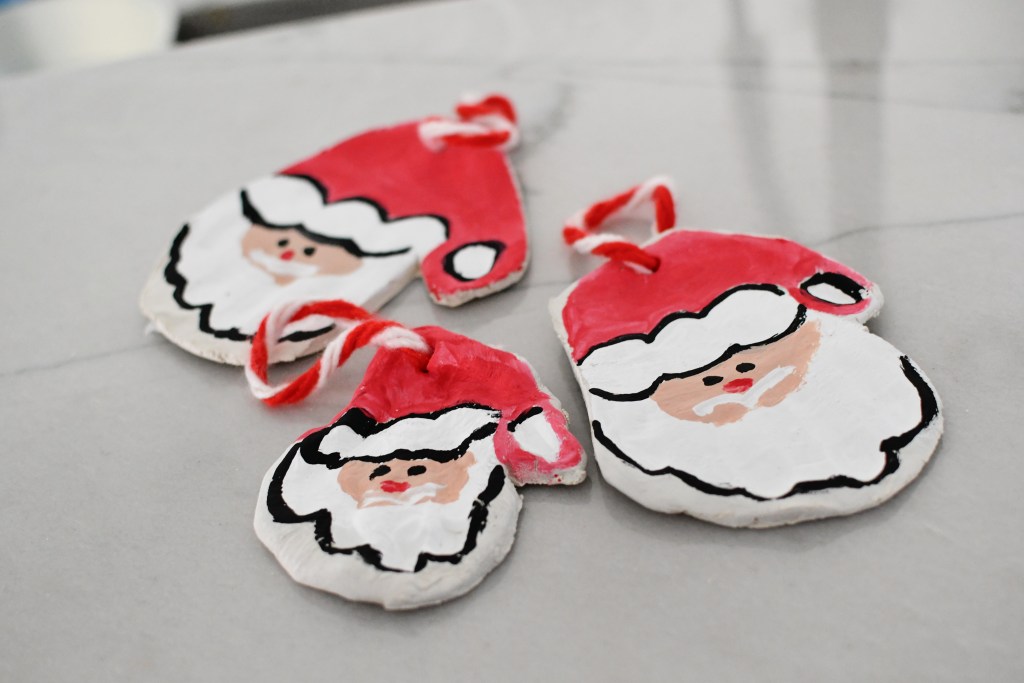
Lastly, tie a piece of ribbon to hang the ornament from the tree. Enjoy for many years to come!
Tips for making Santa ornaments:
- Be sure to cover your workspace with plastic or parchment paper before rolling out the clay. It will stick to the table or surface.
- Baking this specific Crayola air-dry clay in the oven is not recommended. It’s best to leave time for drying if using this product.
- You can also make other various-shaped Christmas ornaments using cookie cutters. Consider using stamps, or tree branches to press shapes and patterns.

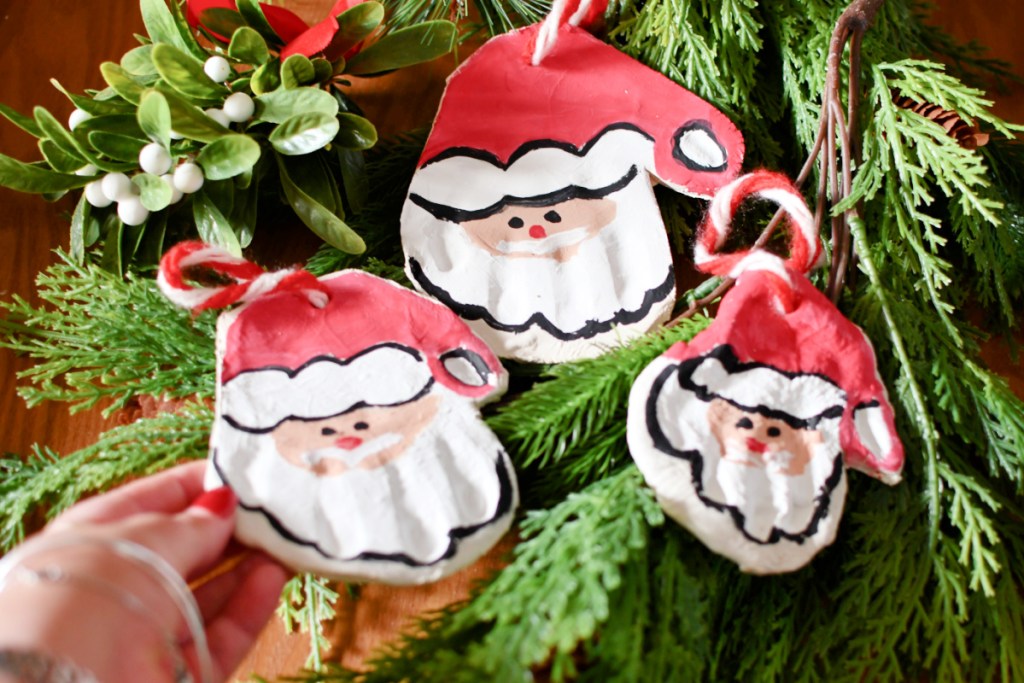
How sweet and cute are these Santas?
I sure love how this project turns out! It’s a fun craft idea to complete with the kiddos in your life. I’ll be giving these back to my nephews after painting and I hope they’ll love them for many years to come!

Oh goodness… Lina is an absolute treasure! Reading a post that inspires and makes you smile usually means that you scroll down to see her name as the author.
This site is an amazing resource for financial savings, but her posts about enriching life with thoughtfulness and creativity creates a lovely community that feels like sharing ideas with friends. LINA – Thank you and Merry Christmas! ♡
Aww that’s incredibly kind and nice of you to say. Thank You! Merry Christmas Melissa ❤️🎄
Thanks for the post, I made these with my 3 little girls and they turned out so cute! We made a set for the grandparents also!
Yay this makes me so happy!! 🎄❤️💕