Craft Your Own Festive Embroidery Hoop Ornaments
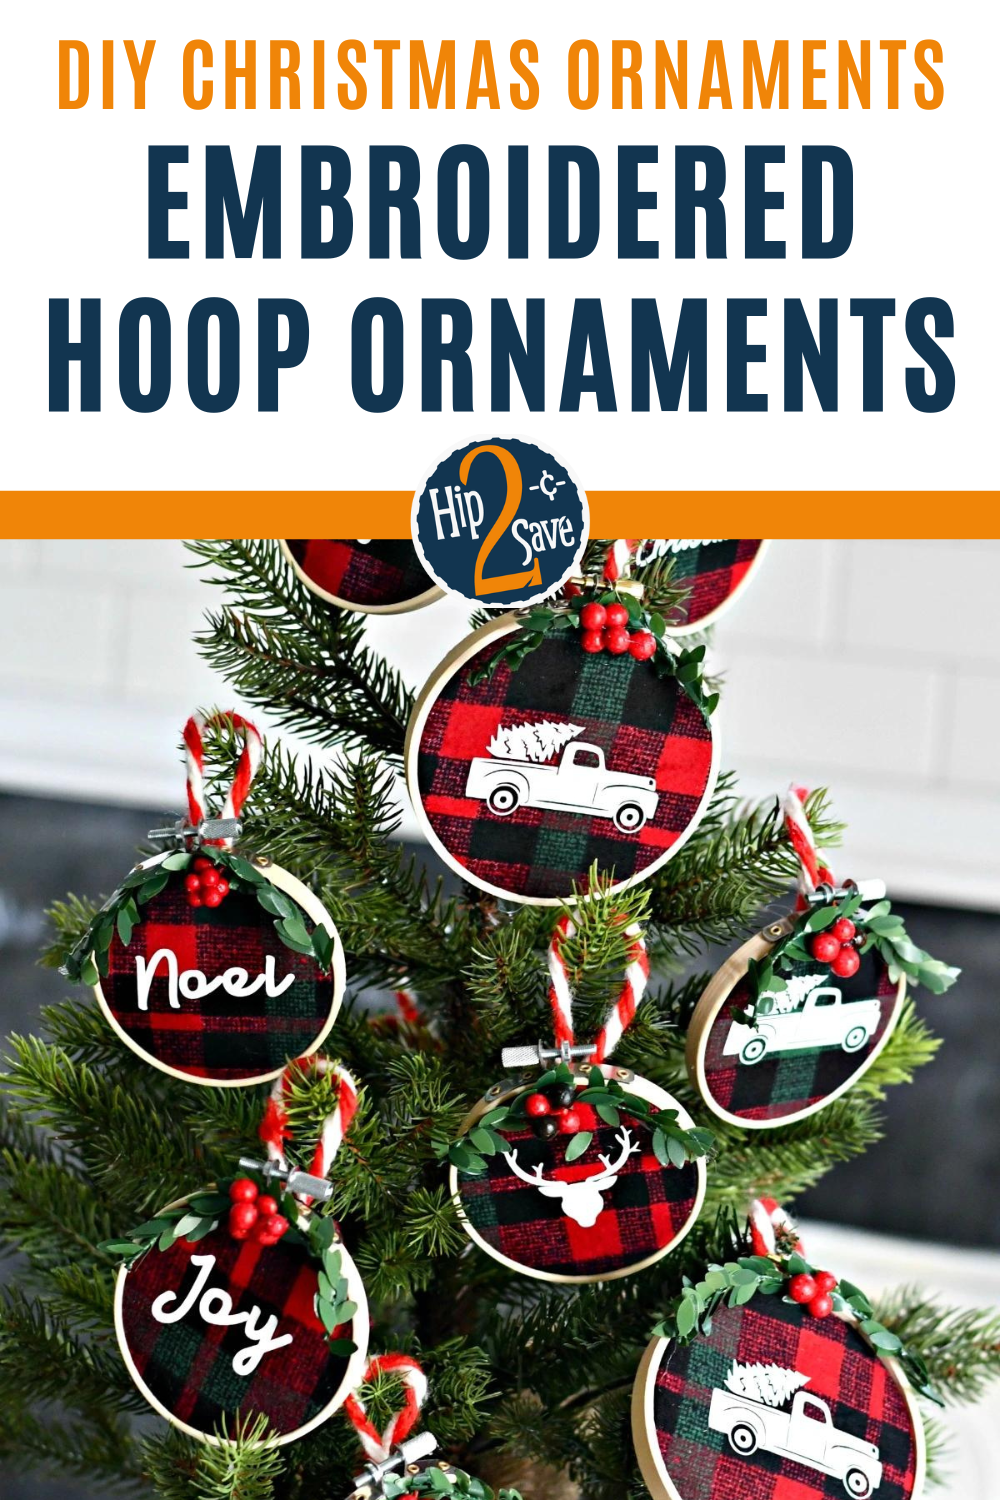
These DIY embroidery hoop Christmas ornaments are the perfect addition to your tree.

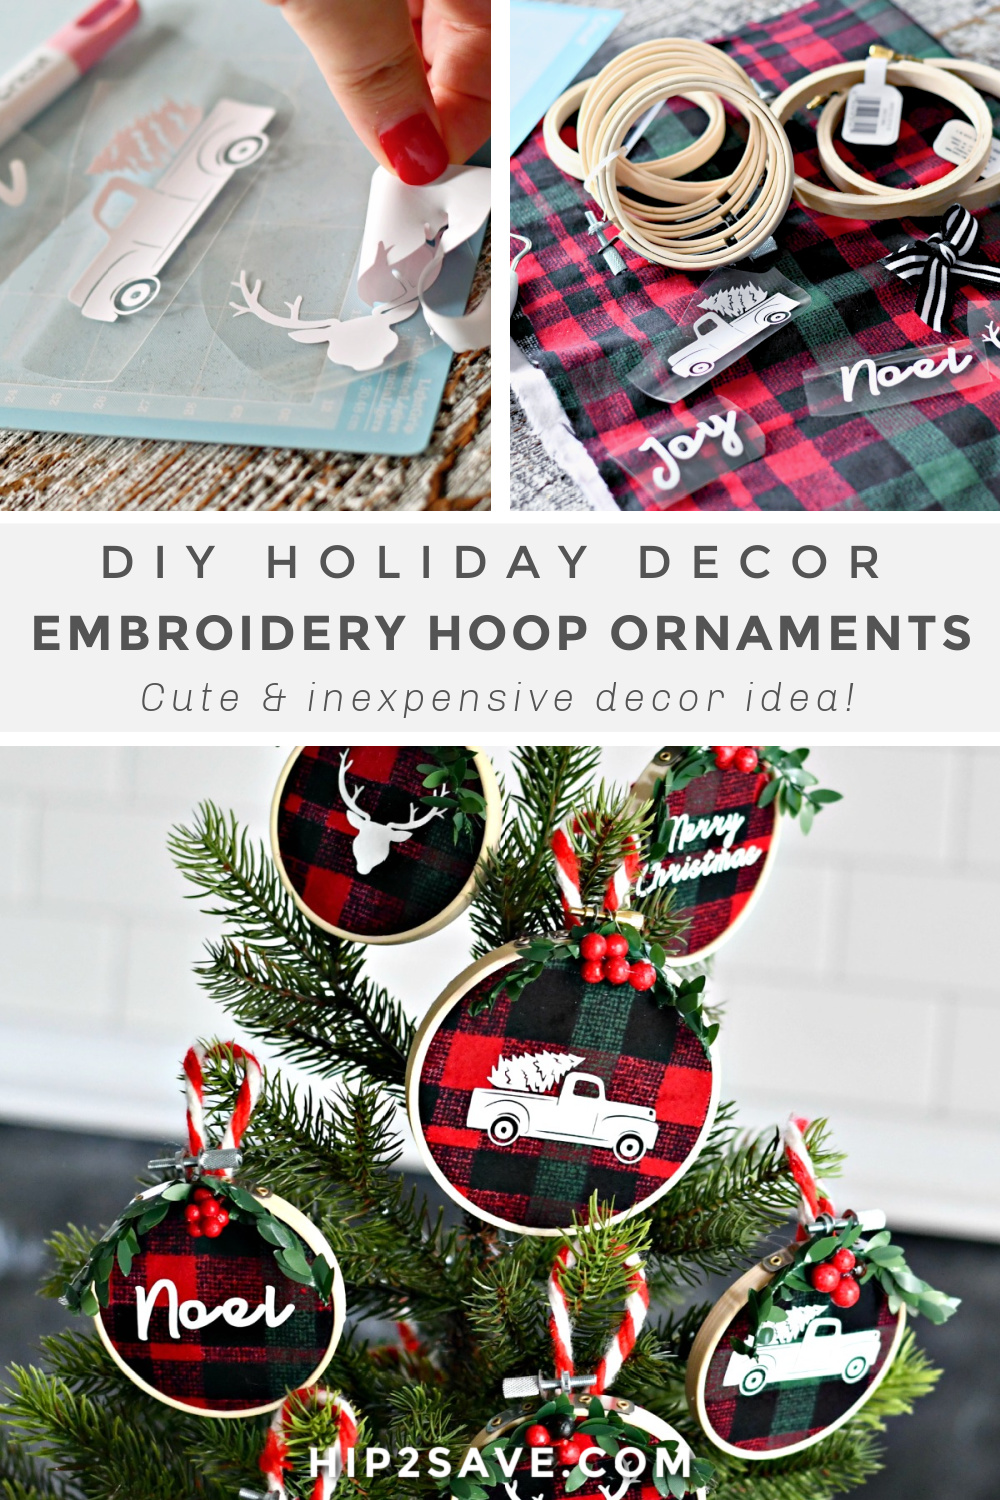
Love making your own Christmas ornaments? These beautiful and simple DIY embroidery hoop Christmas ornaments are so darned cute! I used a trendy Buffalo Plaid print, but feel free to customize them to your liking, you could even do a cute monogram with a vinyl cutout!

I try to make a homemade ornament each year because I LOVE personalizing my tree, and they make such fun present toppers or small gift ideas. These embroidery hoop ornaments are some of my favorite DIY decor pieces I’ve ever made. 🤩

Don’t have a vinyl cutting machine? No worries!
You can make similar embroidery ornaments using the same fabric but different appliques. You could glue pre-cut felt or white paper embellishments to the front, glue white buttons, or even stencil a design using white craft paint. You could also order pre-cut vinyl shapes and words from an Etsy shop.
Browse your local craft store for some fun ideas. Or, here are some alternatives I found online to consider:

Embroidery Hoop Ornaments
PrintSupplies Needed
- 3-inch or 4-inch embroidery hoops (I used some of both sizes)
- red and black plaid fabric or fabric of choice
- white heat transfer vinyl (iron on)
- vinyl cutting machine, such as Cricut or Silhouette
- iron
- hot glue gun and glue sticks
- bendable faux greenery and faux red berries
- ribbon or yarn for hanging on tree
Directions
1
Cut designs and/or words using heat transfer vinyl. Make sure to size them a little smaller than the embroidery hoop you’ll be using. Weed out and remove excess vinyl for each shape/design.
- The deer head shape came from Cricut.com as a purchase for $0.99. I also used ShopCraftables for the truck (no longer available), so you may want to search Cricut.com for whatever you like.
- The font I used for wording in my ornaments is called Bright Beauty and can be downloaded FREE from Dafont.com for personal use.

2
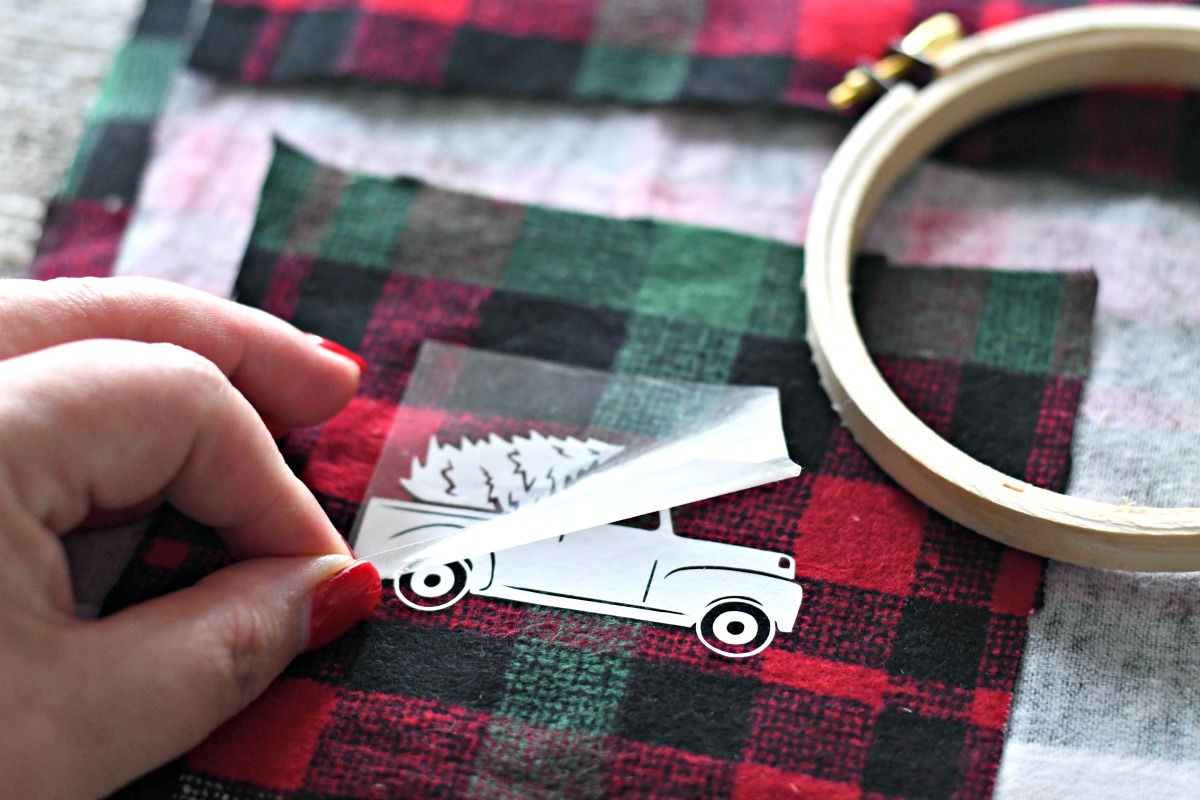
Cut a piece of fabric a little larger than the embroidery hoop. On the highest setting, iron the decal to the middle of the fabric. Use a scrap piece of the fabric on top of the design as a press cloth — do not iron directly on the vinyl.
Press the iron down over the cloth using medium pressure for about 30-40 seconds. You’ll know it’s ironed on correctly when you can pull up on the clear film and the decal remains on the fabric.
3
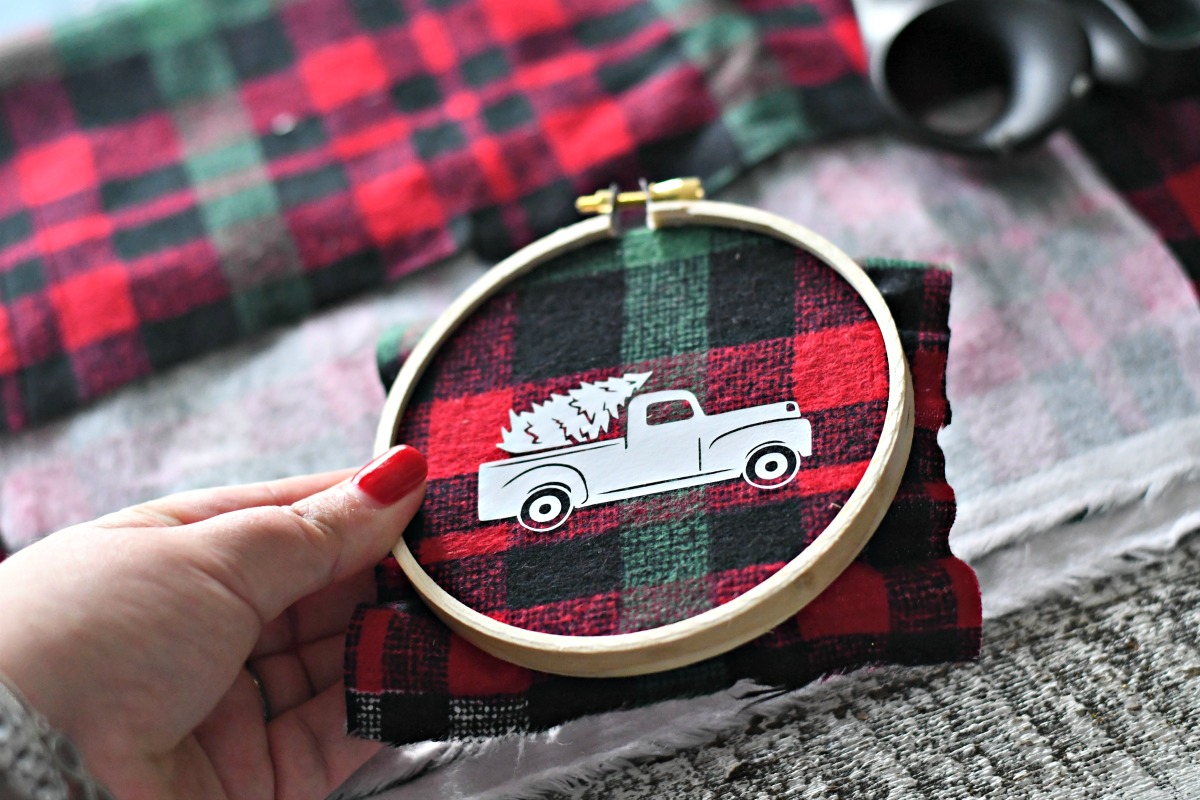
Open the embroidery hoop and place the fabric inside of it, centered. Secure the hoop back together.
4
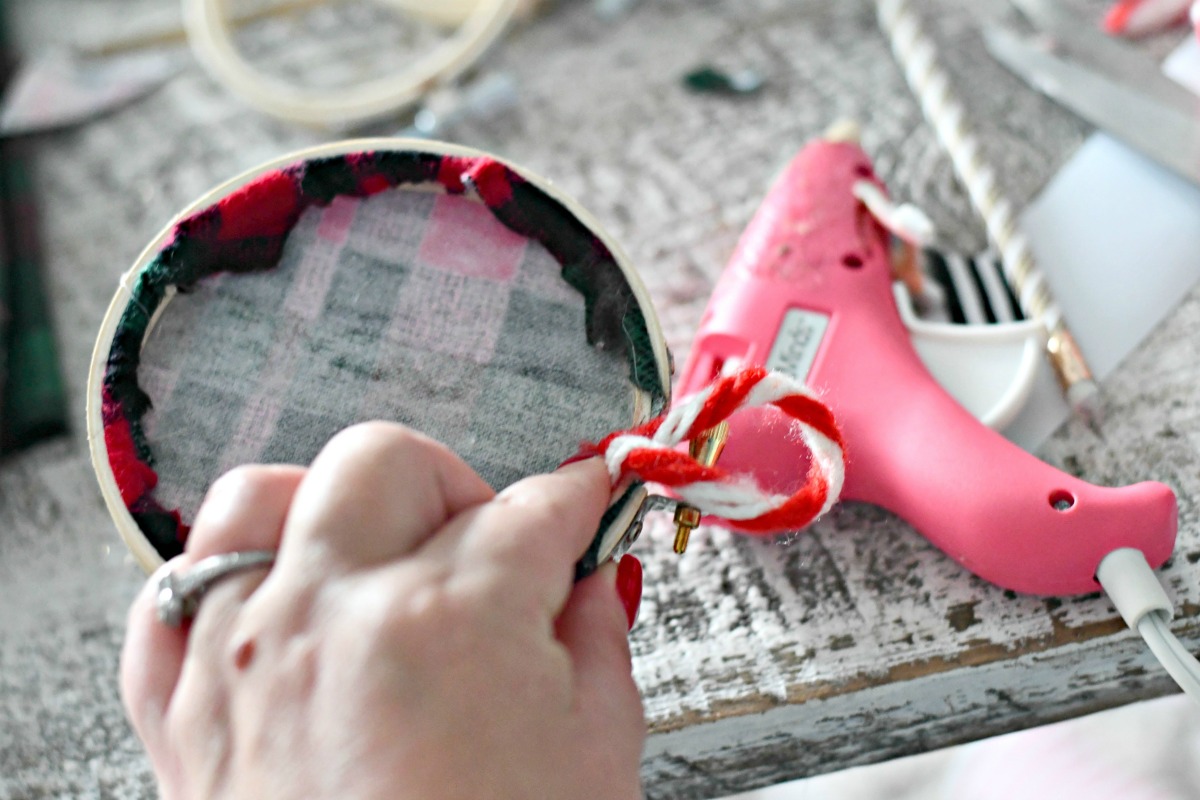
Turn the ornament over and hot glue the remaining fabric to the back of the embroidery hoop.
5
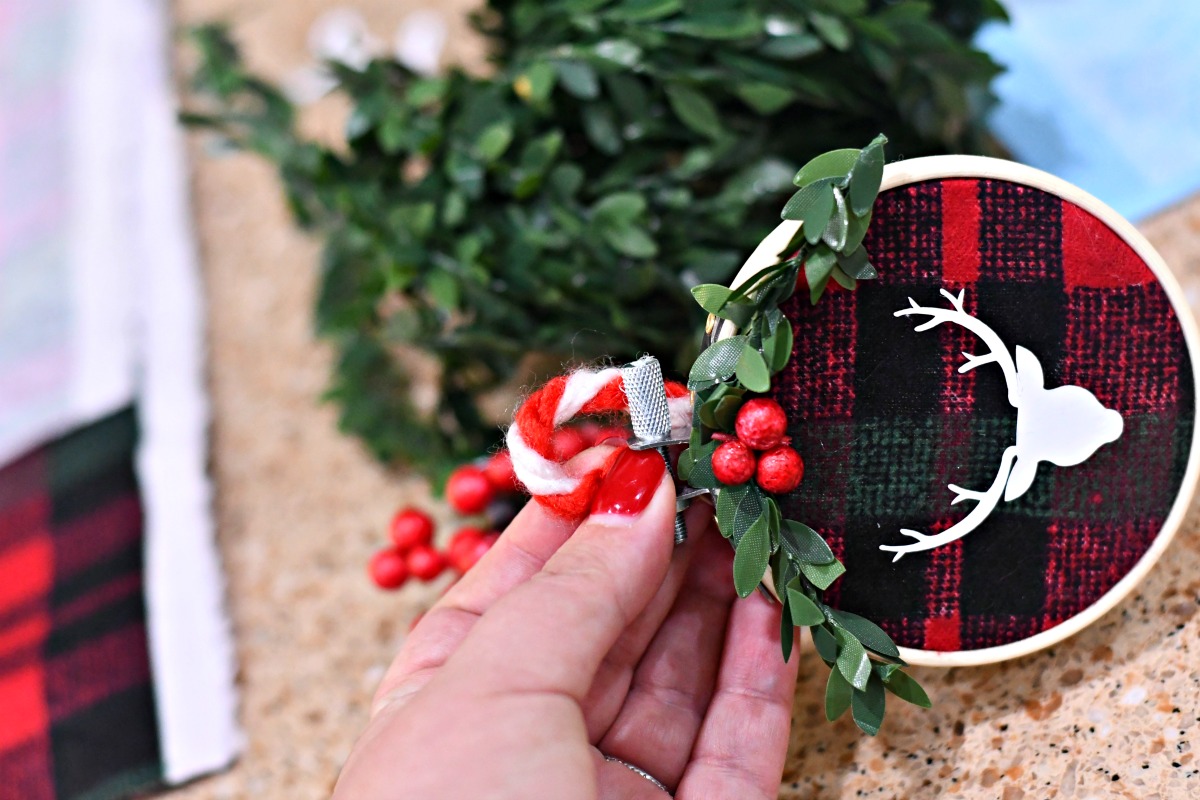
Hot glue greenery and faux berries to the top of the hoop (you can also use ribbon and glue a bow to the top). I started using ribbon but then switched to greenery, but how you embellish is up to you. Add a loop of yarn or ribbon to the top of the backside of the ornament to hang it on the tree.

These embroidery hoop ornaments are a cuteness overload!
Oh… my… these DIY embroidery hoop ornaments are ADORABLE! I’m obsessed with plaid, so these are right up my alley – and I loved making them. Last year, I displayed all my ornaments together on a mini Christmas tree in my kitchen!
I love that you can completely customize this craft idea for your taste and use your favorite fabric pattern and desired shapes or wording. So fun!

Try this Christmas craft on a larger scale!
I bought a beautifully made embroidery hoop Christmas decor item at a craft fair last year and used it on my holiday-decorated mantel. To create it, I used the same technique as the smaller ornaments except with a large 12-inch embroidery hoop and different designs. So pretty!




I made these last year, after seeing it here on hip2save. They are so cute and beautiful. I used one of my dad’s old shirts and gave every sibling of mines one for Christmas, they loved them. Thank you so much for the idea !!
Oh that’s so special! I am so excited you made some of these ❤️🎄 Thanks for sharing Mrs Faith!