Homemade Gallery Wall w/ Thrift Store Frames
Sent from reader, Jennifer:
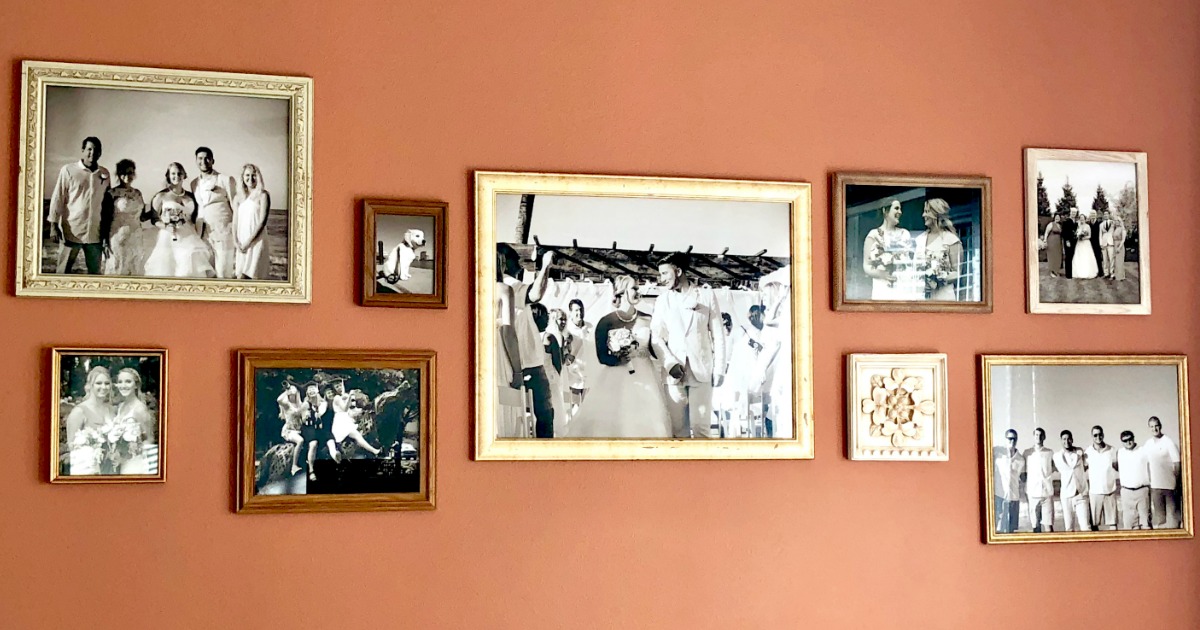
I was inspired to create a gallery wall after searching on Google and decided the wall would be a mix of warm/neutral frames and I would apply a black & white or sepia filter for cohesiveness.
I headed to Goodwill for the frames – I hit 2 stores and found 9 frames I wanted to use. Pro-tip – look at the back of frames before you buy them because they can be super challenging to swap pictures if it’s not an easily removed back. I ended up breaking one of the frames because I couldn’t get the back off. So we went with 8!
I also found a cool wall medallion that fit the theme and grabbed it for $3. In total I spent $35 for all the frames, a steal!
When I got home I played around with layout and took a few photos of the different shapes I liked. I really like the horizontal line that seemed to run through the one I went with, which made it super easy to hang these too.

I measured the frames and made a general layout of the gallery form using Microsoft Paint. I then selected the photos I wanted to use, applied the filter using a really basic photo editor, and added thumbnails of those pictures to my mockup in paint. It sounds tedious, but I felt confident that I would like it on the wall if I could get the mockup right. Plus I could throw a background color in to give me an idea of the contrast the gallery would have with the wall.
Finally, I ordered the pictures and grabbed some Command photo hanging strips and was ready to go. When hanging the wall it helps to have someone help you hold the level while you hang, and I like to start in the center and work out. The Command strips were so easy to use and apartment-friendly.
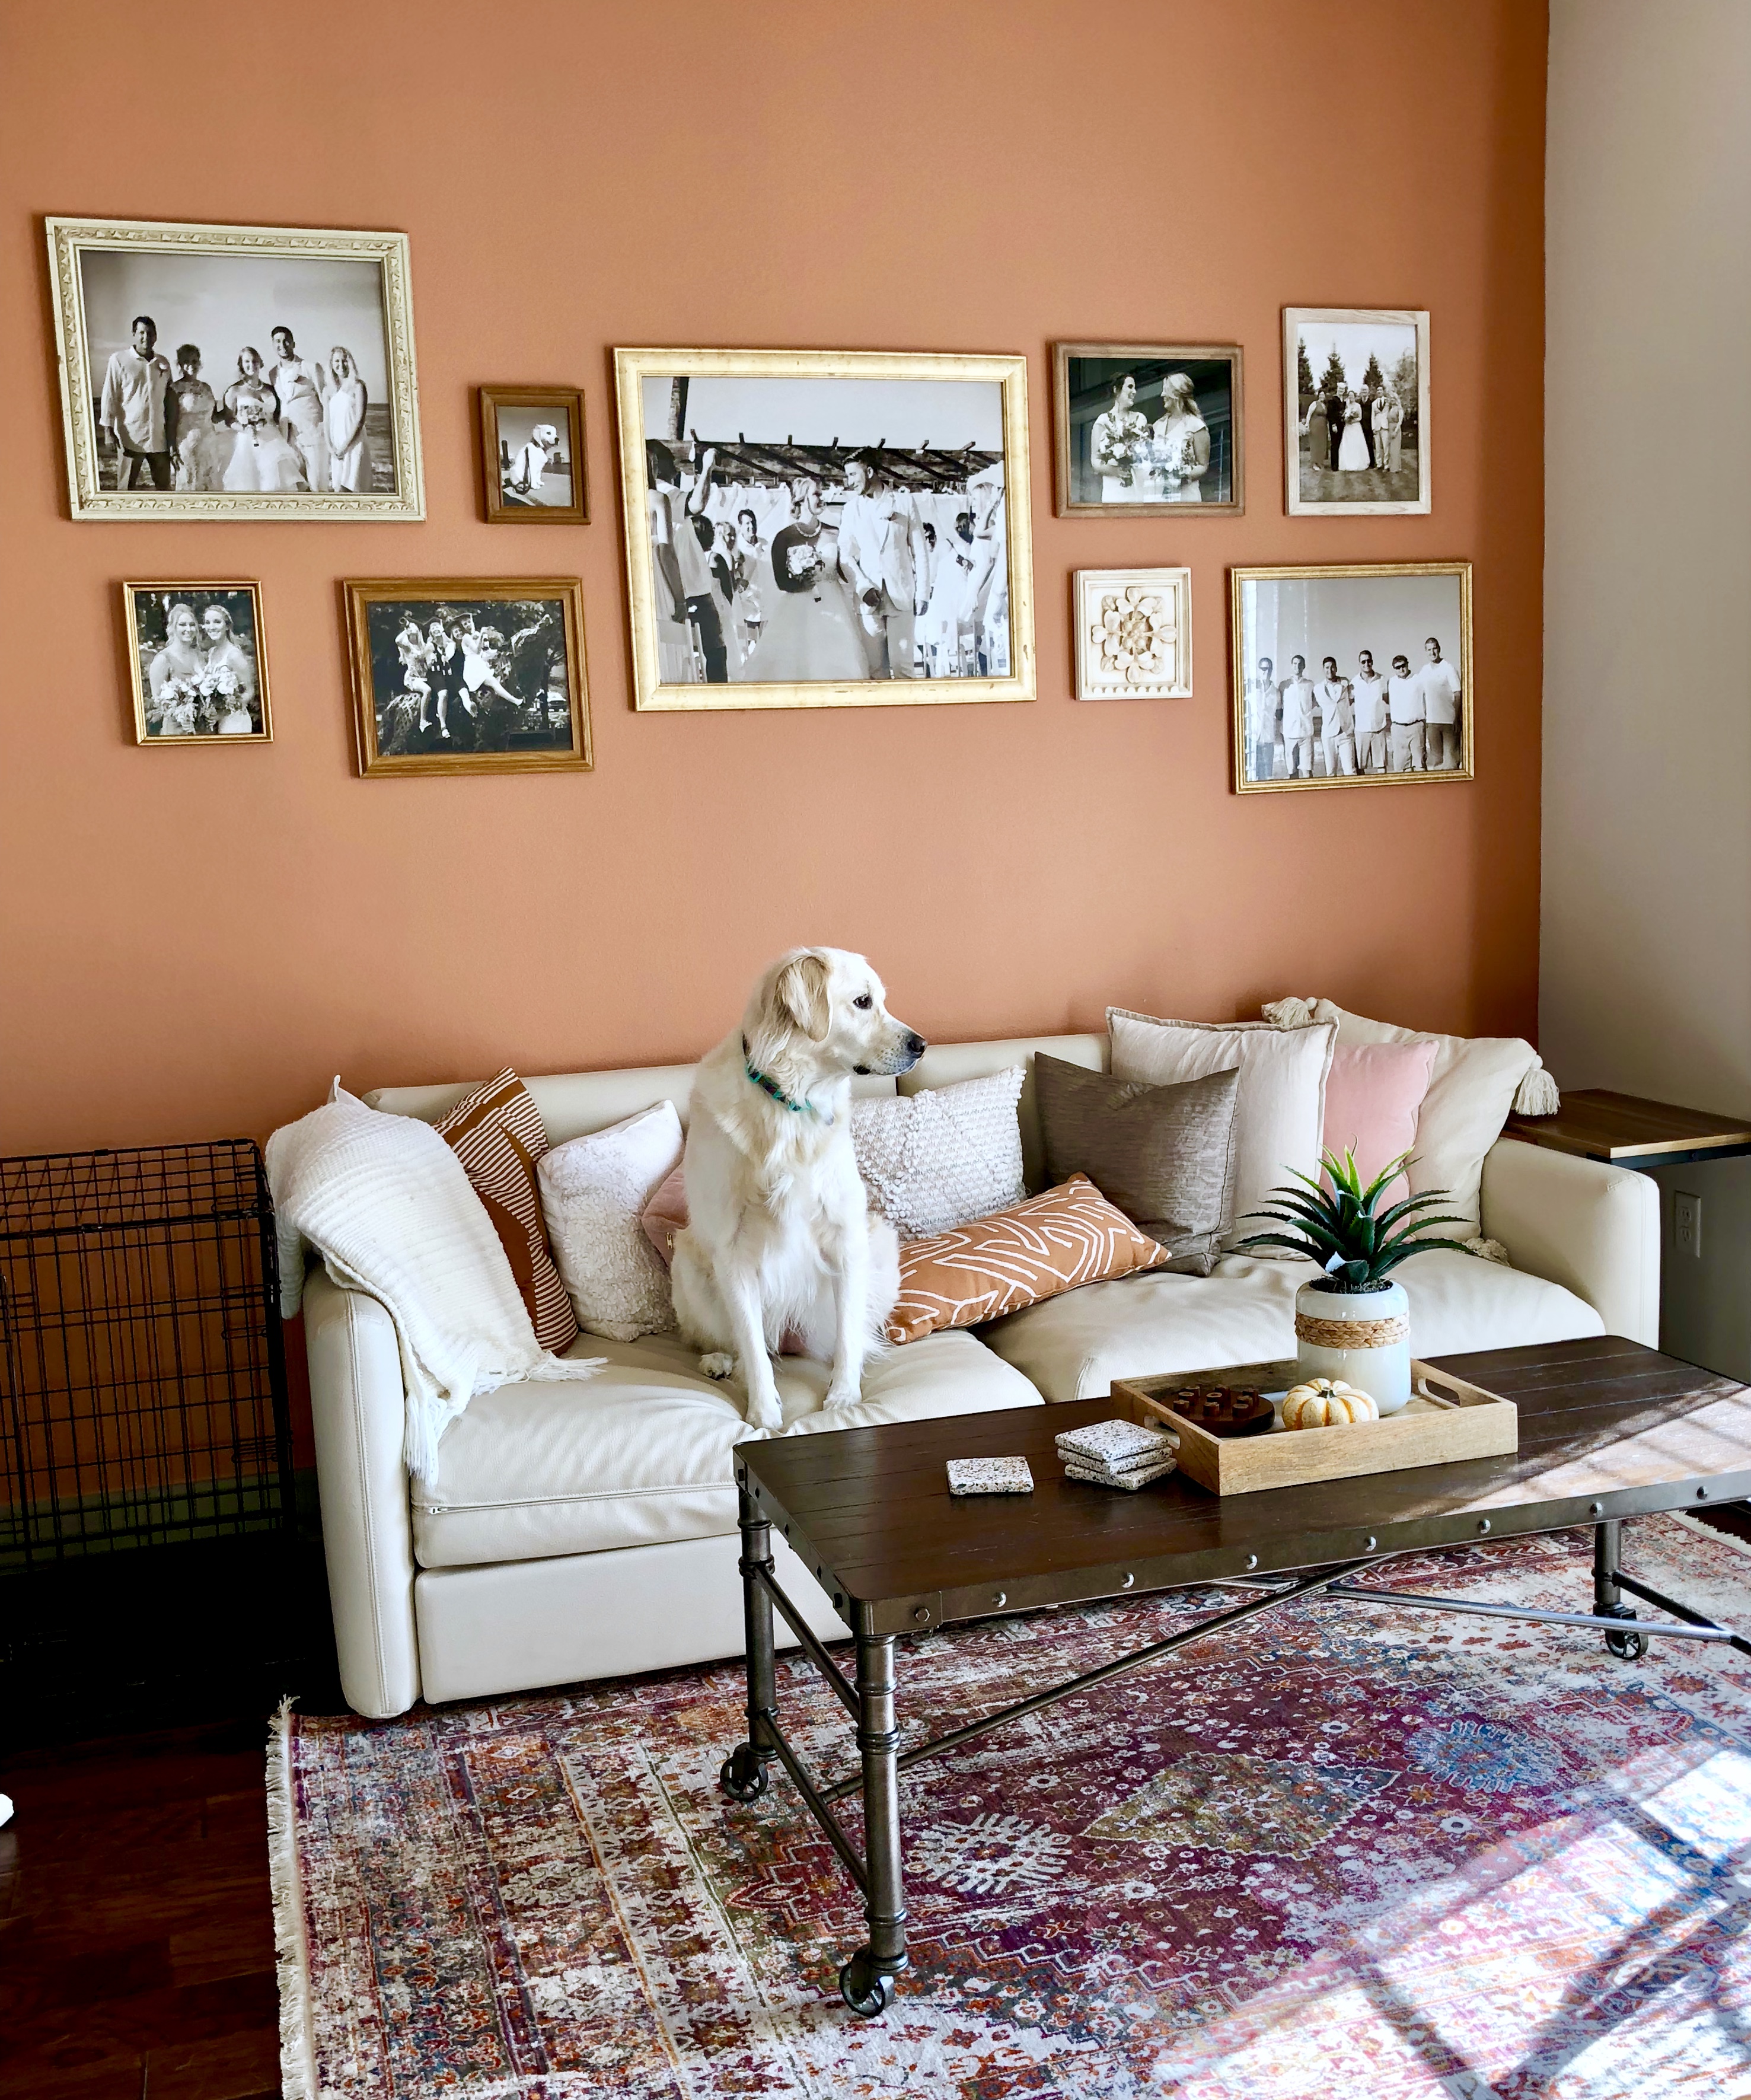
Adding up the cost of frames, photos, and Command strips, I think I spent around $100 for the whole wall, which is way cheaper and more personal than any large scale art you could buy.
HAPPY FRIDAY!
Do you have a funny, “Hip”, or unique tip to share?! Fill out our Happy Friday form. Every Friday, we post one submission by a Hip2Save reader (view past submissions) that gives us a glimpse into their frugal lifestyle or simply makes us smile. If yours is published on Hip2Save, we’ll email you a $10 Amazon eGift card!
Learn the Tips & Tricks to having your Happy Friday submission picked!
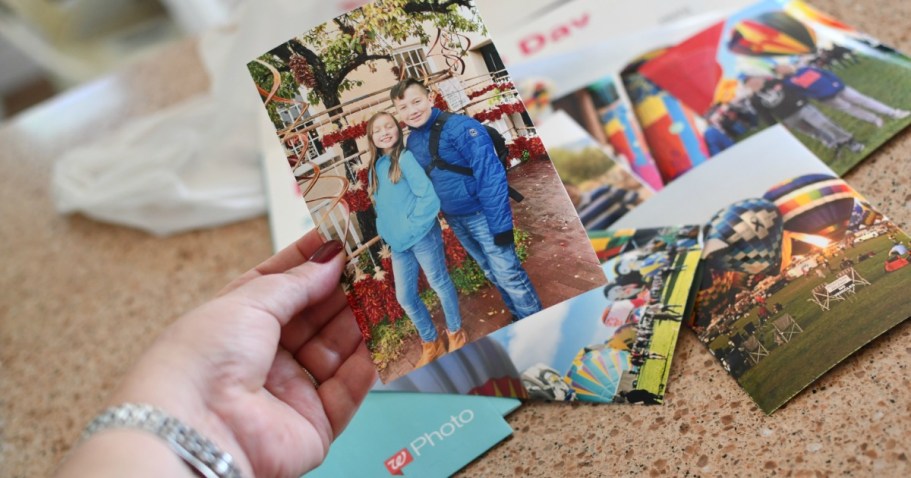
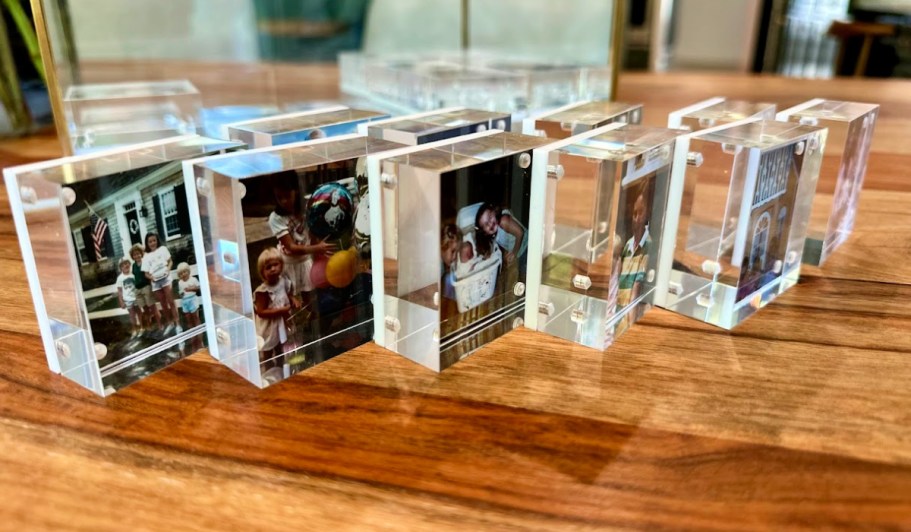
UP NEXT –> The EASIEST Way to Hang Photos!




Great job. I want to do this too. Love it!
I really like the Microsoft Paint mock-up–it really makes the images pop! If you are more low-tech, you can always tape newspaper cutouts to the wall itself to achieve the layout you’re after and then use them as guides when you hang the frames.
very cute! I did my photo wall very similar with thrift store frames, clearance accents from Michaels and canvas deals from a post on here. And I just laid them out on the floor to get the layout I wanted ❤❤
Excellent Job, Great lay out. Photo are a sentimental and budget freely way to decorate. Love it
Thank you for the layout idea. So much easier than finding several hands to hold things up to see!!! I never thought about doing it in paper. 🤷♀️ I don’t seem to find those cheap frames at my thrift stores but I have purchased frames at Walmart in the $3-5 which are equally nice and can get them to match. And for me that is a plus.
Great job! Love the way it looks!!
Don’t forget IKEA cheap frames!
Some acrylic paint (usually found for $1 or less at a craft store) can totally change the look of a frame, too.