
End Summer With a BANG & Make This Huge 50-foot DIY Slip and Slide for Less Than $40!
This DIY slip and slide is HUGE and won’t break your summer fun budget!
Is there anything more invigorating than a good ‘ol slip and slide? This nostalgic activity takes me back to my childhood as one of the most fun summertime activities!
Of course, if you’re an adult and want to get in on the fun, those dinky 12-foot slides just won’t cut it. Not to mention some have inflatable parts that we all know just pop, and in the end, they end up being a little costly.
That’s why we DIY’ed this massive, adult-approved, 50-foot slip and slide for less than $40!
Better yet, you might even have many of these supplies lying around the house making it even cheaper, maybe close to FREE!

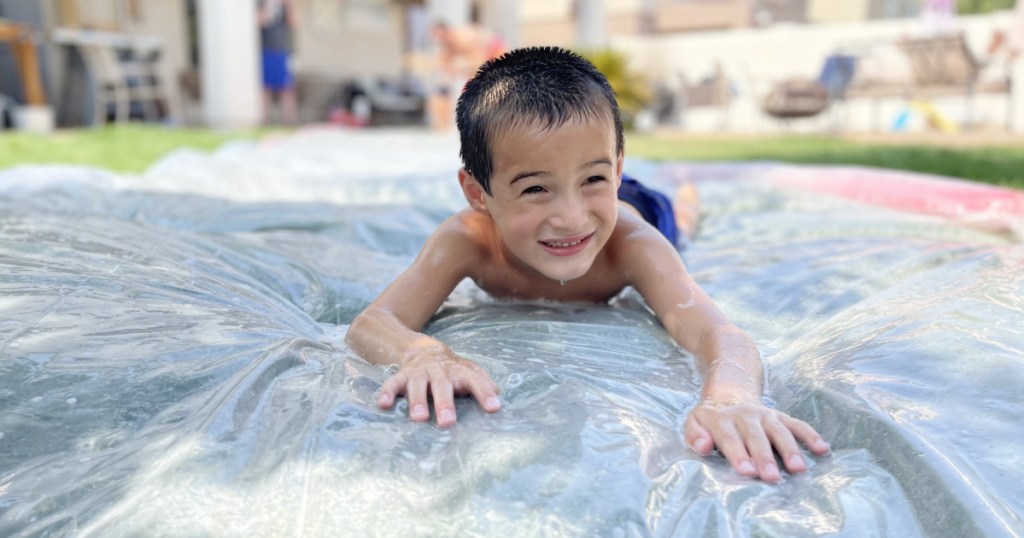
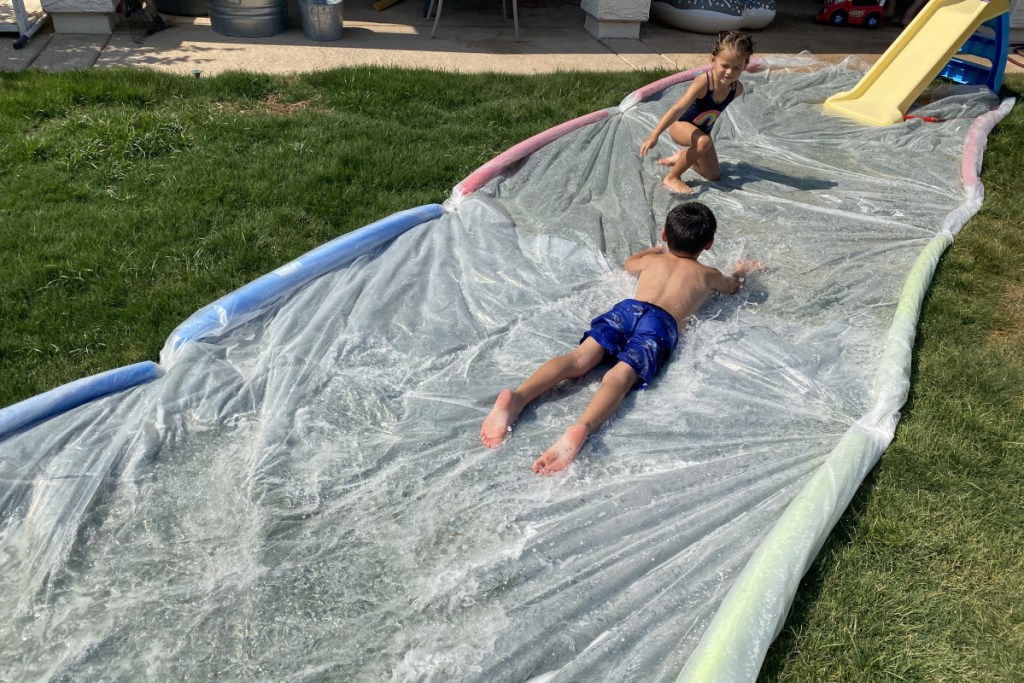
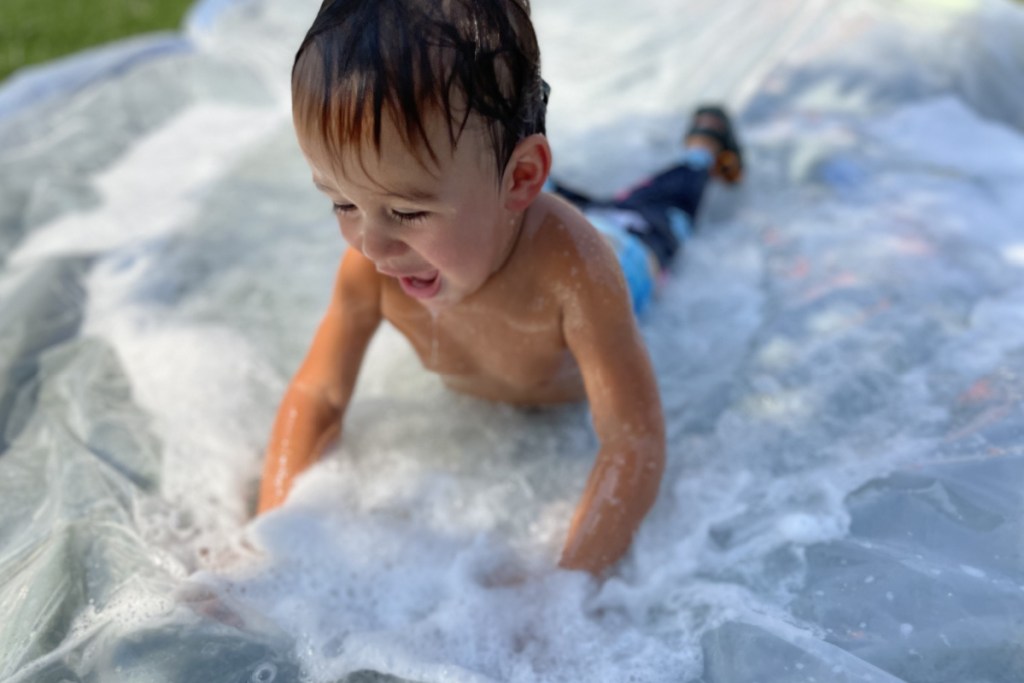
From a teeny 1.5-year-old to my giant 6’3″ hubby, I can confidently say this slip and slide is fun for all ages—and SO EASY to make!
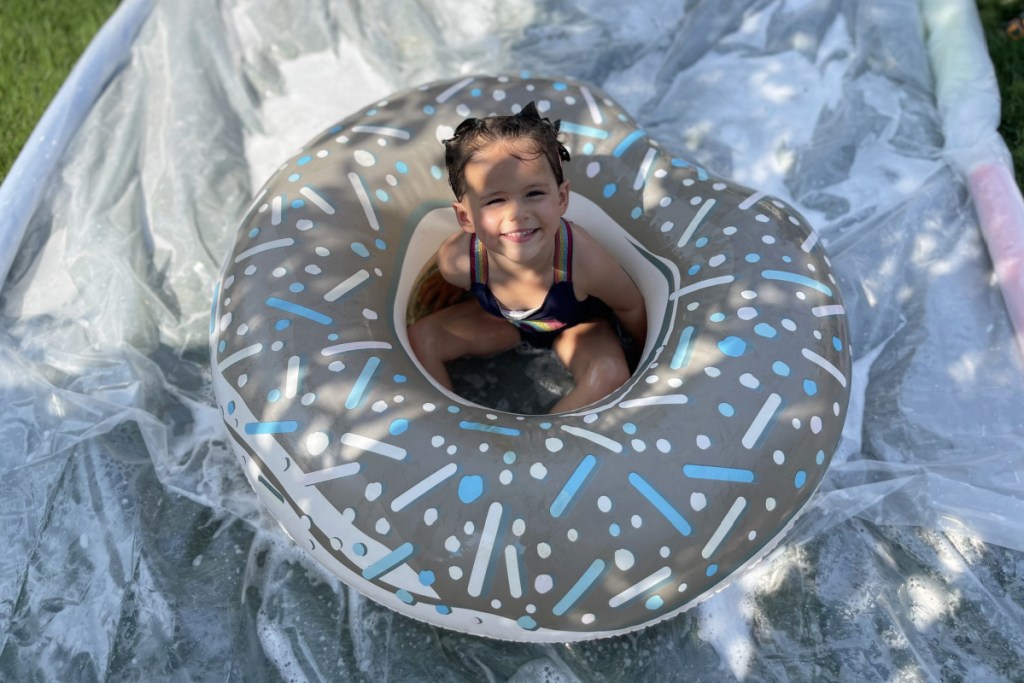
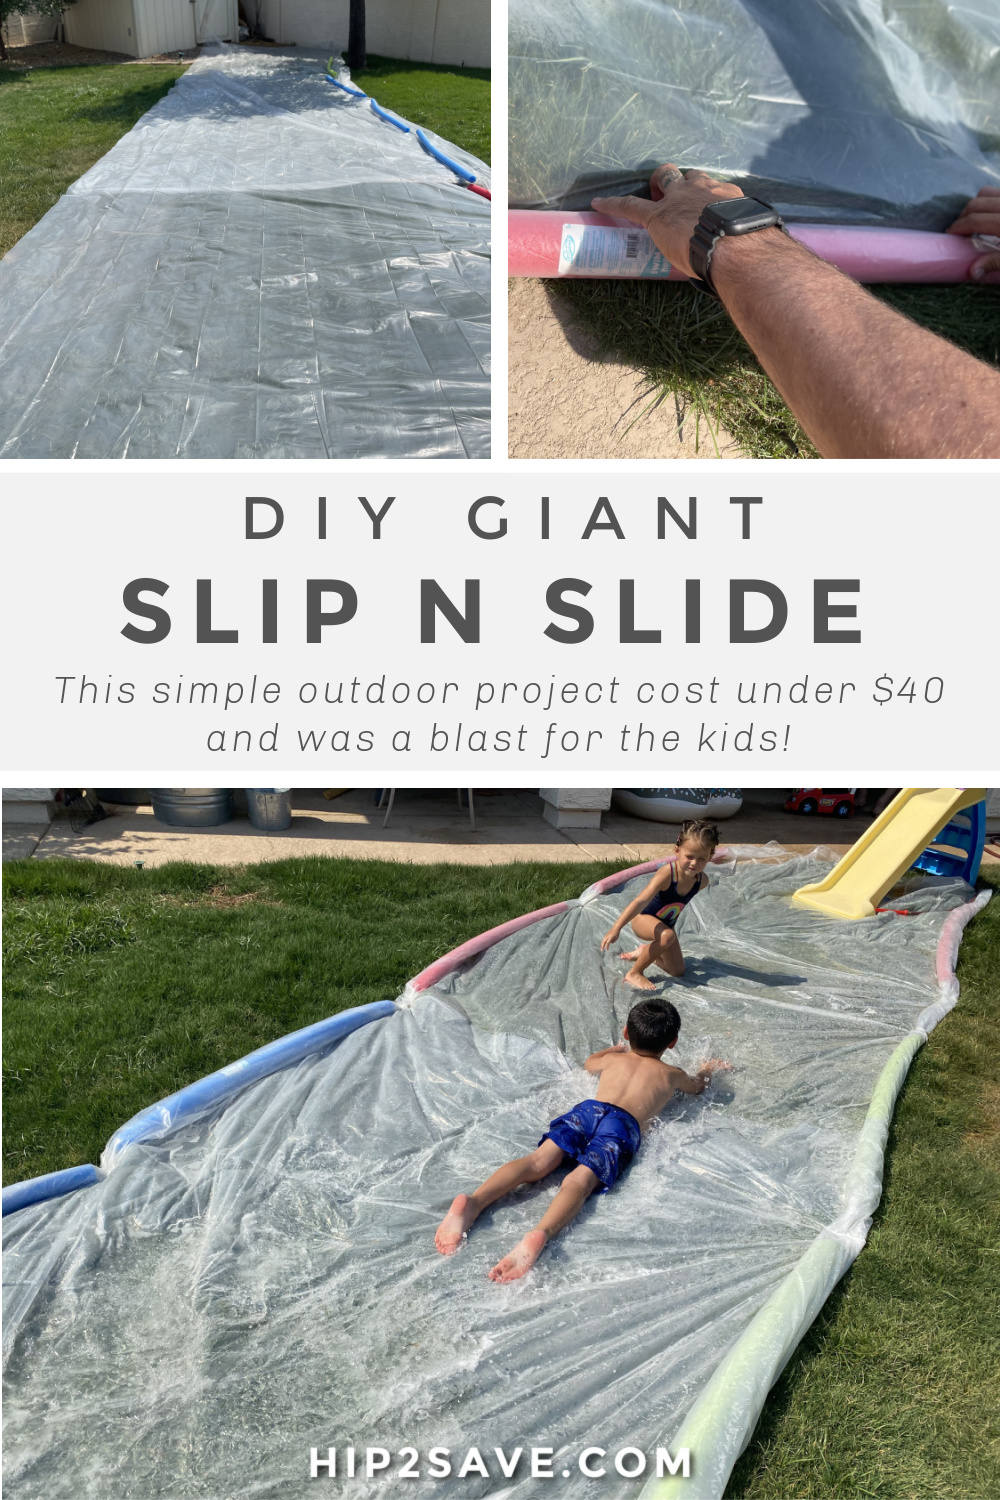
Plus, unlike typical storebought slip and slides, this one was large enough for us to even use some inflatable pool floats on it which made it even more awesome!
If you were able to place this slip and slide on a hill (unfortunately, we were not) this MASSIVE-sized slide also lends itself to some good fun the whole neighborhood can enjoy!
Can you imagine the end-of-summer parties you could host featuring this DIY slide?!
Although a slip and slide is pretty straightforward to make, here are a few helpful tips I learned in the process:
- Use clear sheeting over black. Black can get really hot and dries too fast! I nabbed this 2-pack of plastic sheeting for as low as $19.78 at the time allowing me to make up to a 50-foot slide when I combined the two pieces.
- Look for pool noodles in-store as they seem to be the lowest price (I got mine for 97¢ each at Walmart!) Size and color do not matter so stock up on whatever you can find.
OH, THE PINS… be sure to read this!
After reading several comments on similar DIY slides, pin placement is definitely the trickiest part! Others who have tried this mentioned the landscape pins popped out and scratched individuals while sliding — OUCH! Having little ones, I was highly concerned over this and opted NOT to stick the landscape pins through the pool noodles AND into the ground as I felt the lack of depth would be more likely to cause the pins to pop out.
Instead, sticking the pins directly into the ground through only the plastic sheeting means the pins can stick further into the ground and therefore remain more secure. Also, be sure not to place pins at the entrance or exit of the slide- there’s no need to nail down that plastic, it’s not going anywhere. We had no issues with any pins popping out while we played!
DIY Slip 'N' Slide
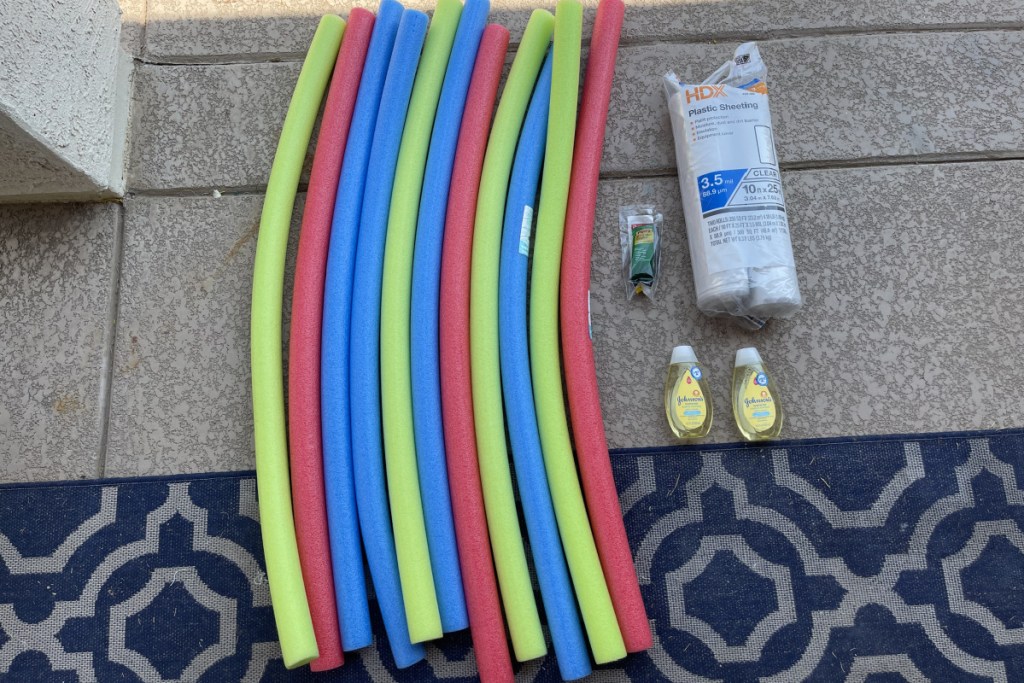
PrintSupplies Needed
- 25 to 100 feet of clear plastic sheeting (I used 10'x25', but any size and variety of clear plastic sheeting will do)
- 10 to 14 pool noodles
- Landscape pins
- Baby soap or other tear-free soap of your choice (optional)
- Water
Directions
1
Lay out the plastic sheeting completely flat in a clear area without rocks, toys, or other obstructions in the way — most preferably on grass. This would be so fun on a hill, but without a water source near any closeby hills, we opted just to use the backyard and it was still tons of fun!
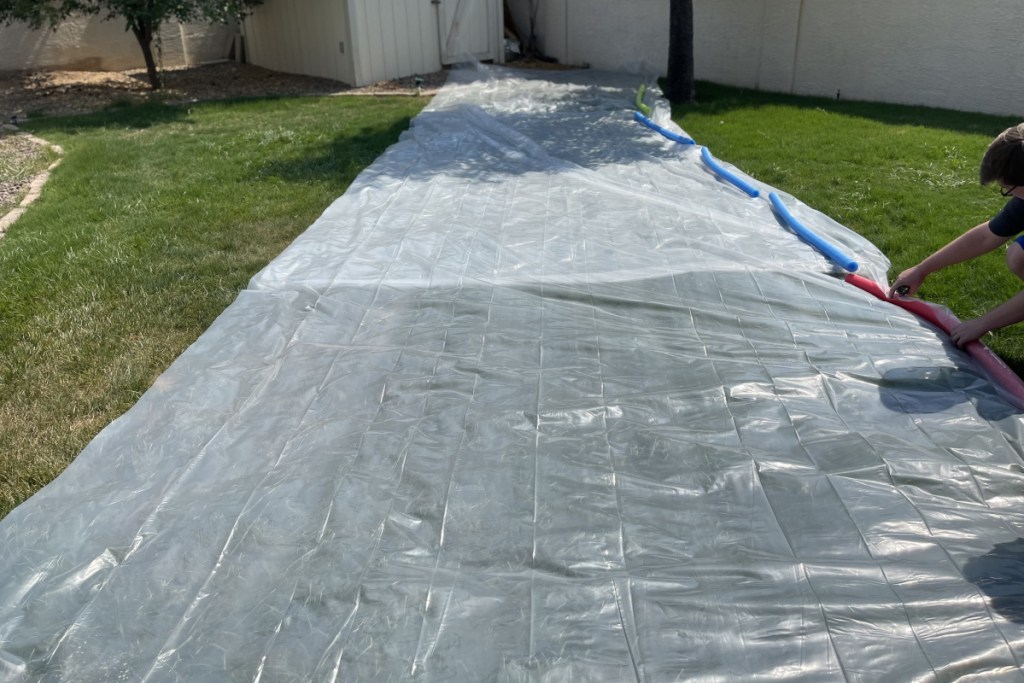
2
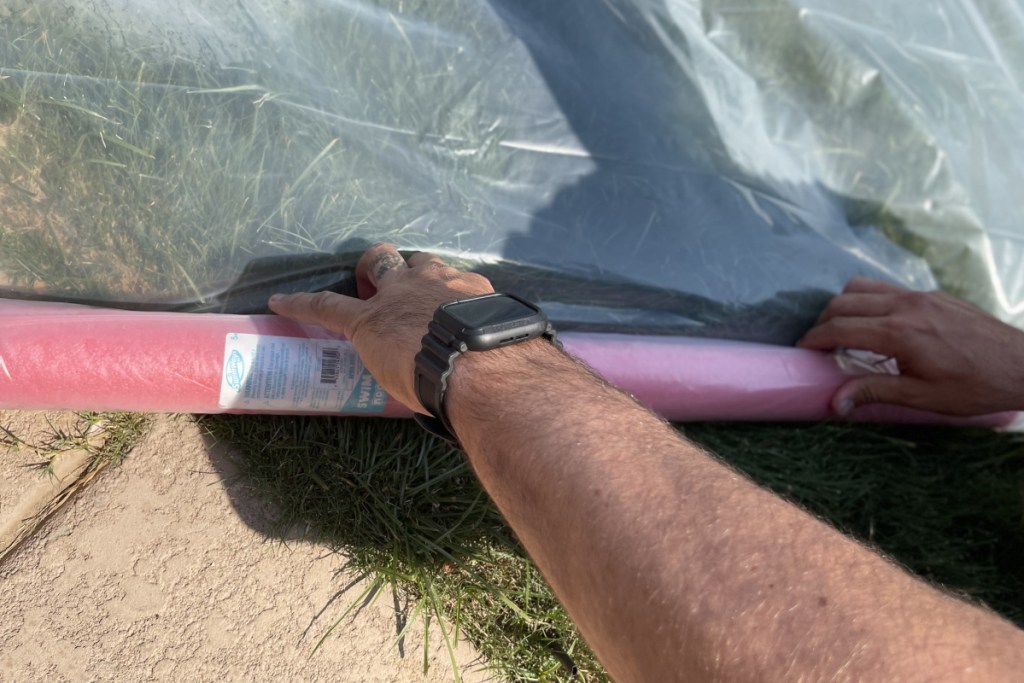
Place pool noodles on top of the plastic sheeting along the vertical sides ONLY. No need to place noodles at the entrance or exit of the slide.
TIP: We chose to space out the noodles a bit (so you wouldn’t need to buy as many) and had no issues with the water ‘falling out’ in between the gaps. You may choose to add as many or as few pool noodles as you’d like.
3
Roll the plastic sheeting inwards over each pool noodle at least 2x. Then, stick a landscape pin into the ground at each end of the noodle. Repeat for each noodle along the sides of the entire slide until secure.
4
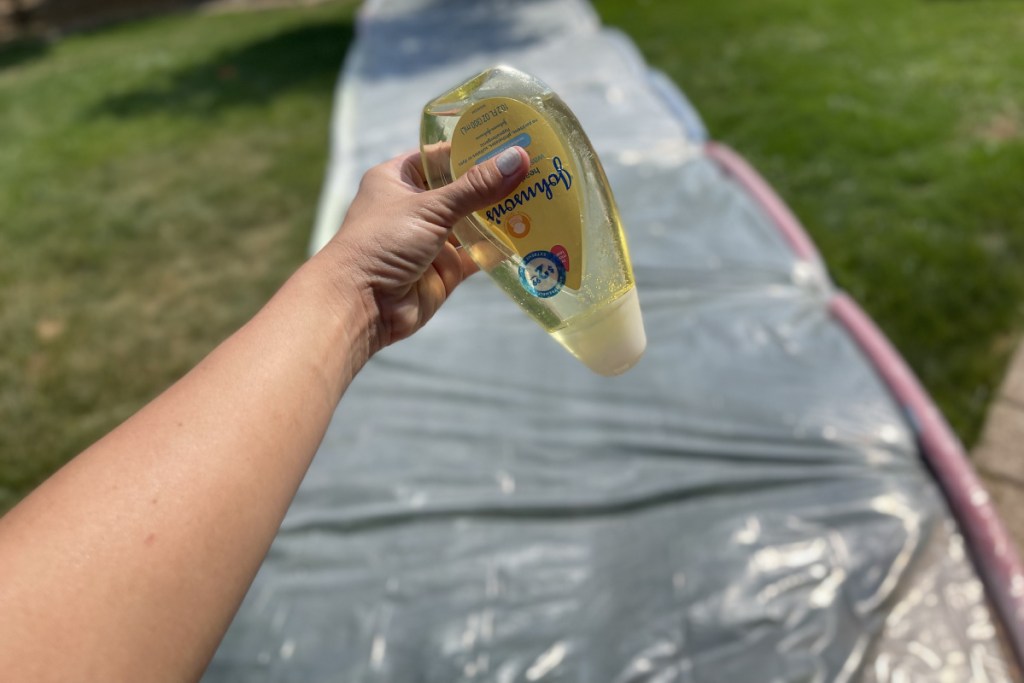
Optional: Pour baby soap or other tear-free soap all over the plastic sheeting from top to bottom for a little extra slip!
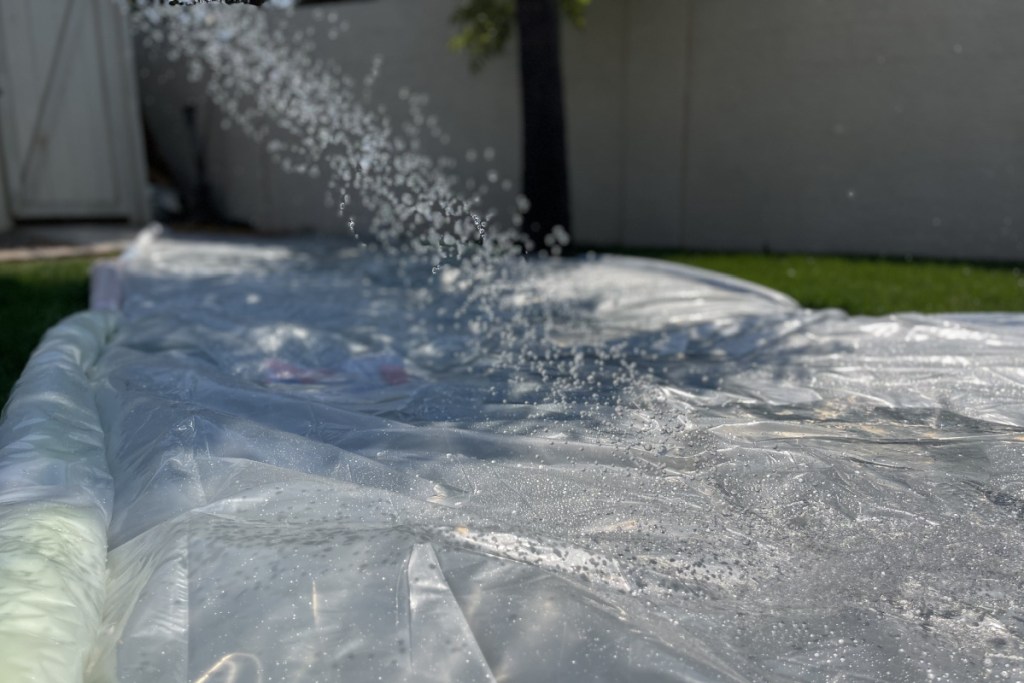
5
Add water and be sure to completely soak the entire slide for the best results! ENJOY!
Here’s what my final total looked like for this DIY slip and slide:
- HDX 10 x 25′ Clear Plastic Sheeting 2-Pack $19.78
- 12 pool noodles, 97¢ each = $11.64
- Vigoro Landscape Pins 25-count $3.98
- 2 Johnson & Johnson Tear-Free Baby Soap (spotted for only $1 each at Dollar Tree!) = $2
For a grand total of JUST $37.40 to make this huge 50-foot slip and slide!
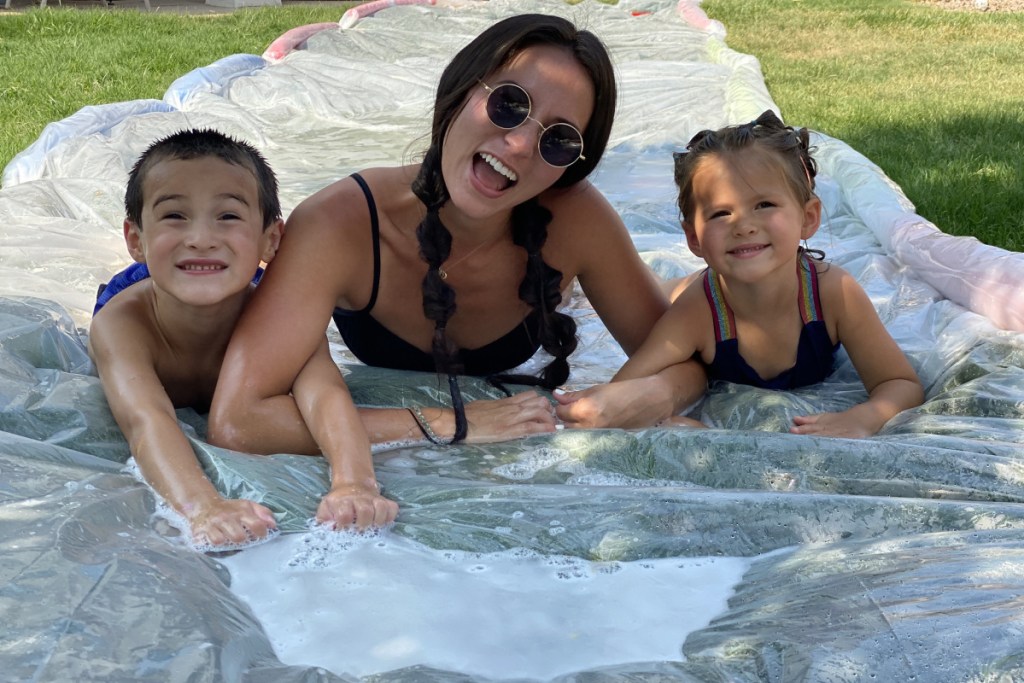
We slid, dove, and splashed across this thing foreeeeeverrr, and my kiddos had no idea it was just a simple DIY slide. They even asked to set it up again the next day!
The thing I love most about this easy slip and slide is that once you’re done, all of the materials can be re-used either again next summer or for various other things around the home, so you’re getting even more bang for your buck with each item!
Have you ever made your own slip and slide? We’d love to know if you tried this or other methods! Enjoy the last days of summer, friends!


This is a Hood Slip & Slide! I love it! We used to do this with trash bags when we were kids. After we were done slipping and sliding we hung the bags up to dry and then eventually used them for trash. Good times!
I’m totally doing this for a birthday part this weekend! Thanks for the inspiration!
We did this for my daughter’s birthday, and my kiddos loved it! We had no injuries from the landscaping pins, by following some of the extra safety tips. I took a pool noodle and poked holes along the length of it, and pushed the end of the hose into it, to lay across the top of the slide and ensure there was an even flow of water. It worked really well!
My 12 year old son made one out of construction plastic that is used as a crawl space vapor barrier that was left over from the construction of our house. It was 100 ft long and then he tied a rope to an inner tube and tied the other end up behind our 4-wheeler and spent an afternoon giving all the kids turns sliding behind the 4-wheeler! We usually do this in the winter when it snows but let that boy get hot and bored (and tell him he’s grounded from the 4-wheeler…..👀🤣) we never know what he’ll come up with (especially to find a way around being grounded from “his” favorite “toy”)! Lol!
What do you use to connect 2 together to make it longer? Something waterproof? Tape?
Hey there! I did check with Chelsey on this and she overlapped and staked them! Hope this helps! ❤️🤗