Turn That School Paper Pile Into an Easy Keepsake Box + Free Printable Labels
Wondering how to organize kids’ school papers at home? This DIY school paper organizer is easy & efficient!

Keeping kids school papers, awards, and artwork can quickly get overwhelming. You want to save it all, but it’s not always realistic.
Create a school paper organizer to keep everything in one place, safe and tidy! Set it up before the year starts so you’re ready to save memories all year long.
I’m sharing these FREE printable labels and cover sheets so you can create a school paper organizer for your kids, too!


How to organize kids school papers at home.
I like to think I’m organized, but paper clutter, especially my kids school stuff, has always been a challenge. I had papers stashed everywhere: the office, kitchen, their rooms… even the garage.
That’s why I started this school paper organizer project, to stay motivated and finally keep only the best memories from each school year. Using a simple plastic file bin for each child has made such a difference for our family!

DIY School Paper Organizer
PrintSupplies Needed
Directions
1
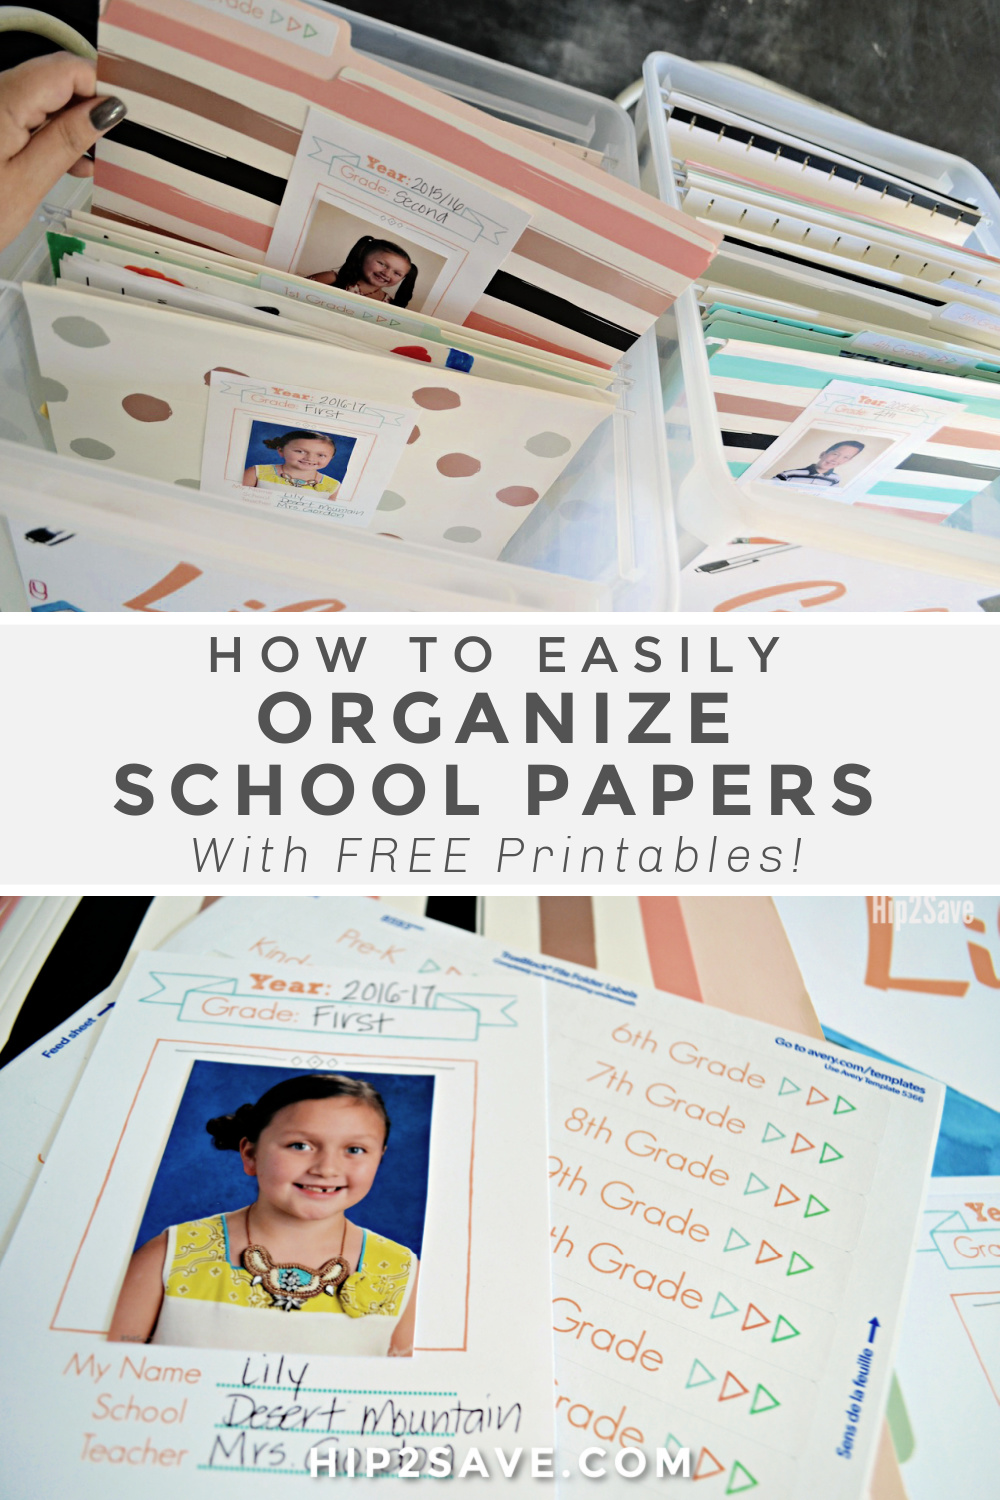
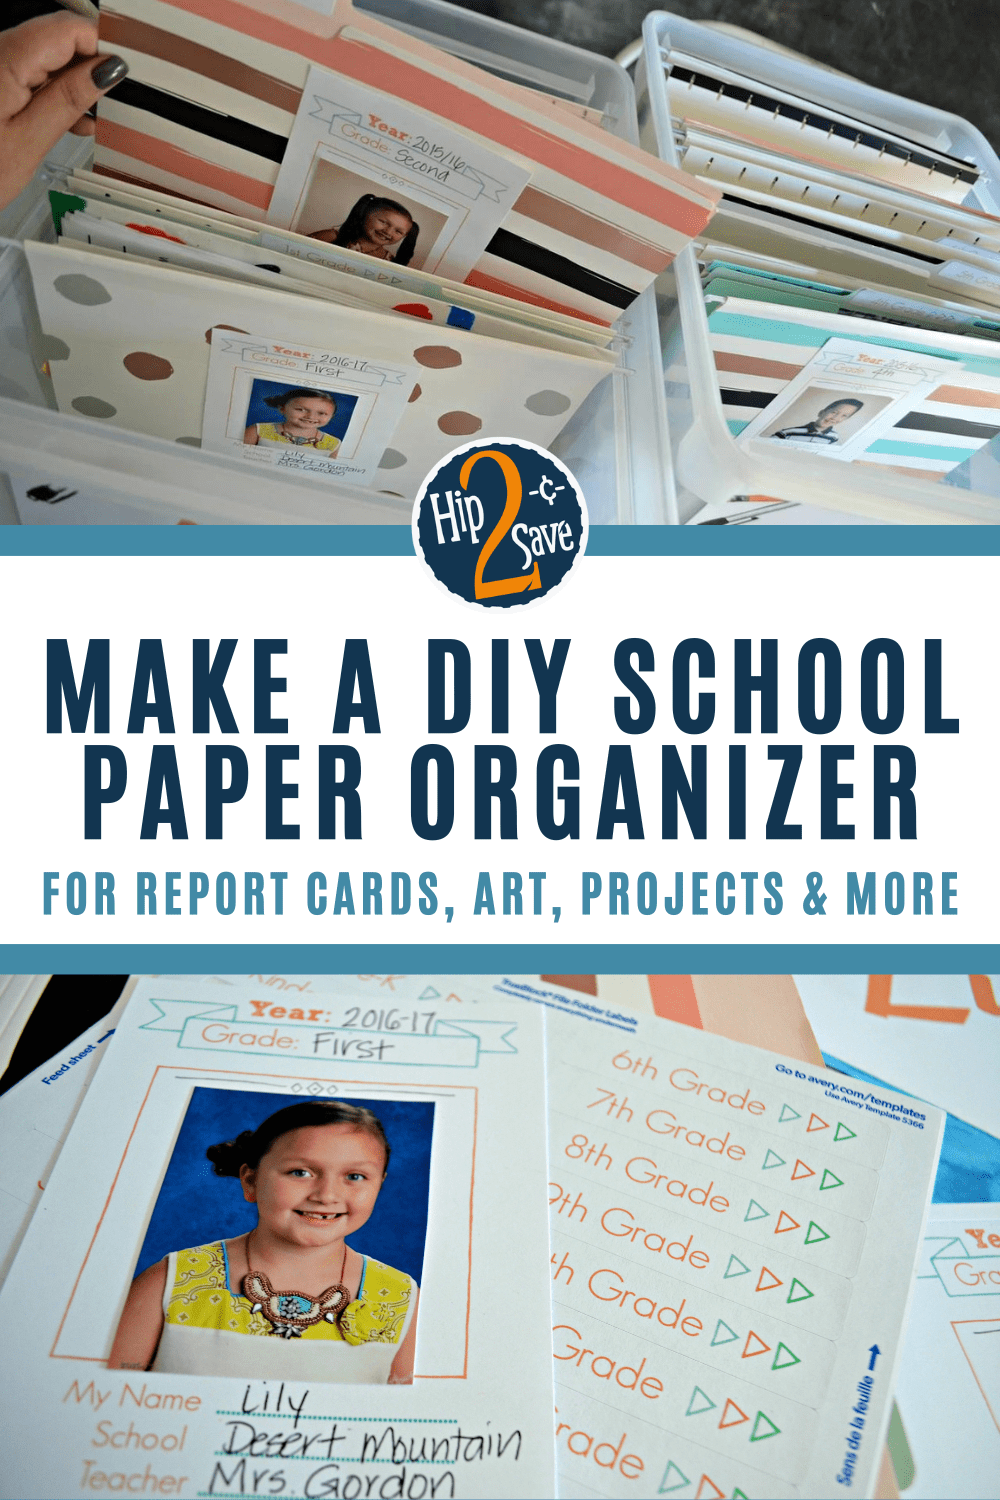
Fill out the hanging file cover sheets for each grade including year, teacher, school, etc., and attach a school photo for each year. Glue or tape to the front of a hanging file.
2
Attach labels for each school year to file folders. If desired, you can create multiple file folders for each year and separate them into different categories such as schoolwork, artwork, awards, etc. File papers according to each grade level.
3
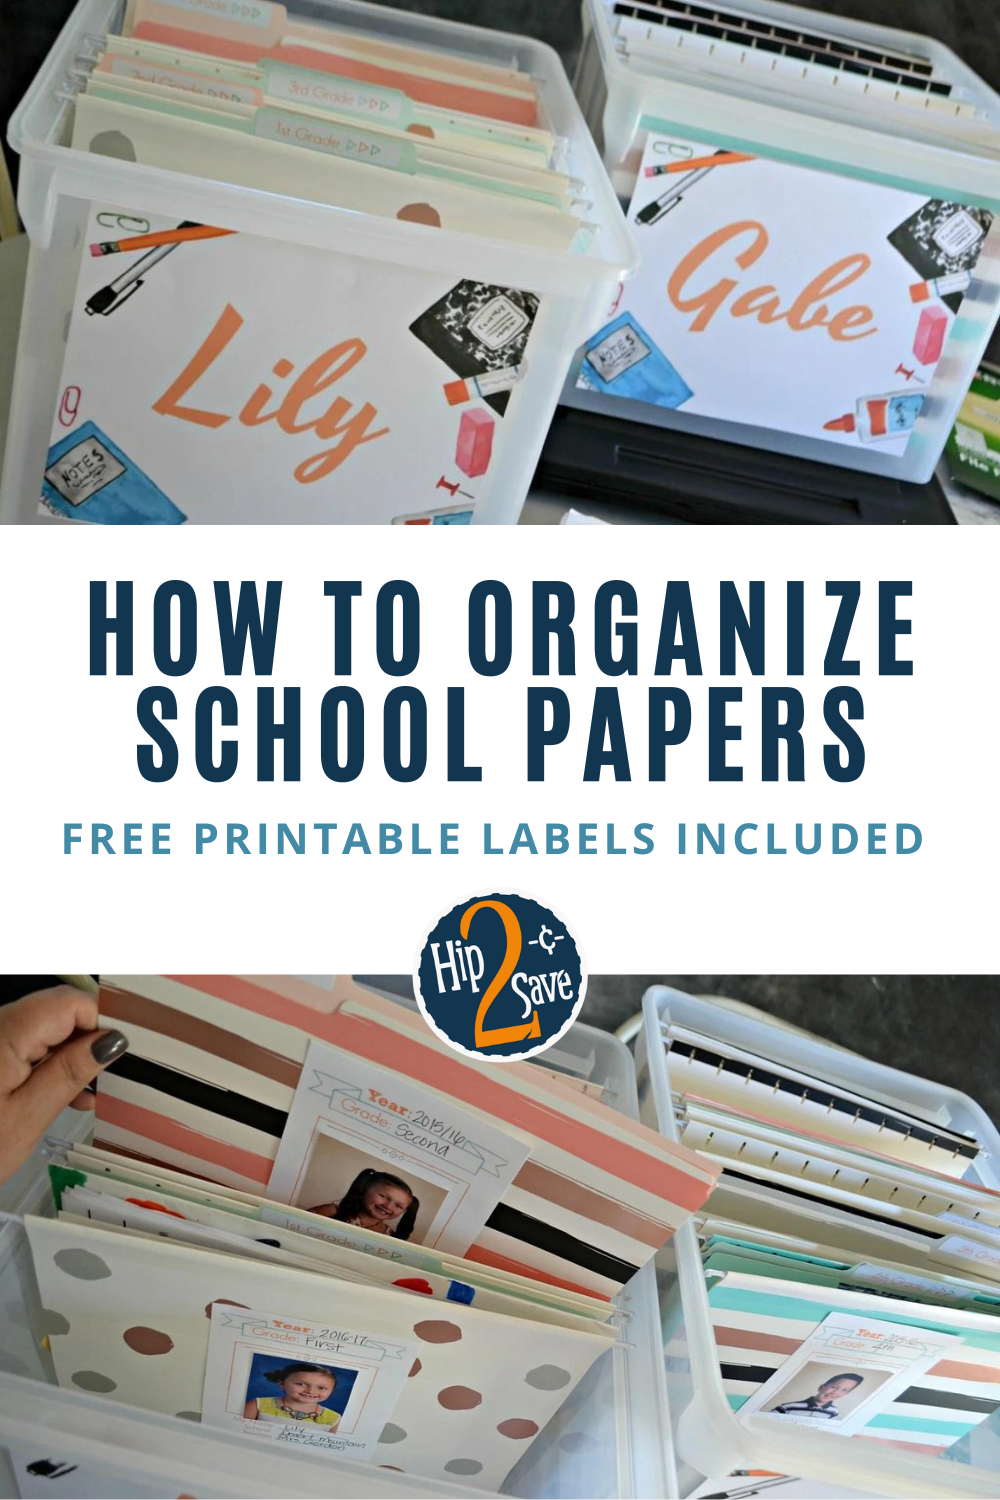
Label the bin with your child’s name. Feel free to use a marker, or save this blank label with a school supply border and open it in an image editor to add text. I used PicMonkey.com, an online editing tool, to add text to images. The font pictured is called Yesteryear.

This school paper organizer is really easy to keep up with once you have it all set up!
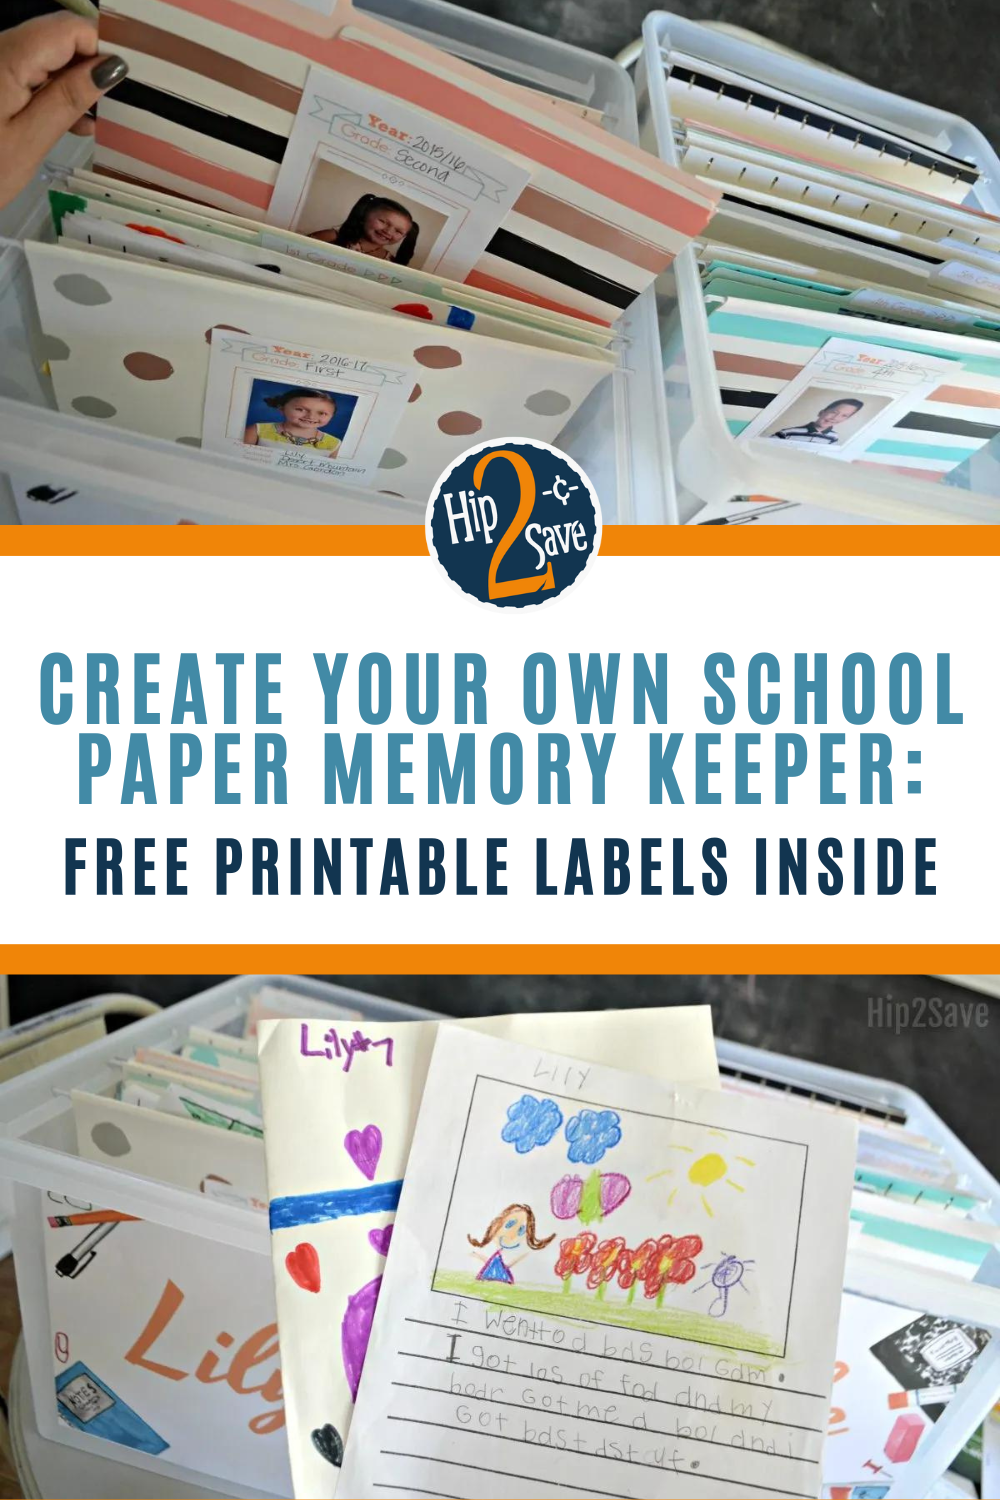
If you’re wondering how to organize kids’ school papers at home, try this easy DIY project. Honestly, I wish I had done this storage system years ago when my first child started school. I love looking back at all my kids’ special writing assignments and memories, and I know that they will, too, in the future!


Comments 0