
Why Buy Ghost Art for $70 When You Can Make It Yourself for Cheap?
You won’t believe how easy it is to make your own spooky plaster art on canvas at home using materials you may have in the garage!

Ready to create some trendy ghost wall art on the cheap?!
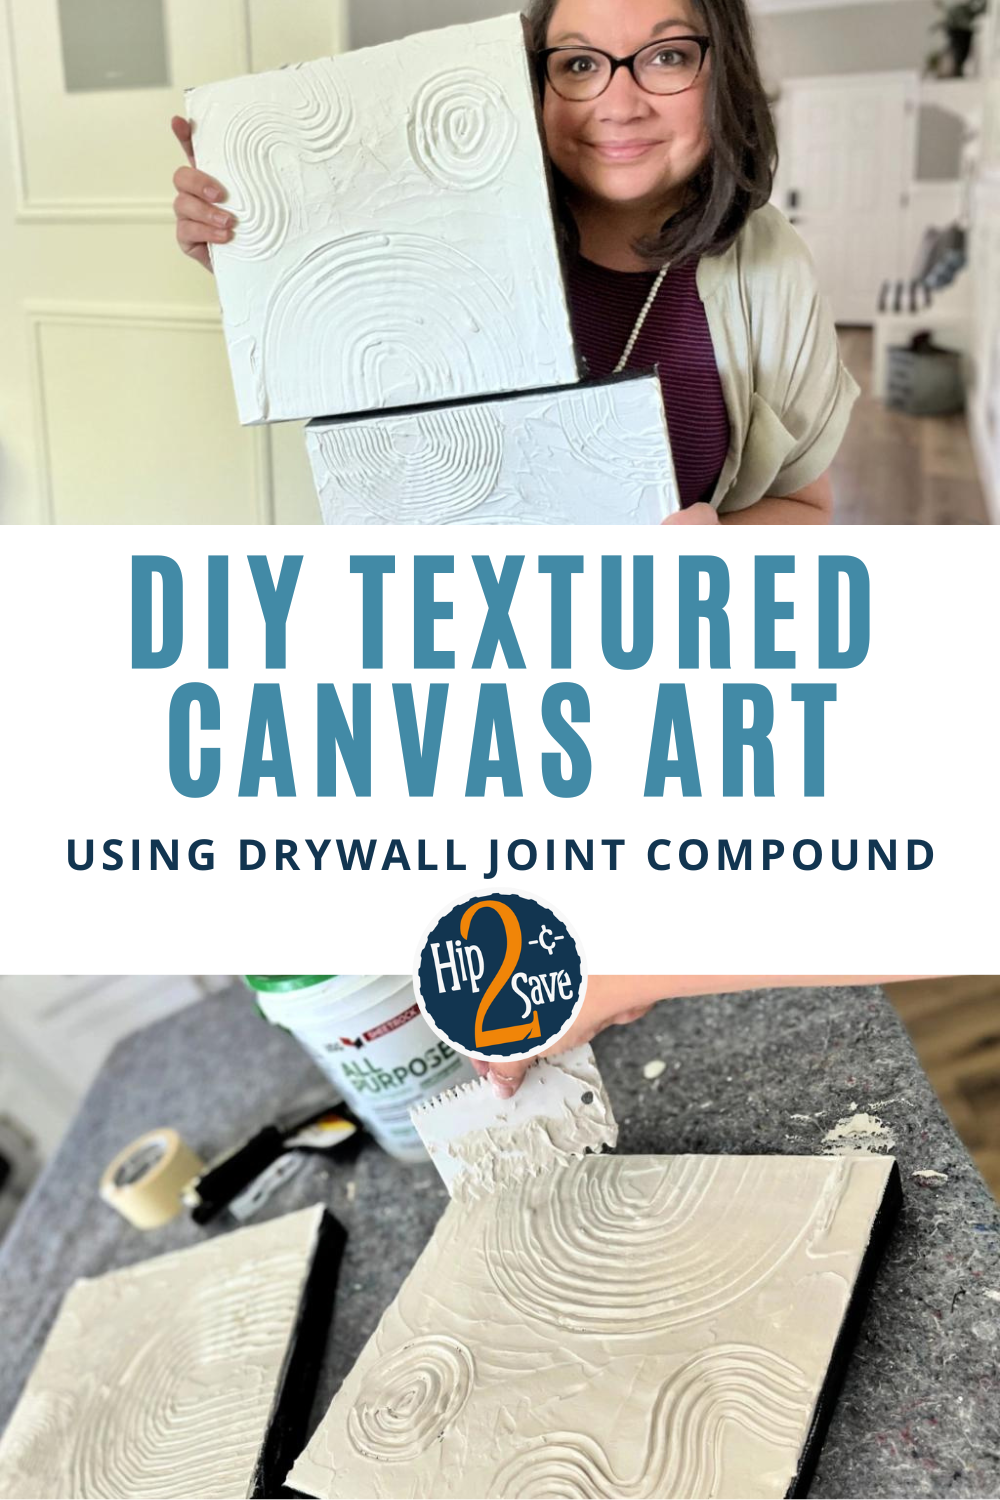
I love testing viral DIY crafts and have been wanting to try my hand at making canvas art by using drywall joint compound on a canvas. It looks like beautiful plaster, but it is actually the material meant for smoothing out the seams in new drywall and repairs.
Plus, with Halloween just around the corner, this DIY canvas art could make for spooky DIY decor while spending just a few dollars on supplies. After seeing this popular reel on Facebook, I was inspired to make my own!
This textured wall art is as easy as spreading frosting on a cake and is so satisfying and fun to create!

Instead of buying this $70 Ghost canvas, let’s make it for just a few dollars!
I started by grabbing a large 16×20 black canvas for just a few dollars after using my coupon at Michaels. It’s not framed like the example, but I don’t mind! We already had the drywall joint compound in the garage, as well as white house paint, so this is a very low-spend design project!

This ghost canvas is so easy that anyone can make one!
The process on this ghost canvas is to dip the cardboard ghost shapes into the joint compound and scrape it onto the canvas in a downward motion. Try to start a row towards the top of the canvas and work your way down. It goes quickly and is so fun to play with!


Tips for making DIY plaster art with joint compound:
- It’s not supposed to look perfect, though, and I love the tiny imperfections. You can consider practicing on scrap wood first.
- This project takes a day or two to dry, depending on how thick you spread the material, so plan for the drying time. The joint compound I am using dries to a bright white color.
- Small cracks did happen to one of my pieces. If this happens, smooth on a little more of the joint compound with a small brush to fix it. Then let it dry again.
- It’s a good idea to consider adding a layer of clear coat or Mod Podge on top to protect your canvas art after it’s dry.
DIY Textured Canvas Art
PrintSupplies Needed
- black 16x20 canvas
- drywall joint compound
- piece of cardboard
- black acrylic paint and paint brush
Directions
1
Cut a variety of ghost shapes from the cardboard in different sizes.
2
Dip the ghost shape into the joint compound and start scraping ghost shapes with the various sizes. Start from the top and scrape down to make a ghost. Try starting on the top third of the canvas and work your way down.
4
Once finished, let your piece dry completely. This takes a day or so.

I am so obsessed with how this ghost canvas turned out!
The texture on it just rocks. Honestly, this was the easiest project, and spreading the joint compound is so satisfying. This would be so fun to get a group together and make some Halloween-inspired canvases! I am in love with the result and know you will be too!
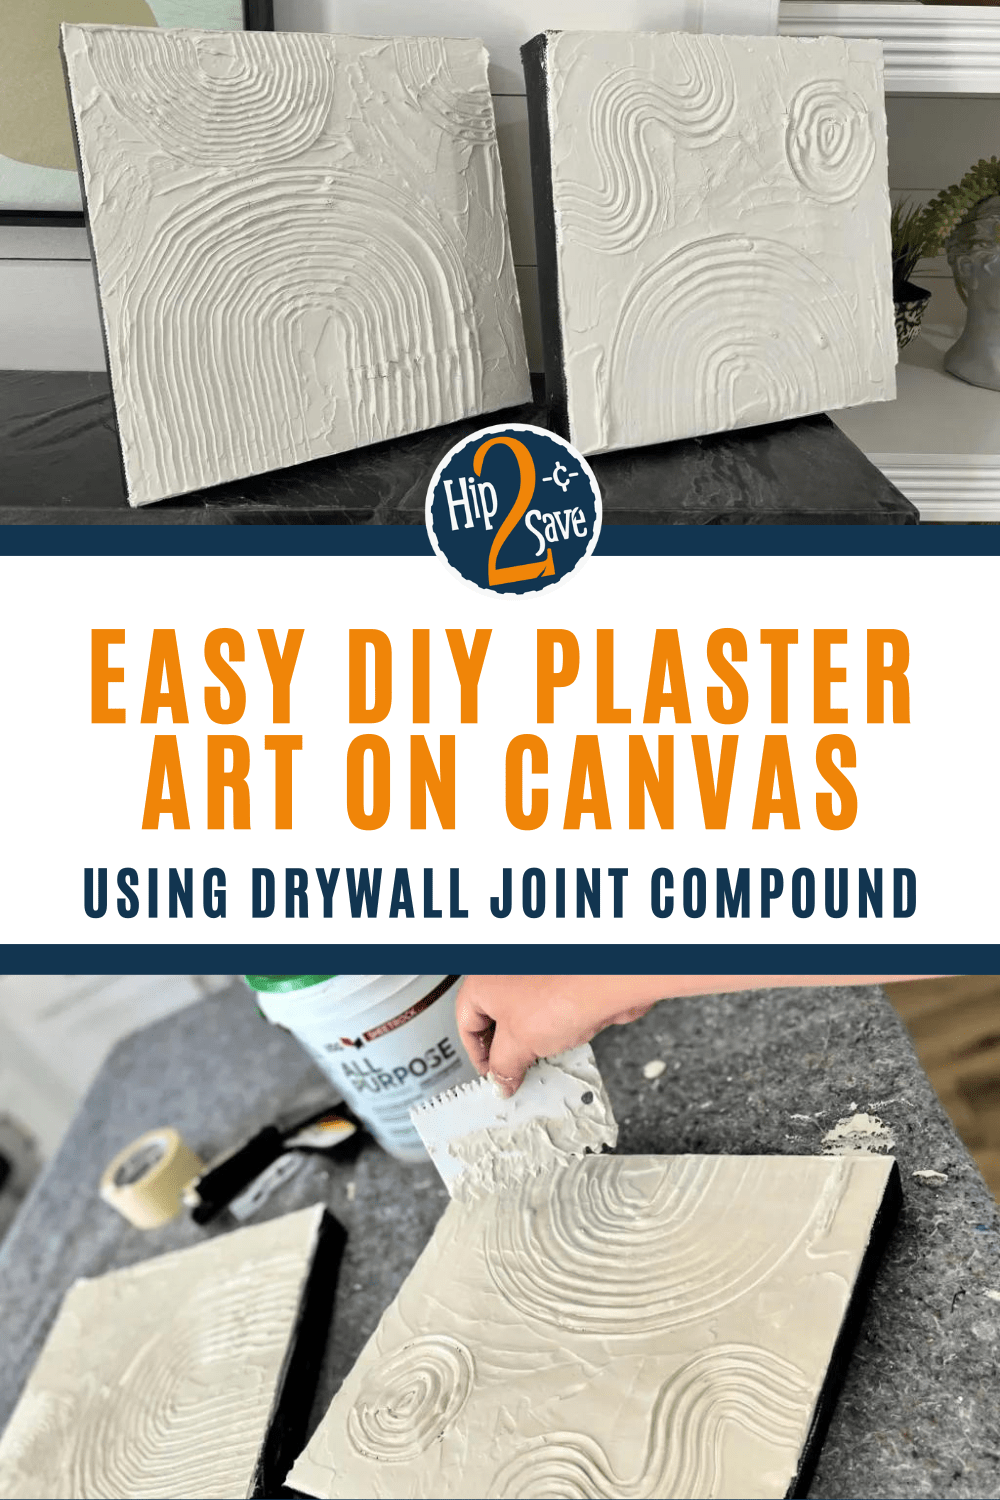
Check out this other example I made using arches for a more modern canvas decor look!
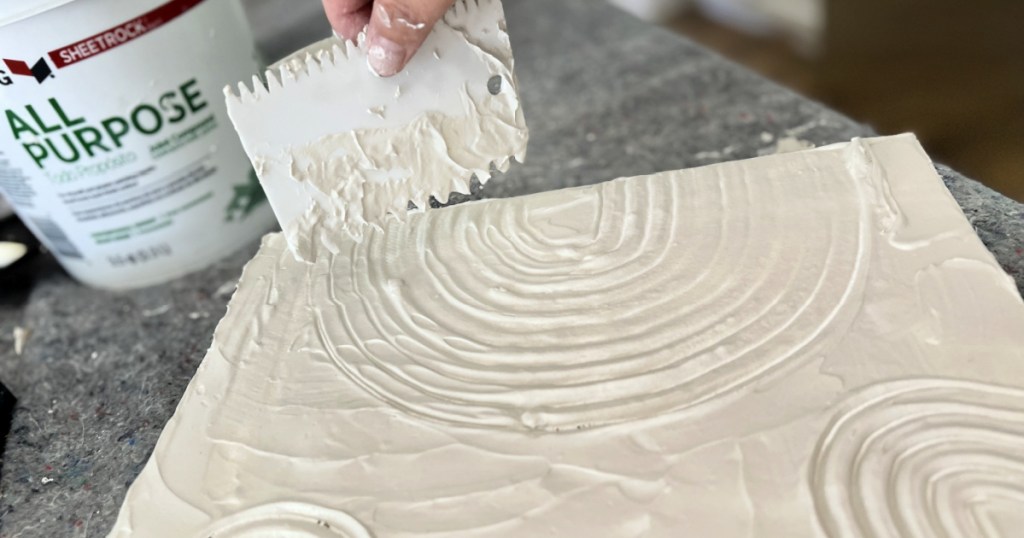
I noticed this arched rainbow design is very popular right now as abstract art. I personally love this trend and its minimalist boho vibes! You can either leave your design white or go even further and paint it after it’s dried. Either way is beautiful. The textured look is so amazing.
I am sure there are specific drywall spreaders you can use, but I had cake decorator frosting scrapers on hand, and those worked out as an easy tool to make waves, arches, and circles.


Whoa…such a neat idea! Thanks for the inspiration!
Great Halloween craft! Do you have any idea how many pictures the compound will make? I think it would be fun to get a group together to do this!
Oh i barely used any in the bucket so one would be all you’d need! So much fun. Enjoy!
I LOVE this, Lina!! Sooo cuuuuute! 😍 Thank you for sharing!
Thanks Jenn! Glad you enjoyed this project. It was fun to make!