
Here’s How to Make A Macrame Plant Hanger In 5 Minutes For Under $1
Looking for a new way to display your houseplants? Here’s how to make a DIY macrame plant hanger that you can hang almost anywhere!
Plant enthusiasts, I have an easy, frugal, functional DIY perfect for winter storage. 🙌
Personally, I love to keep lots of different plants & succulents around my apartment no matter the time of year. Since we’re getting into colder weather, I find there’s no better cure for my seasonal winter blues than having a house full of bright, green plants to add a little color on dreary days! 🤗
Since I don’t have a ton of counter or floor space, I like to keep my smaller potted plants in hanging containers.
I’ve seen those really pretty macrame plant holders pretty much everywhere just begging me to buy them, but I resisted because I love putting my personal touch on decor and knew I could make them even cheaper. And I have wayyyyy too many plants to be buying loads of these for each and every one. 😅

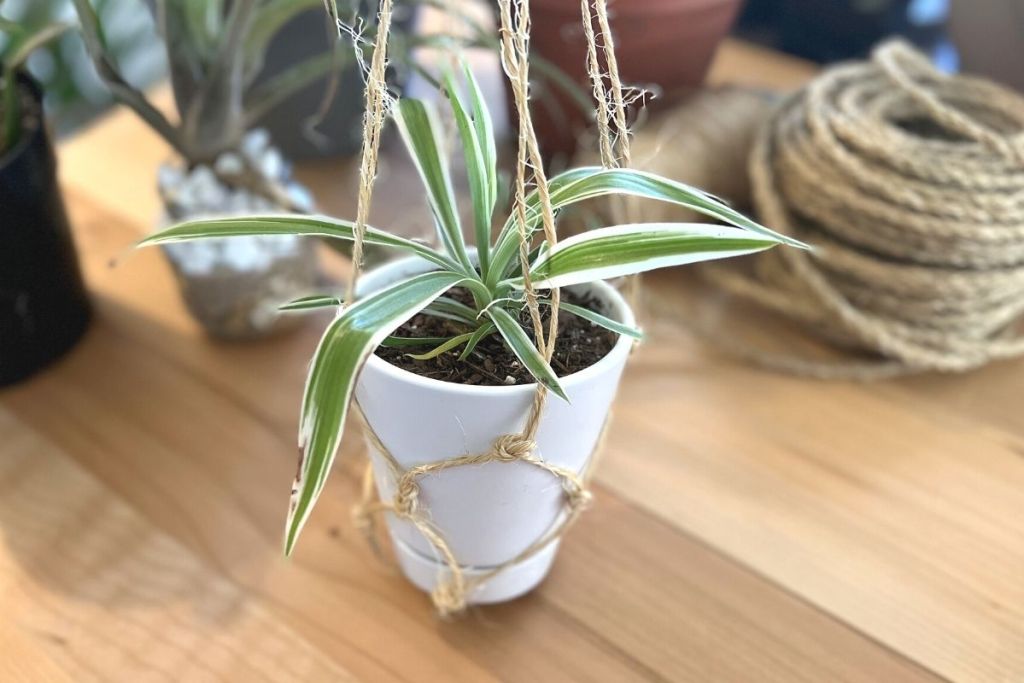
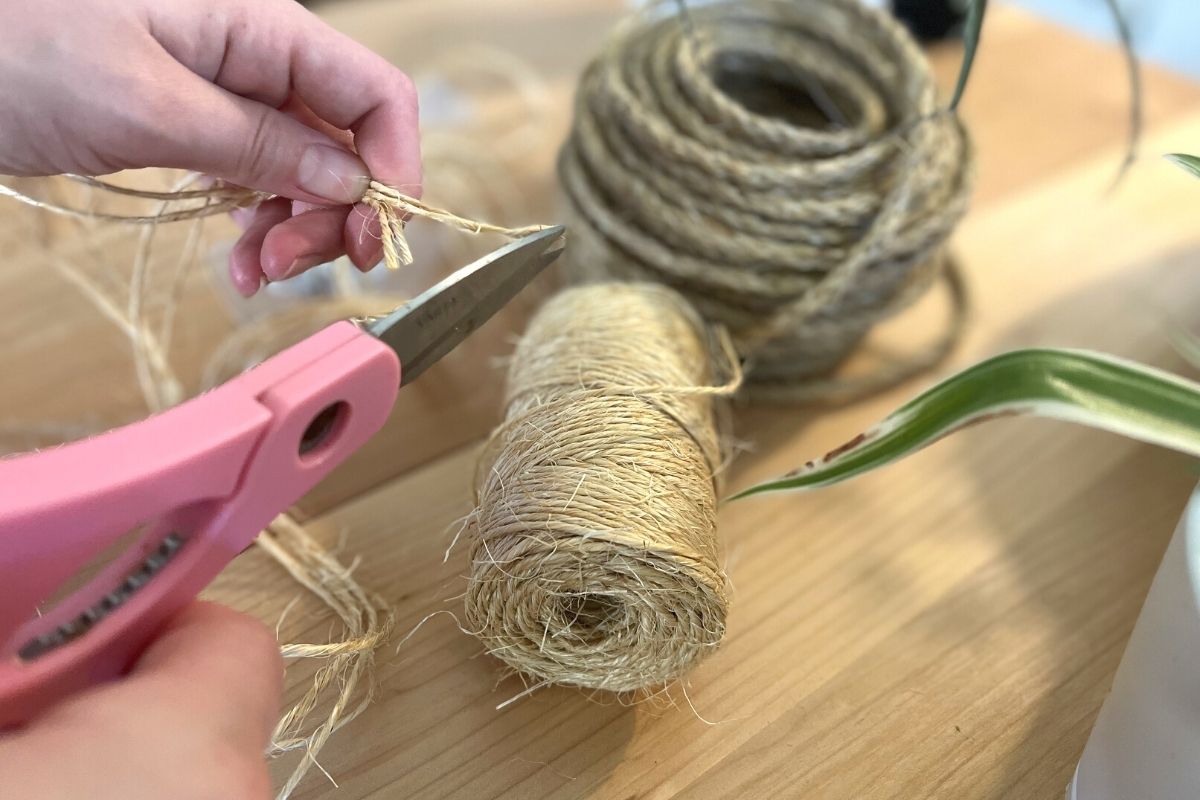
I looked up how to make a macrame plant hanger myself, and to keep it super budget-friendly, I skipped the fancy braided macrame cord and opted for simple jute rope from Lowe’s that cost me around $3!
With the roll I bought, I can make 9 of these macrame planter holders so they end up at about 33¢ a piece! I call that a win! 🙌
Now, I’m far from being the DIY queen (that distinction goes to my Hip teammate, Lina). But these holders are so simple to make that even I had an easy time tying them together. 😉
Here are the cliff notes on how to make a macrame plant hanger for less than $1 each:
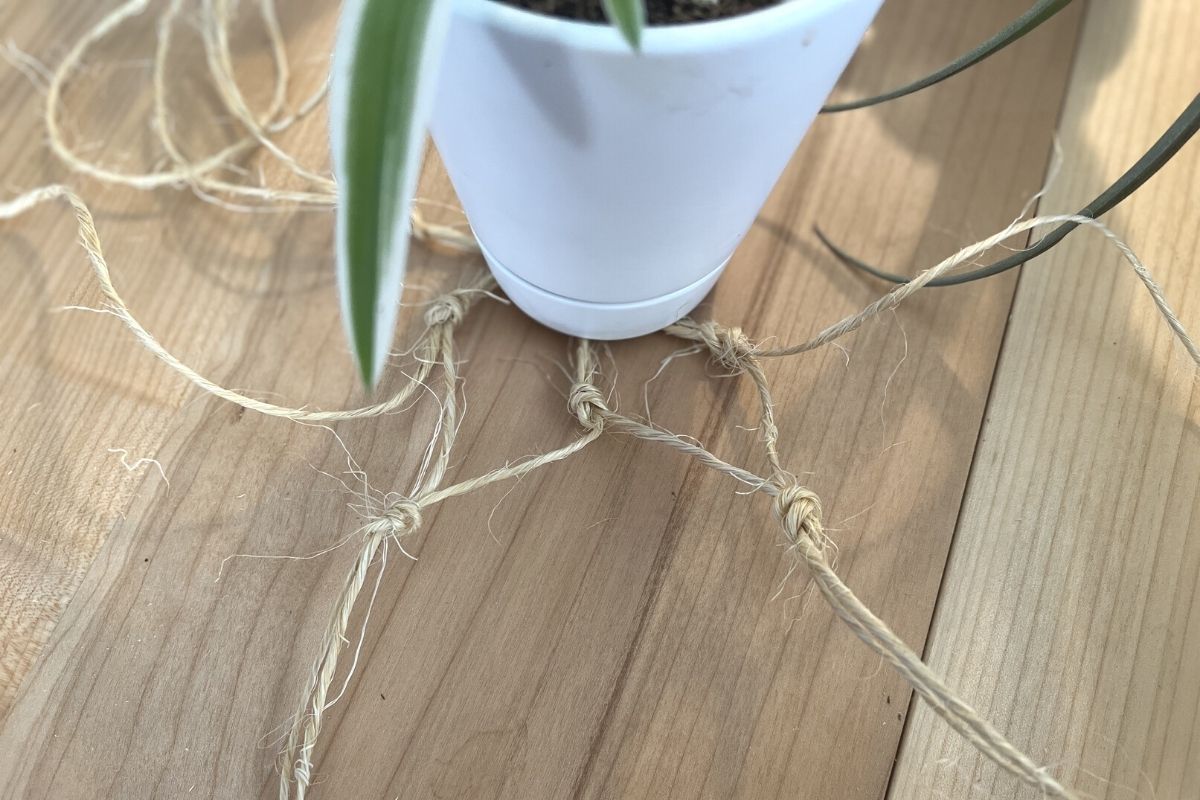
First, I cut four pieces of rope about 5′ long each & tied a knot right in the middle.
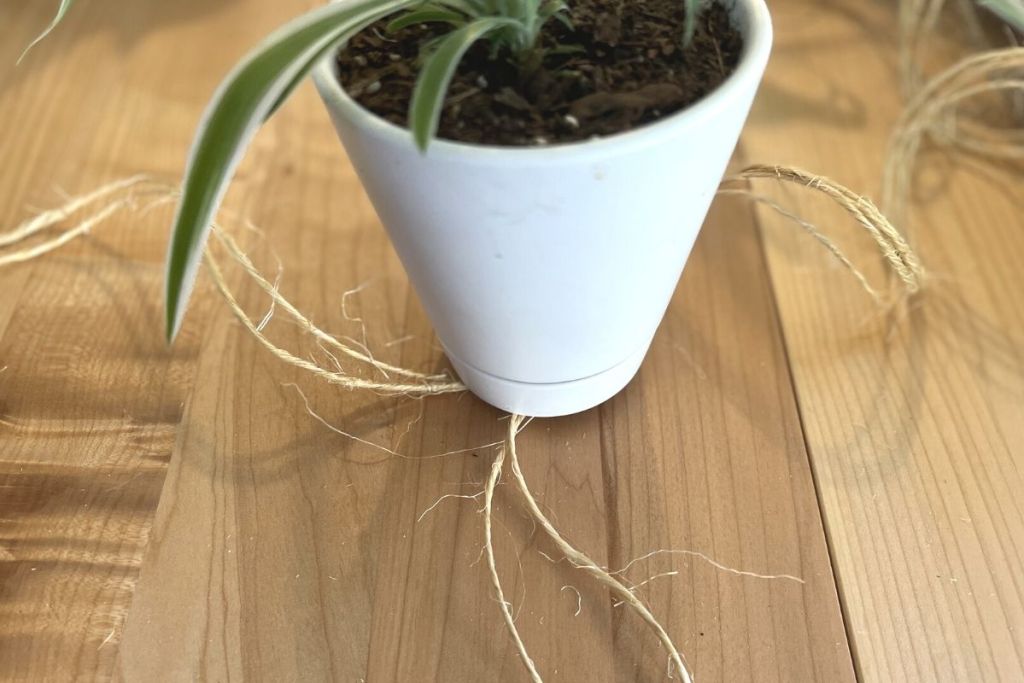
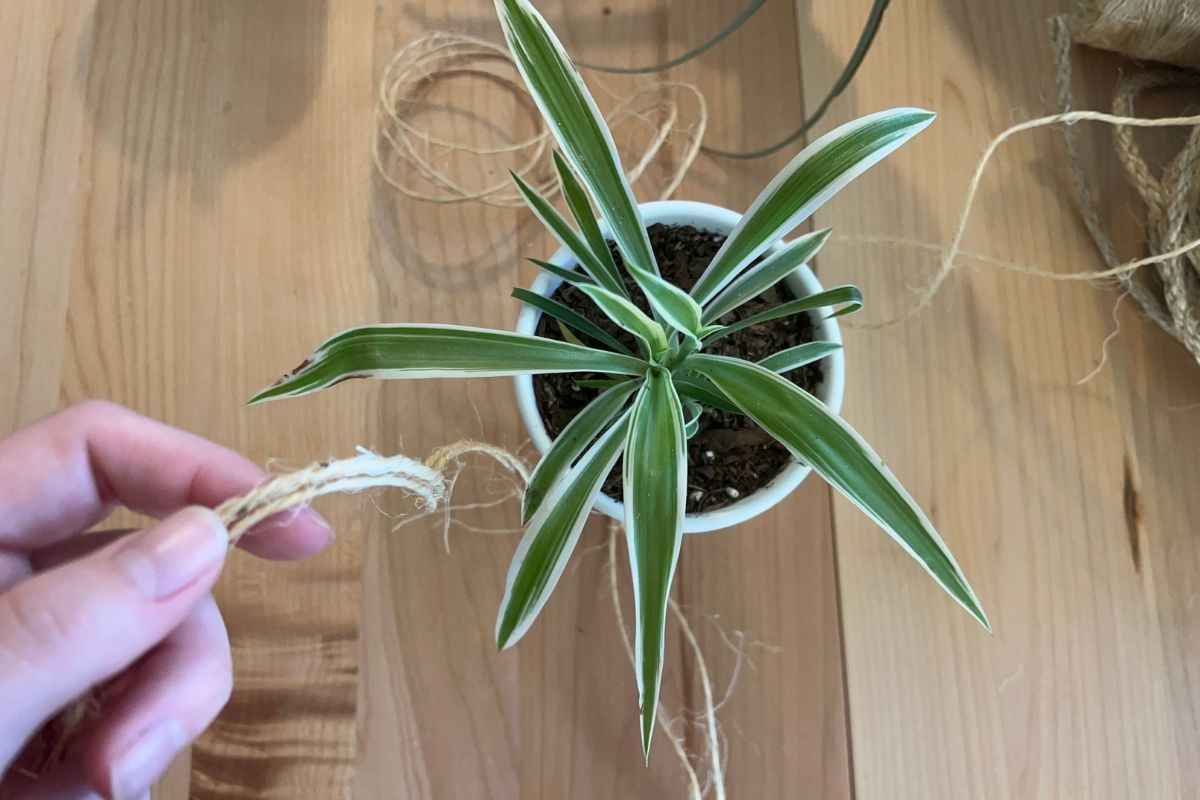
I set my potted plant on top of the middle knot and separated the ropes into four pairs.
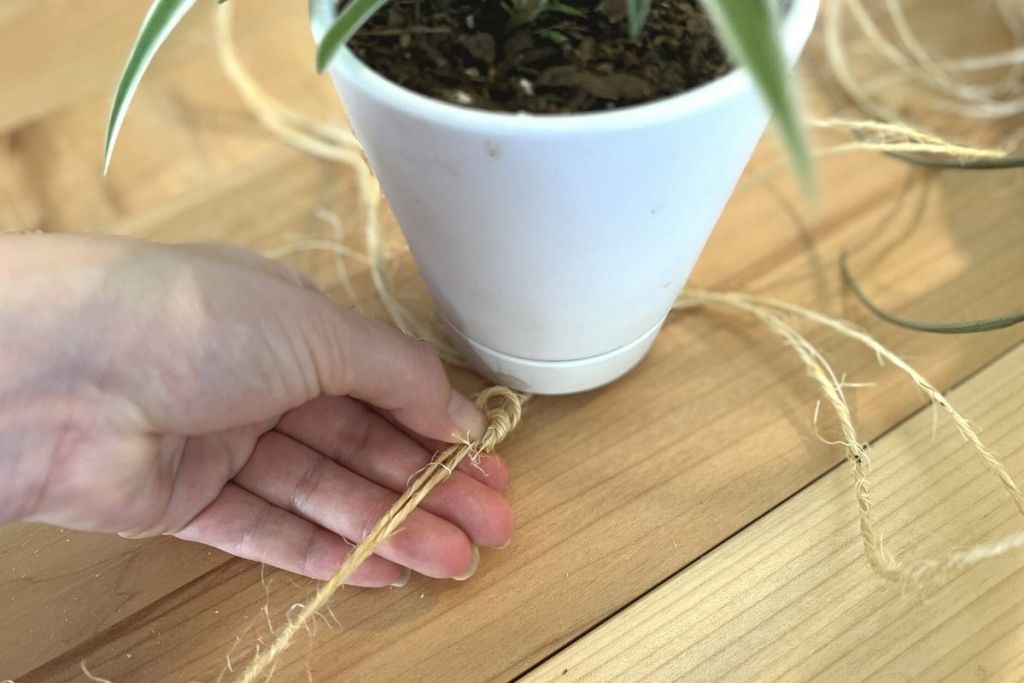
Next, I took one pair of ropes and tied them close to the base of the pot. Then I repeated with the rest of the pairs, trying to get them as evenly spaced as possible. It’s totally fine if they’re not perfect though–mine definitely aren’t. 😆
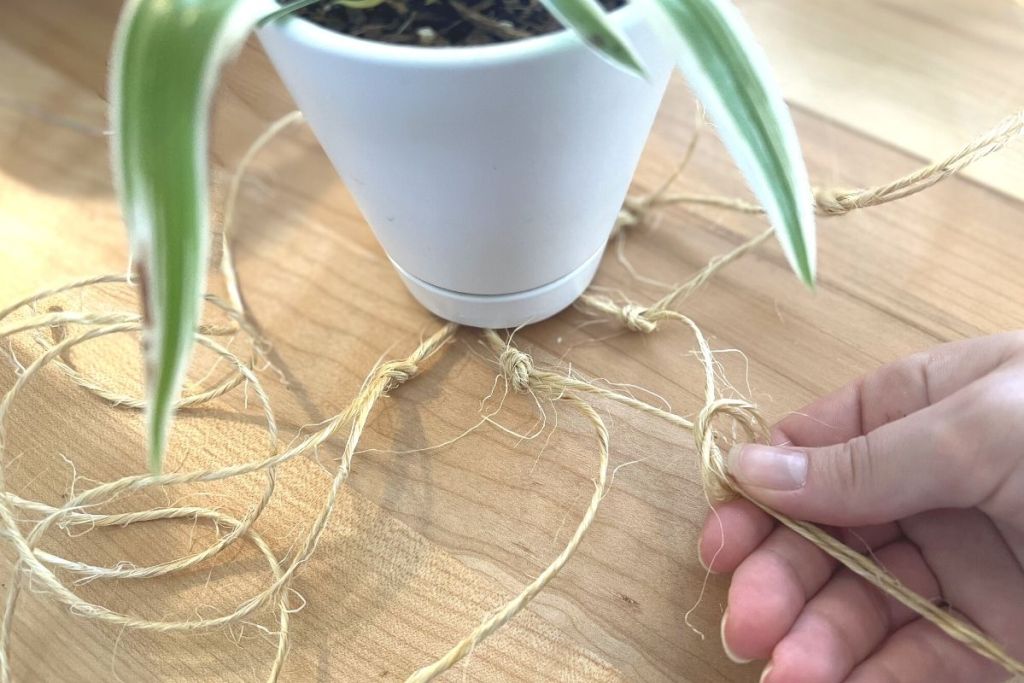
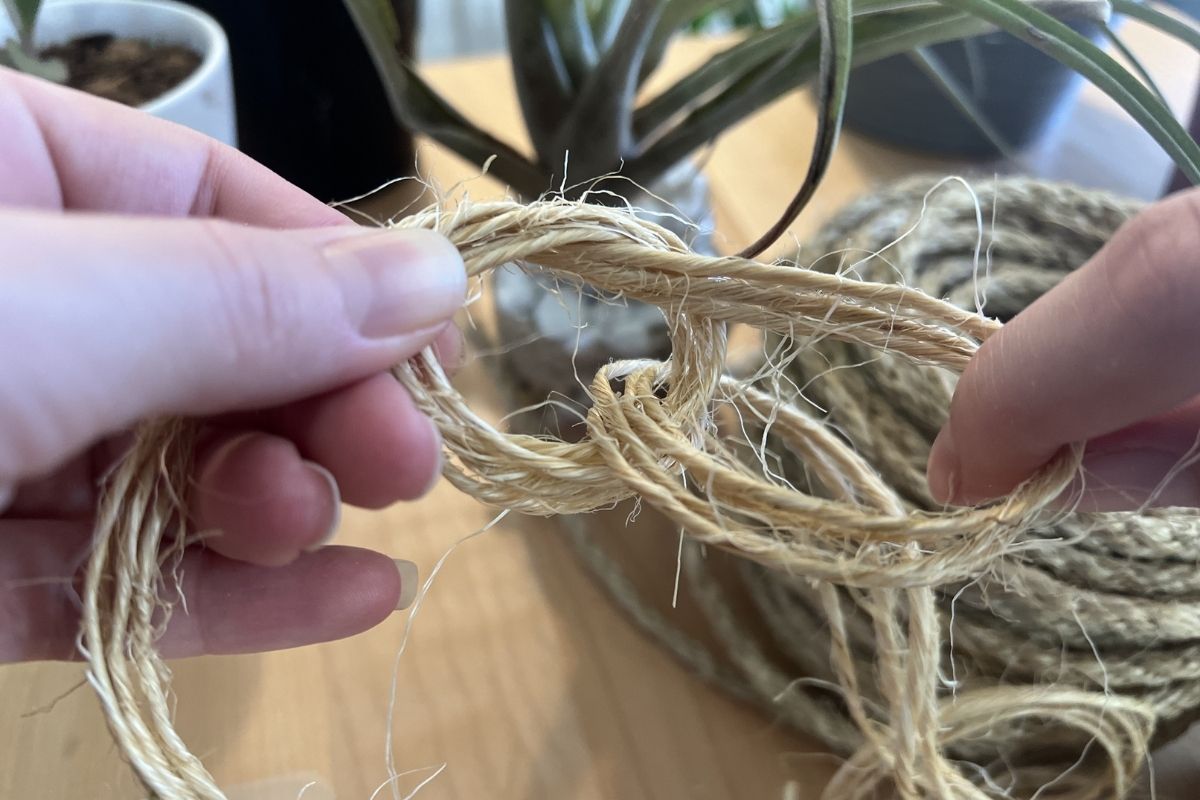
I grabbed two more ropes–one from each pair beside each other–and tied them together to form a diamond shape & repeated with the other sides.
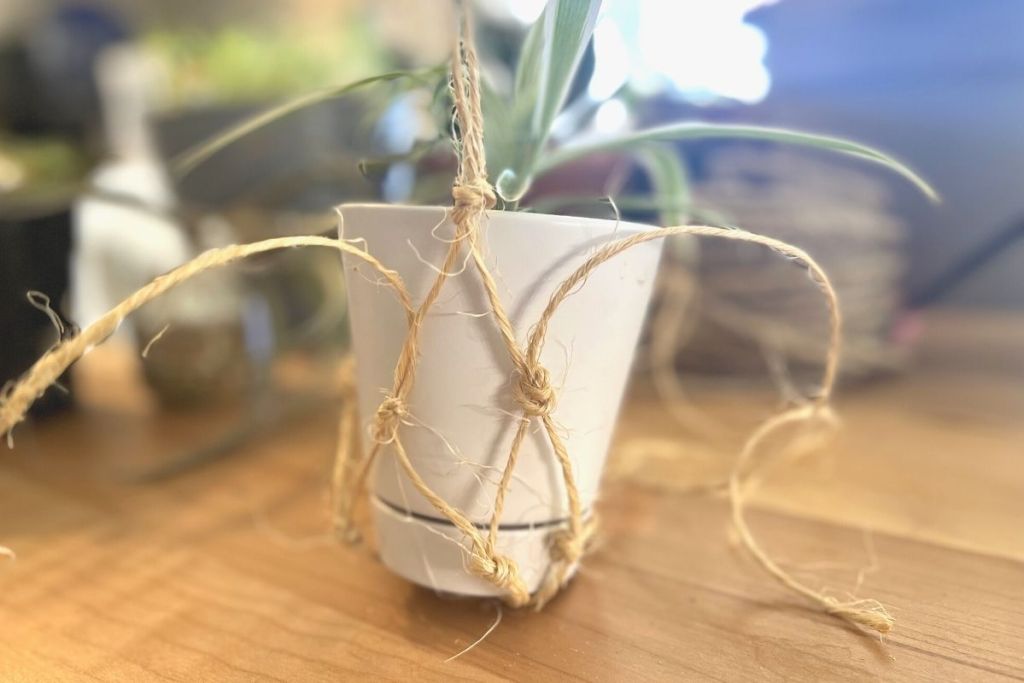
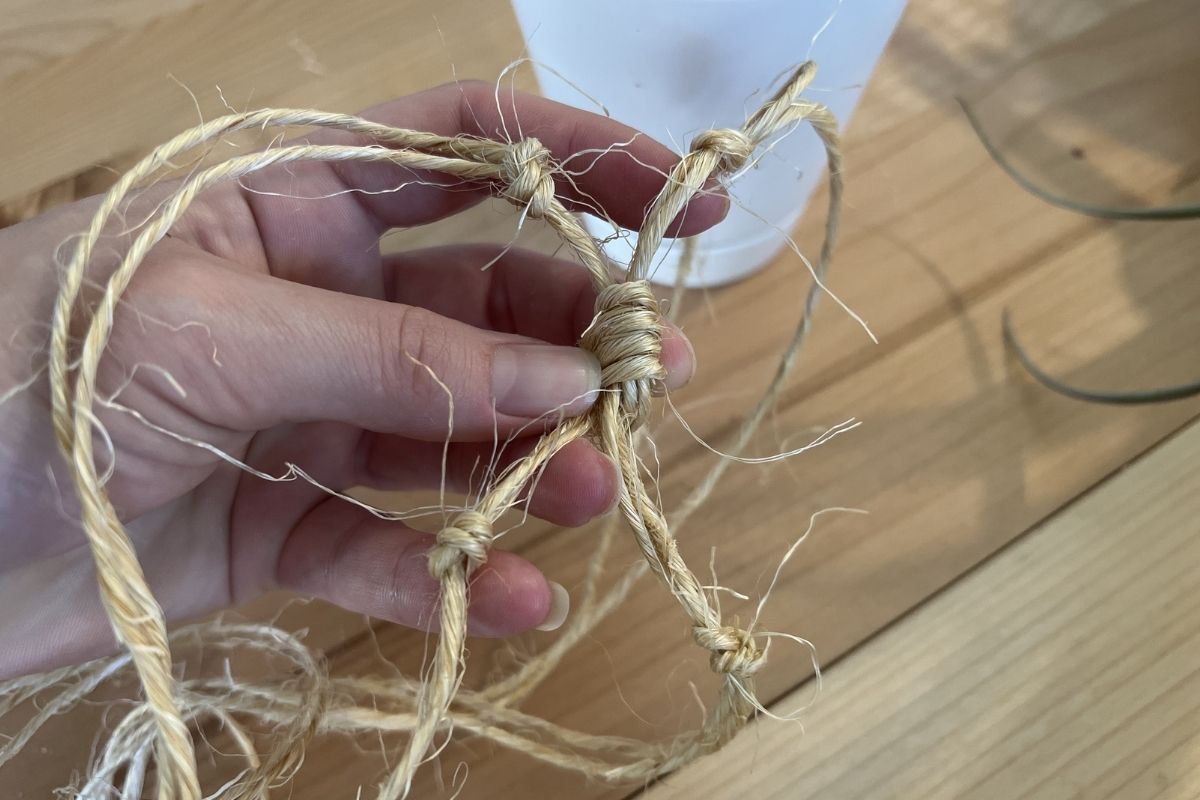
And lastly–you guessed it–I repeated the diamond pattern one more time before tying the ends and calling it a day!
I kept my hangers simple, but you can get creative with it too.
I used really easy patterns to create these hanging plant holders, but once you get the hang of it, you can totally customize them however you please! Feel free to switch up the knotting style or type of rope to change the look.
Tips for making DIY macrame plant hangers:
- This would be a really fun activity for the kiddos to help you out with! They can add beads (like these cute Christmas beads!), multicolored rope, etc. to make all kinds of designs.
- Avoid hanging the heavier plants in these DIY baskets. Even though they’re sturdy, it’s best to stick will small-to-mid-size planters just in case!
- If you want to add more plants to your collection and don’t want to pay for them, propagate the plants you have already! I always cut my succulents & let them callous for a few days before planting them, and there are several plants that sprout roots really well when simply left in water. I haven’t paid for plants in a long time by propagating the ones I have already & swapping cuttings with friends.
- I like to thrift my containers and pots, but I also keep an eye on our home deals page to catch some great sales whenever they pop up!
DIY Macrame Plant Holders
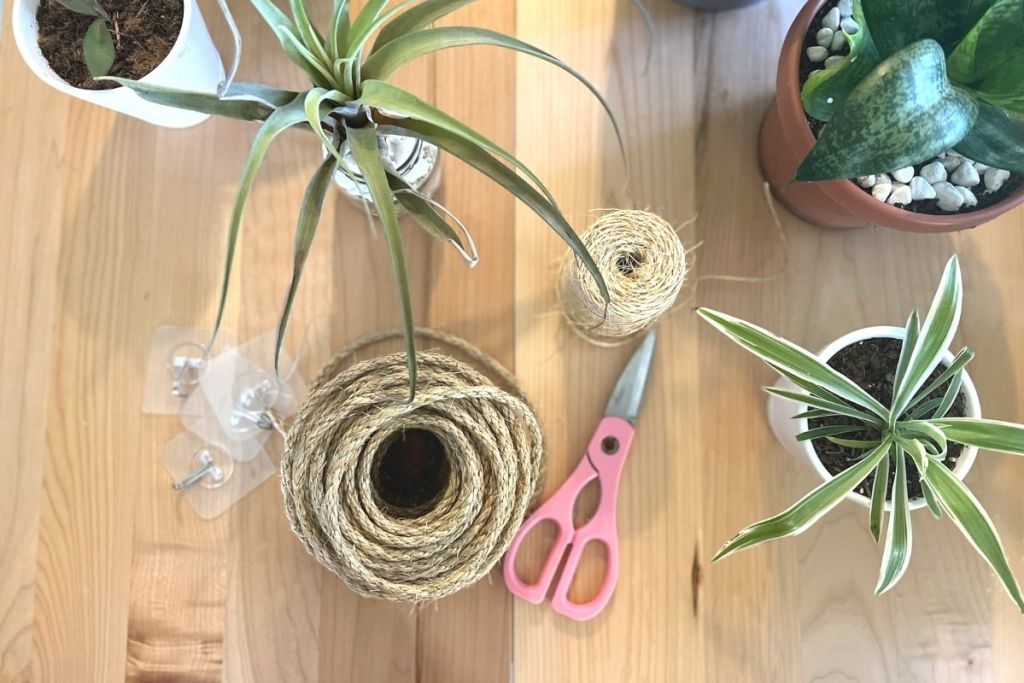
PrintSupplies Needed
Directions
1
Cut four pieces of rope about 5 feet long each.
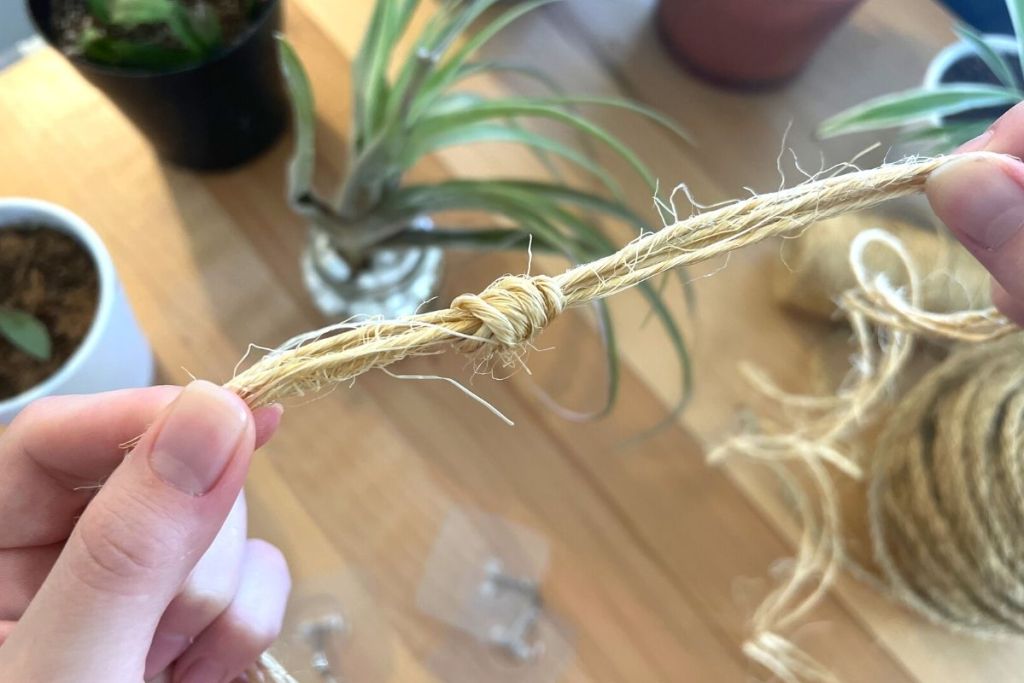
2
Lay the ropes out flat, find the middle point, and make a knot in the center of the ropes. You can also cut 8 equal 2.5-foot pieces and tie a knot at the end, but I find it easier to just stick to four and find the center.
3
Separate the ropes into four groups of two ropes each.
4
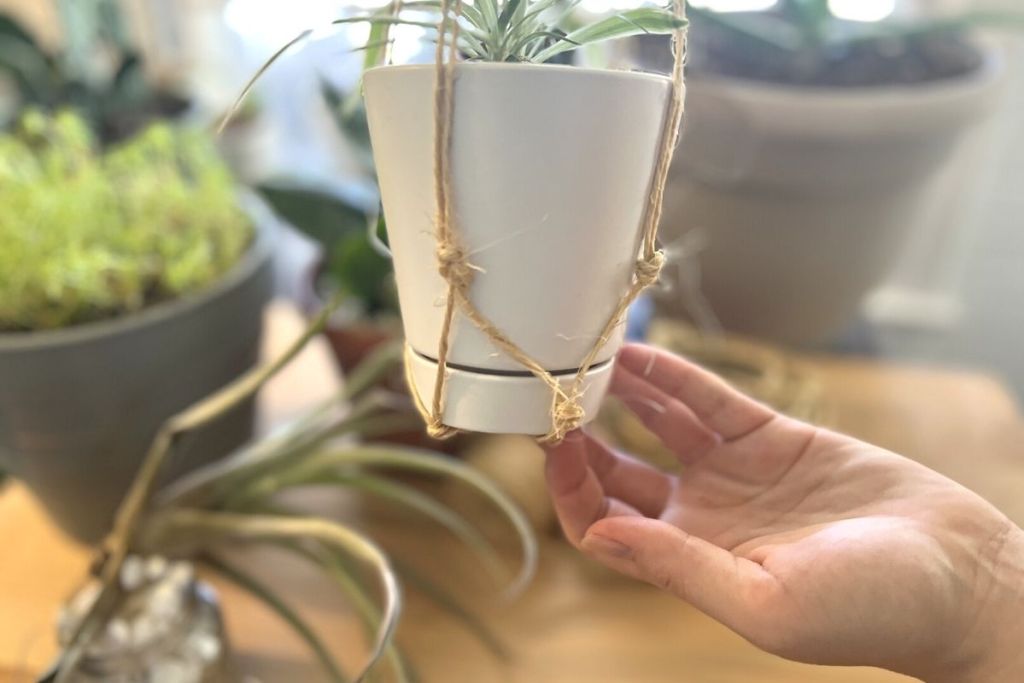
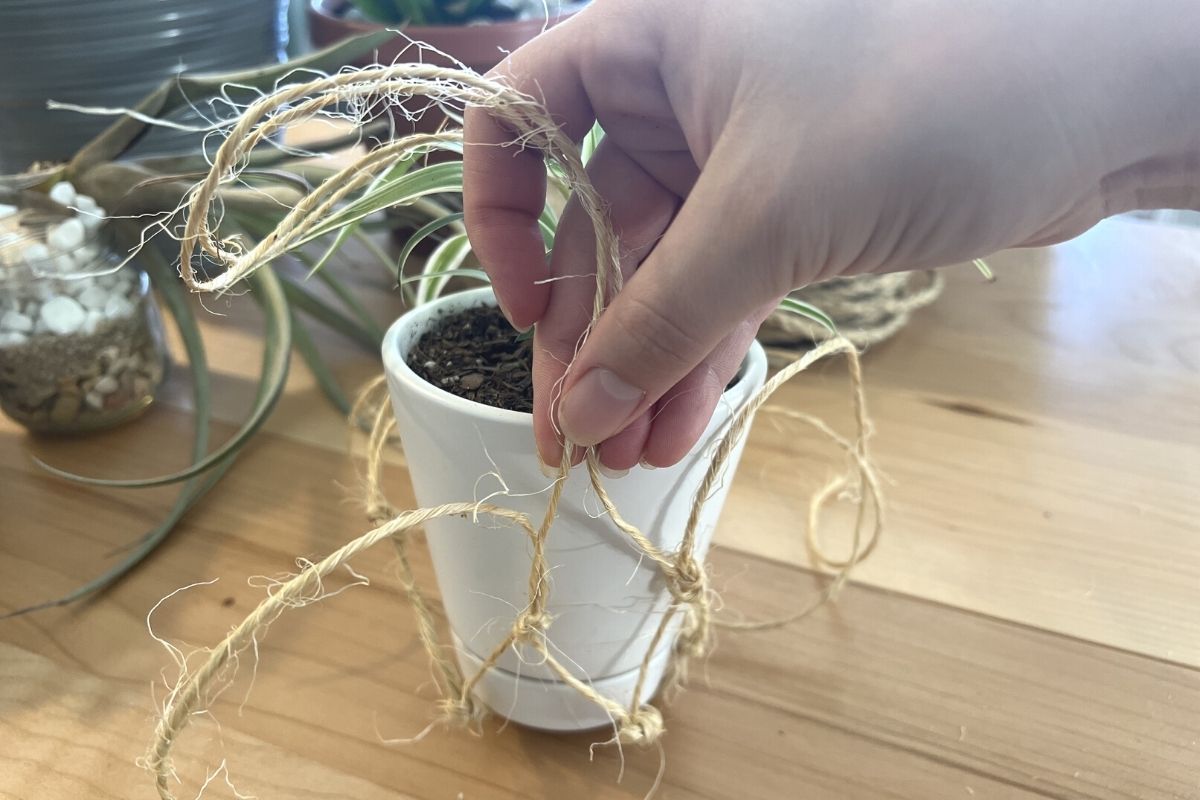
Set your potted plant in the center. Gather two adjacent ropes and make a knot on the outer edge of the pot, then repeat for the other three pairs of ropes.
5
Once you have your first four knots done, select one rope each from two of the paired sections & tie them together (we’re going for a diamond shape). I like to tie the ropes about 1.5″-2″ above the first knots.
6
Then, select one piece of rope each from the new pairs and tie those pieces together to create the diamond-shaped pattern. At this point, you can move on to the final step, but you can also go on to create a few more knots if you’d like!
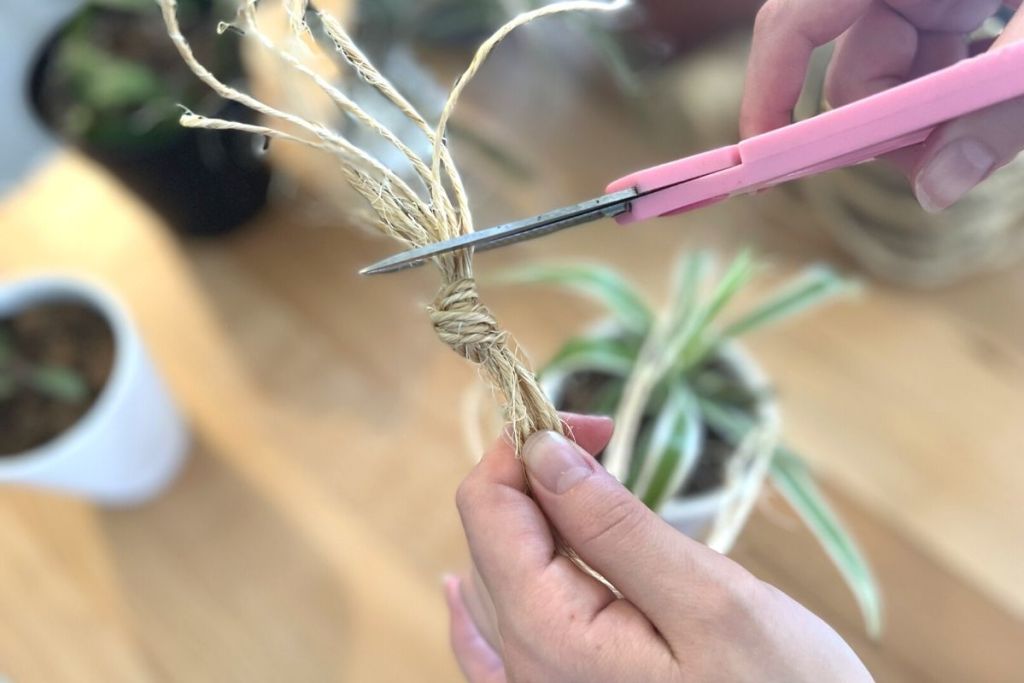
7
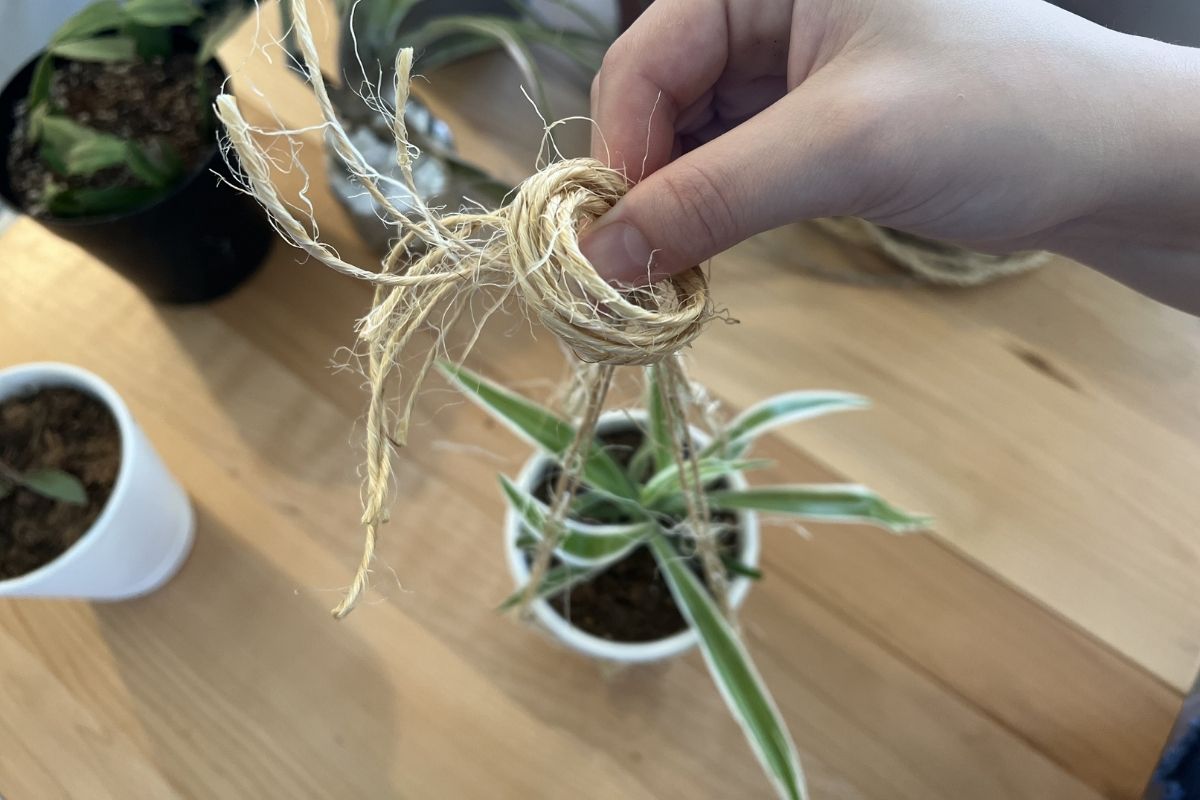
Once you’re happy with your design, gather the ropes at the top and create one last, large knot with all the ropes. You can get some wooden rings to tie the knots around, but I didn’t have any so I stuck with hanging them on hooks I already had on hand.

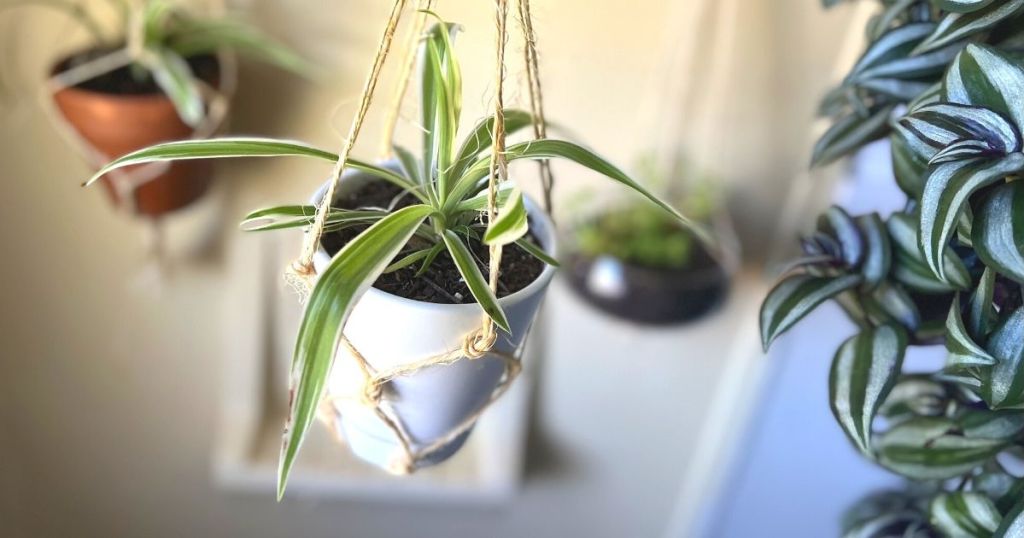
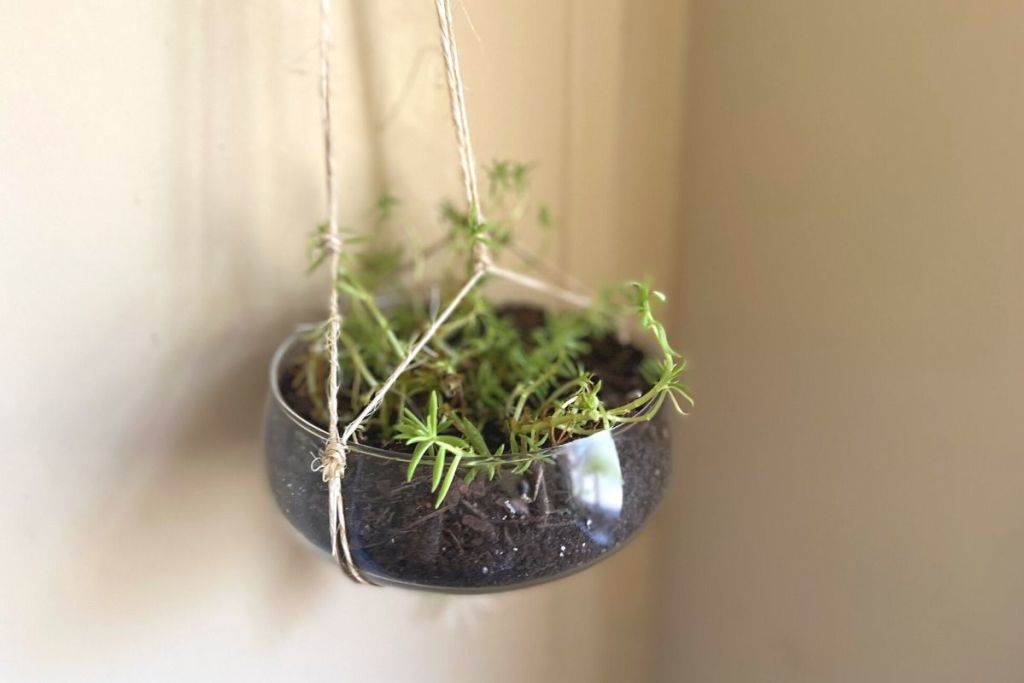
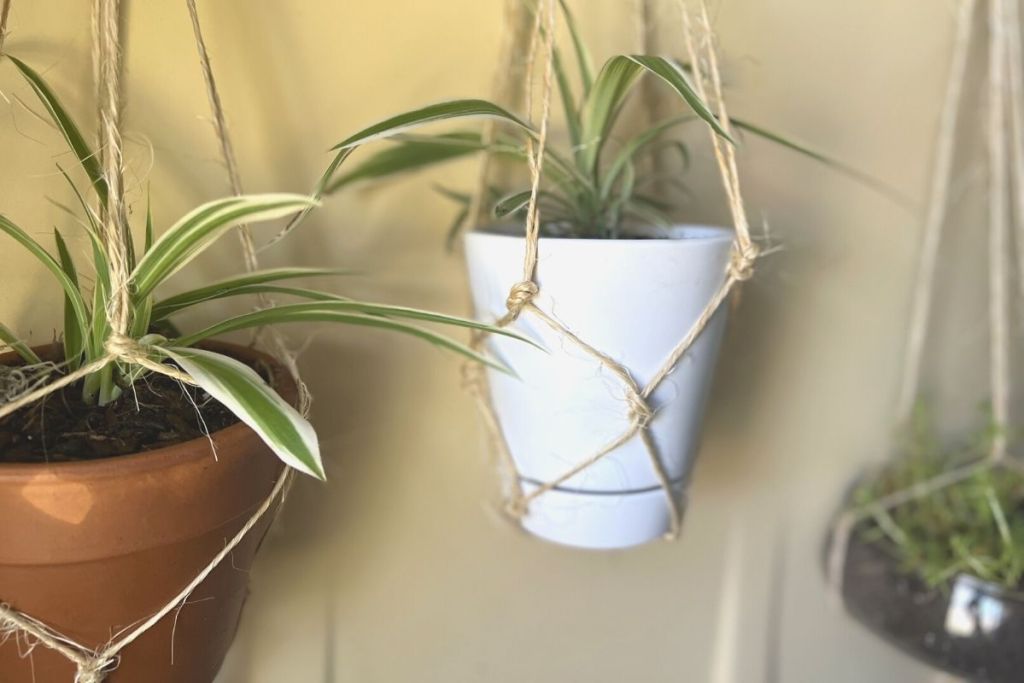
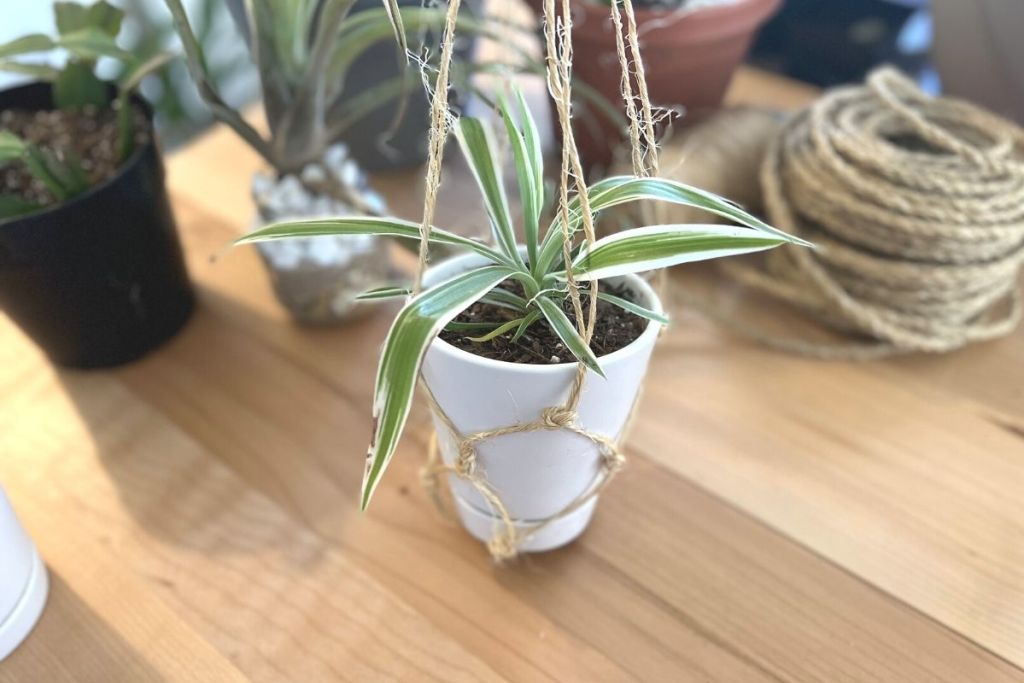
This macrame plant hanger DIY is just as pretty as it is functional.
Even the plain hangers I made look really good hanging up in my windows, but if you add a little decoration, you can make them look even better! Plus, these plant holders save me a ton of space & I love being able to hang them wherever I want.
These would also be a sweet handmade gift for plant-loving friends & family!
To keep it super frugal, you can take cuttings from your own plants and gift them in small pots along with your macrame hangers.
Speaking of gifts, check out these adorable DIY mason jar snow globes!


Wow – thank you for the awesome idea! I’m off to get some jute rope to give this a try. I love that this is doable and affordable. Yours look great!
Thank you, Ra’shonda! Let us know how it turns out for you!
I love this post and would enjoy more like it!
Thanks for the feedback, Sheila! We love hearing this!
Great DIY!! Thanks for sharing.. love all your DIYs..
This idea is super cute!! I love these also ,but they are expensive, and big .Now I can make a mini one for my powder room, my kitchen window etc. Plus great craft diy, for my boys and I .. Thx!! God bless
I have a mini one hanging from my car rearview mirror! I put a tiny pot in and fill it with knick snacks or a faux succulent.
Wow!!!!! This is so cool!! I have some medium thickness nylon rope that I got for next to nothing. Maybe that would work too. Thanks for the great idea!
I’m doing a rosé and macrame party and Lowe’s is a good place to get some inexpensive jute cord thanks!
Thank you for the excellent tutorial!
Fantastic idea 💡
Really enjoyed the article and I would like more like it.
How sweet! Thanks for the feedback! Find many more like this one over here – https://hip2save.com/category/tips/home-improvement-diy-projects/