My Secret to Feeling Amazing (And Saving $$) – You’ve Gotta Try This Ginger Shot Recipe!
Make my simple ginger and turmeric shot recipe!

My zesty ginger and turmeric shot recipe is packed with powerful antioxidants & immune-boosting goodness to fuel your body and save you money!
I’ve received so many questions about my ginger turmeric recipe since I shared it on Instagram. So, I’m excited to finally have it here on Hip2Save for you to use whenever you need it!

When I discovered the benefits of consuming ginger shots I knew I wanted to start making them on my own. I was looking to replicate my favorite ginger shot from a local coffee shop and found this recipe from The Butter Half. After making them for over two years I’ve added my own tweaks so be sure to keep reading!
No one should feel guilty about investing in better health. Just a single ginger shot at my local store is close to $5, so making them yourself is surely the way to go. 🙌🏼
Known ginger shot benefits:
- Boosts Immunity: Ginger contains powerful antioxidants that help strengthen the immune system. This makes it easier to fight off colds and infections.
- Aids Digestion: Ginger is known to improve digestion by promoting the production of digestive enzymes, reducing bloating, and easing indigestion or nausea.
- Reduces Inflammation: Ginger contains compounds like gingerol that have strong anti-inflammatory properties. This can help reduce pain and swelling in the body.
- Improves Circulation: Ginger may help improve blood flow, reducing the risk of cardiovascular issues by keeping your heart and arteries in better shape.
- Soothes Nausea: Ginger is very effective in calming nausea – motion sickness, pregnancy, or digestive issues.
- Supports Weight Loss: Ginger has thermogenic properties that can help increase metabolism and promote fat burning.
- Boosts Energy: The spicy kick from ginger naturally boosts energy levels without the crash you might get from caffeine or sugary drinks.
- Relieves Muscle Pain: Regular consumption of ginger has been shown to help reduce exercise-induced muscle pain and soreness.
- Lowers Blood Sugar: Some studies suggest that ginger may help lower blood sugar levels and improve insulin sensitivity. This can be beneficial for those with diabetes or who are at risk.
- Supports Joint Health: The anti-inflammatory properties of ginger may help reduce symptoms of osteoarthritis and rheumatoid arthritis, alleviating joint pain and stiffness.
Disclaimer: The benefits mentioned above are based on general research & personal experience. I am not a doctor or healthcare professional, and this information should not be taken as medical advice. Always consult with a qualified healthcare provider before making any significant changes to your diet or wellness routine. Especially if you have any underlying health conditions or concerns.

As I’ve mentioned above, these ginger shots are simple to make! They pack a punch and if you love ginger you’re not going to be able to get enough of these! 🤩
Here are a few important tips for how to make ginger shots:
- Use fresh ingredients: Fresh ginger and turmeric root will give the shots a stronger, more potent flavor and higher nutritional value compared to powdered versions.
- Use organic ingredients: Organic foods are free from harmful pesticides, ensuring your body absorbs only the pure, natural goodness packed with antioxidants and immune-boosting properties.
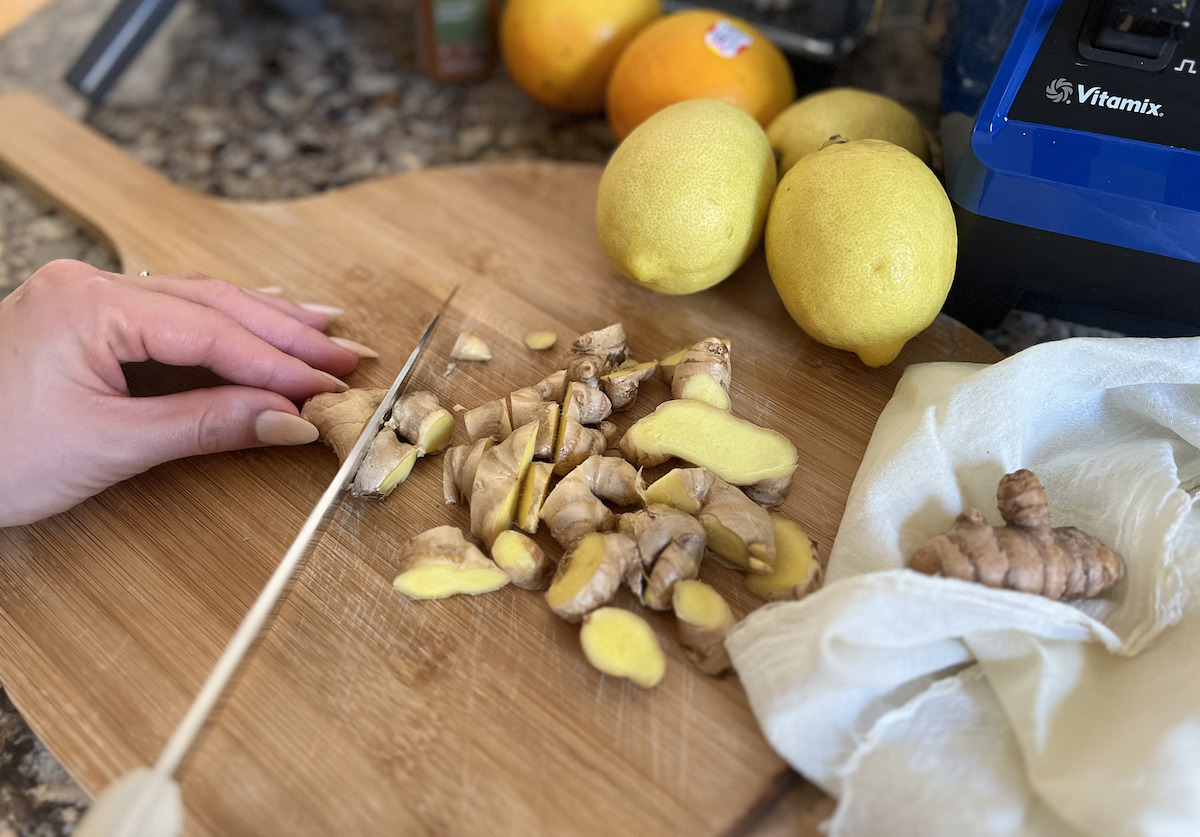
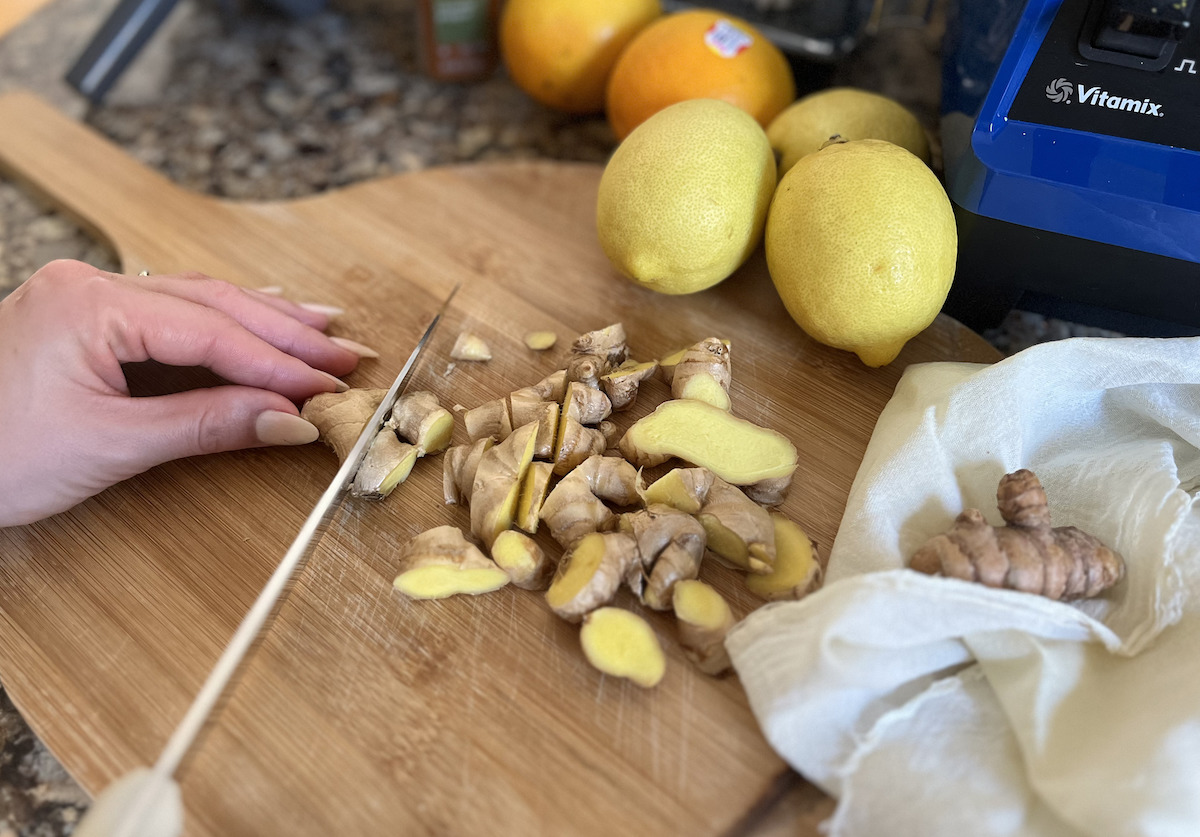
- Don’t peel the ginger: This may come as a surprise, but there are more fiber and beneficial polyphenols in the skin of ginger root.
- Use a spoon for peeling the turmeric: the skin of turmeric is harmless. However, it doesn’t provide many benefits, so if you wish to peel it off, a spoon is your best bet.
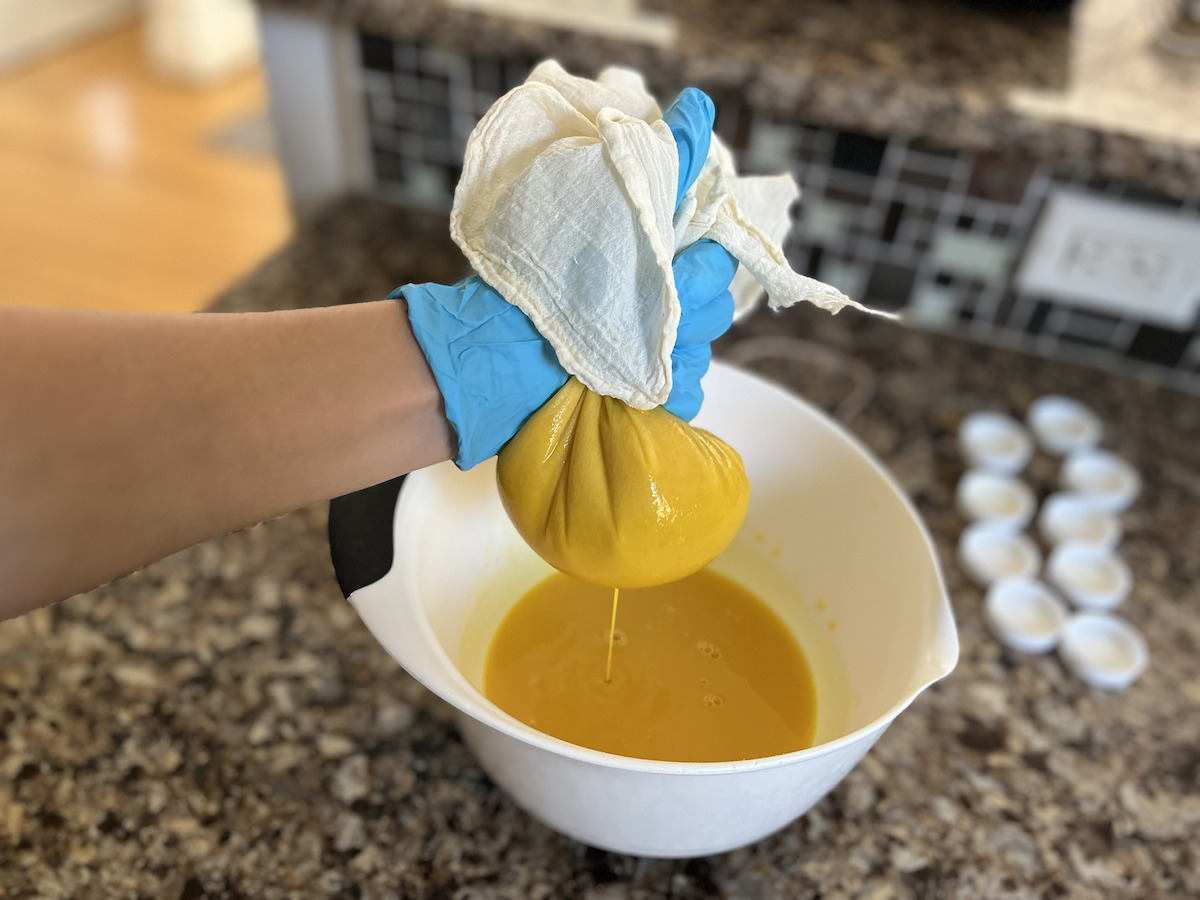
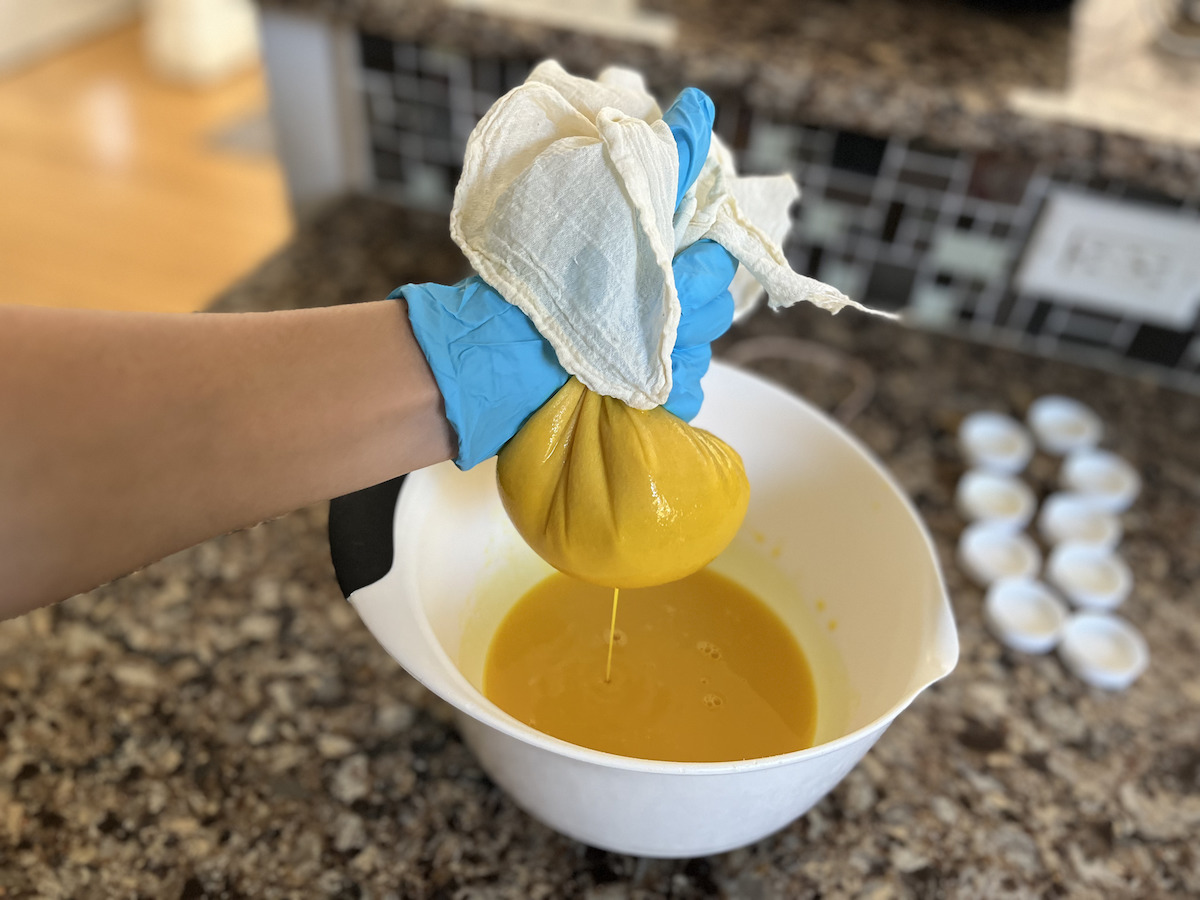
- Wear gloves to avoid staining: Turmeric can easily stain your hands and surfaces. So, it’s a good idea to wear gloves when peeling and straining your juice through the cheesecloth.
- Use a high-speed blender or juicer: A powerful blender or juicer will extract the most juice and break down the tough ginger and turmeric fibers efficiently. (I use a Vitamix Blender.)
- Add filtered water to cut down on zestiness: Fresh ginger root juice packs a serious punch. You can add up to a 1/2 cup of filtered water to my recipe to cut down on the potency.
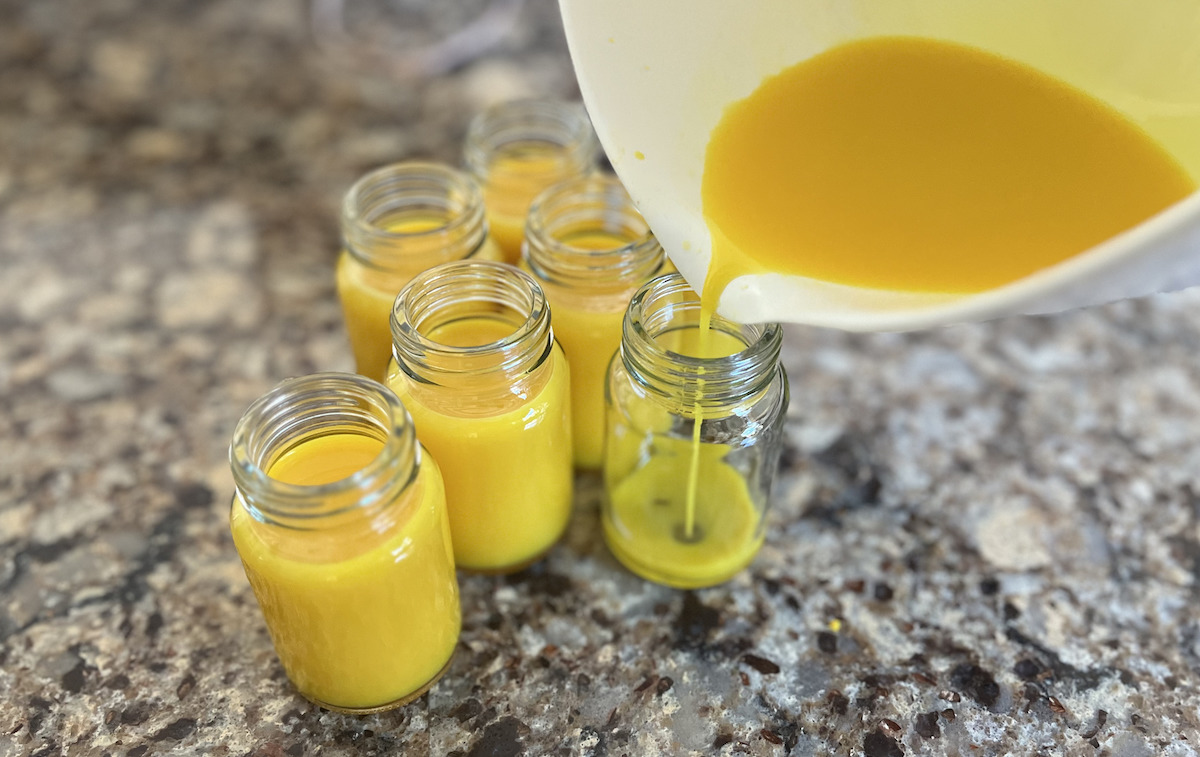
- Use glass containers: Store your shots in glass bottles or jars to preserve the freshness and avoid staining plastic containers.
Adding black pepper to your ginger turmeric shot right before you drink it boosts the bioavailability.

According to Johns Hopkins Medicine, there’s a science behind adding black pepper to a ginger turmeric shot recipe:
Black pepper contains piperine, a compound that can boost the bioavailability of curcumin, the active ingredient in turmeric. In turn, piperine can increase the rate at which your body absorbs curcumin by up to 2,000%.
Just about 1/20th of a teaspoon of black pepper is all you need and it’s completely game-changing. Just note that the piperine and curcumin will activate immediately so you’ll want to add the black pepper right before consuming.
Now, let’s make my ginger shot recipe!
Ginger Turmeric Shots
yield: 7 SERVINGS
prep time: 10 MINUTES
total time: 10 MINUTES
Zesty shots that provide tons of health benefits and pack a punch!
Ingredients
- 3/4 cup ginger root (unpeeled)
- 2 tbsp peeled turmeric root (about size of finger)
- 3 lemons (juiced)
- 2 small oranges or 1 large orange (peeled)
- 1 tbsp raw honey
- 1/4 tsp cayenne pepper
- cheesecloth
- 2 oz. glass shot glasses
- 1/20 tsp. cracked black pepper (optional before consuming)
Directions
1
Wash and cut unpeeled ginger root into large chunks and place into your blender.
2
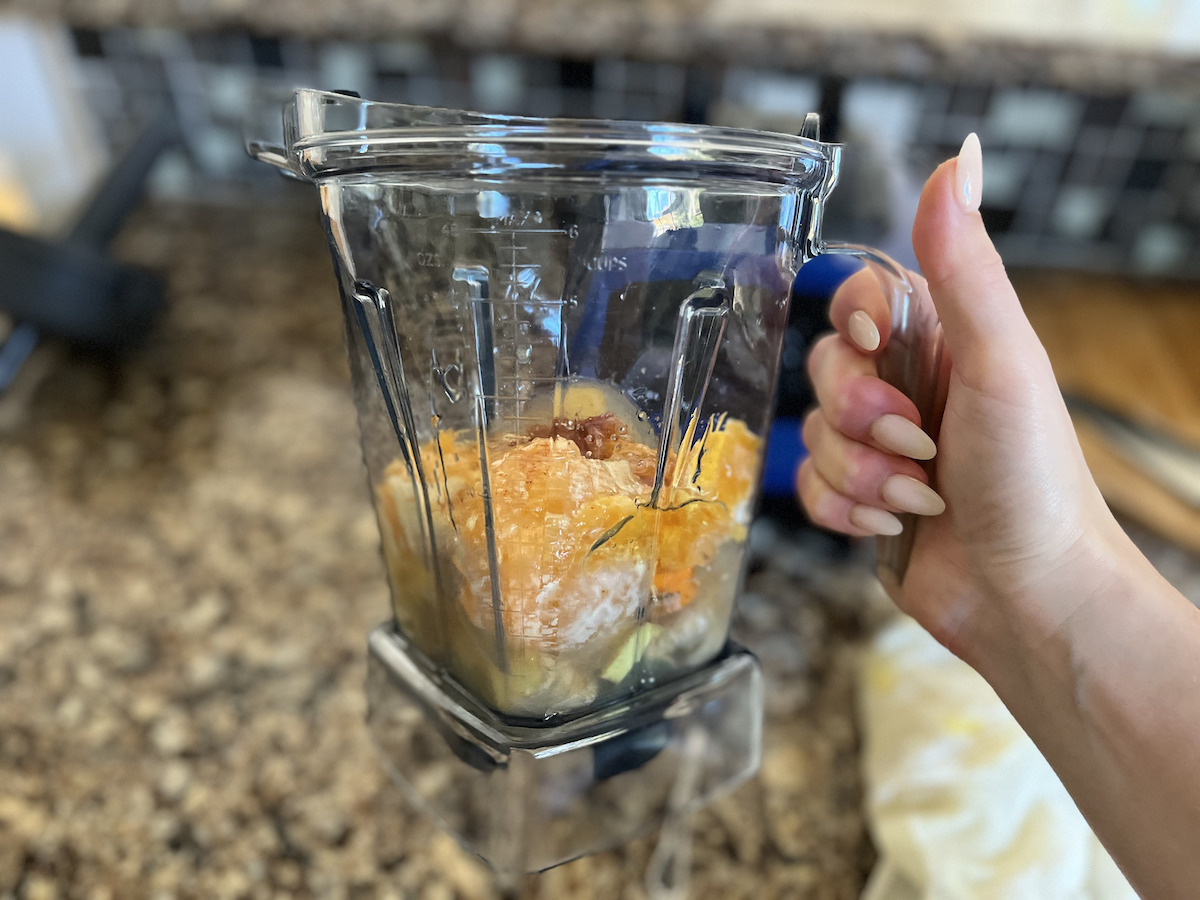
Add all other remaining ingredients (except black pepper) into your blender and blend until smooth.

3
Drain your blended mixture over cheesecloth into a bowl. Squeeze any remaining juice from the cheesecloth into your bowl and discard the pulp. (Consider using the leftover ginger pulp for another recipe or composting.)
4
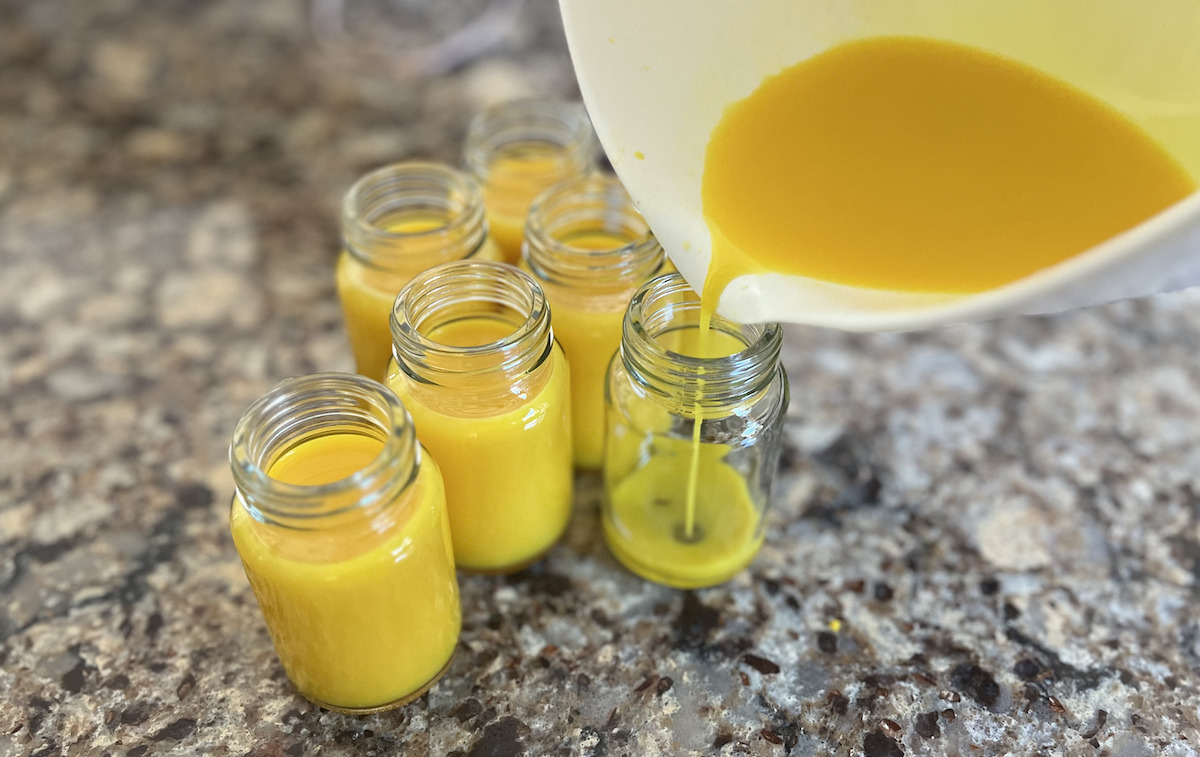
Pour the juice into your glass shot glasses and store for 3-4 days in the fridge or up to 6 months in the freezer. (Leave space in the container when filling if planning to freeze).
5
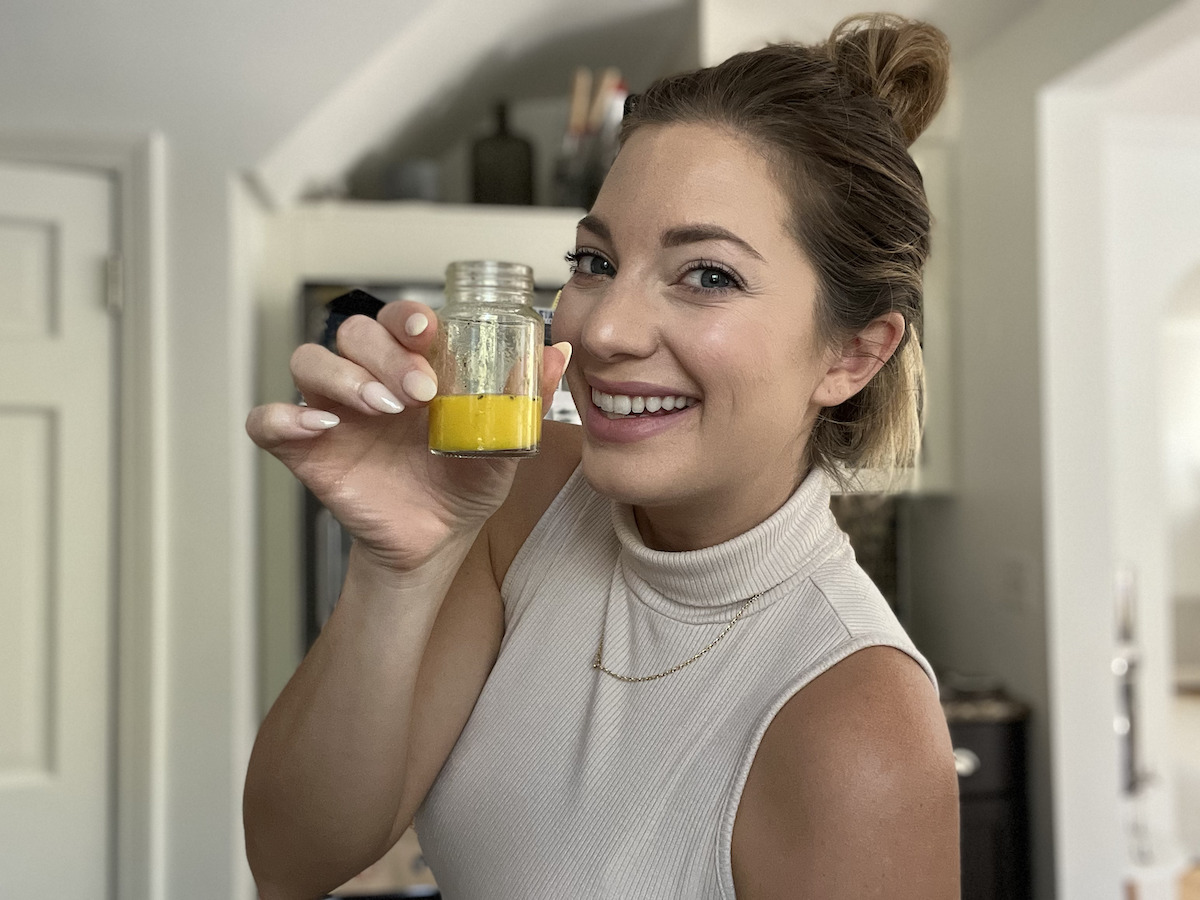
Add an optional 1/20th of a tsp (or more) of cracked black pepper to your shot before consuming, shake, and enjoy immediately.

How long will the homemade ginger shots last in the fridge?
You can store ginger shots in an airtight container in the fridge for up to a week. However, it’s best to drink them within 3-4 days for maximum freshness & potency. Separation is normal so be sure to shake your shot well before drinking and be sure not to forget your black pepper!

If you have extra and want to keep them longer, consider freezing the shots which will stay good when frozen for up to 6 months. When filling your glass containers, be sure to leave a little room at the top as they’ll expand when frozen. When you’re ready to drink a shot, simply let it thaw in a glass of room-temperature water for about an hour and consume it immediately.

This ginger turmeric shot recipe has become a staple in my daily wellness regimen and I think they’ll become a new favorite in yours too! Not to mention, the cost to make an entire week’s worth is LESS than the cost of just one store-bought one! 😱




Thank you! Very informative. Sara, I like to read all your posts !
Thank you so much for your kind words, ERichie! 🌟 It absolutely makes my day to hear that you enjoy reading all my posts. I’m so grateful for your support and love sharing helpful tips with amazing readers like you! 🥰
Love this! Thank you!
I’m so thrilled that you loved this post, Lydia! Thank you for your awesome feedback – it means the world to me! 💛 Wishing you all the health and happiness with every ginger shot! 😊
I would encourage people to use organic ingredients too.
Thank you so much for sharing your thoughts, Betsy! I totally agree—organic ingredients make all the difference, and I’m so glad you pointed that out! 🌱 Your feedback was so on point that I’ve added it to the post to encourage others to use organic, too.
I live in a small area. Where would be the best place to get turmeric root?
Hi Erica! I checked with Sara on this, and here’s what she shared with me, if this may be helpful – “I’m really not sure of places that ship organic turmeric root. I buy ours locally. Pretty much any of our farmers markets around where I live have them so that would be the first place I would recommend. I do see Amazon has some for sale but I have never ordered it online.” 💗
Thanks for the info. I’m not sure I will be able to find it locally but I will start looking around.
You’re welcome! Hoping you have luck nearby! 🤞
Thank you for the recipe. I have made it twice & find it to be comparable to store bought in taste. However, both times I have doubled the ingredients hoping to have some to freeze and both times I only came up with 7 & 8 shots instead of 14. I’ve double checked the instructions, measured double ingredients, purchased 2 oz shot glasses. I can’t understand why it’s not yielding the proper amount. The saved money isn’t justified with all the work ( mainly cleaning stained utensils). I would love to figure out what I’m doing wrong..
You’re welcome, Karla! I did speak with Sara on this and it seems you may need to strain a bit more of the juice when squeezing or using the cheesecloth. The consistency of what is left after straining is similar to Play-Doh or even drier. You might also use larger oranges or lemons and can opt to add some filtered water to it to help get a little more. She normally adds 1/4 to 1/2 cup to hers and it doesn’t compromise the potency or flavor. Hope this helps!
Thanks! About to try this. Are you just adding the juice of the lemons and not the lemons themselves?
You’re welcome, Cara! Yes! That’s correct! 🙌💞