
Make Cute & Trendy DIY Hair Scrunchies Without Sewing!

Scrunchies are on-trend and easy to DIY at home!
If you’ve ever wondered how to make a scrunchie at home, check out these awesome no-sew scrunchies!
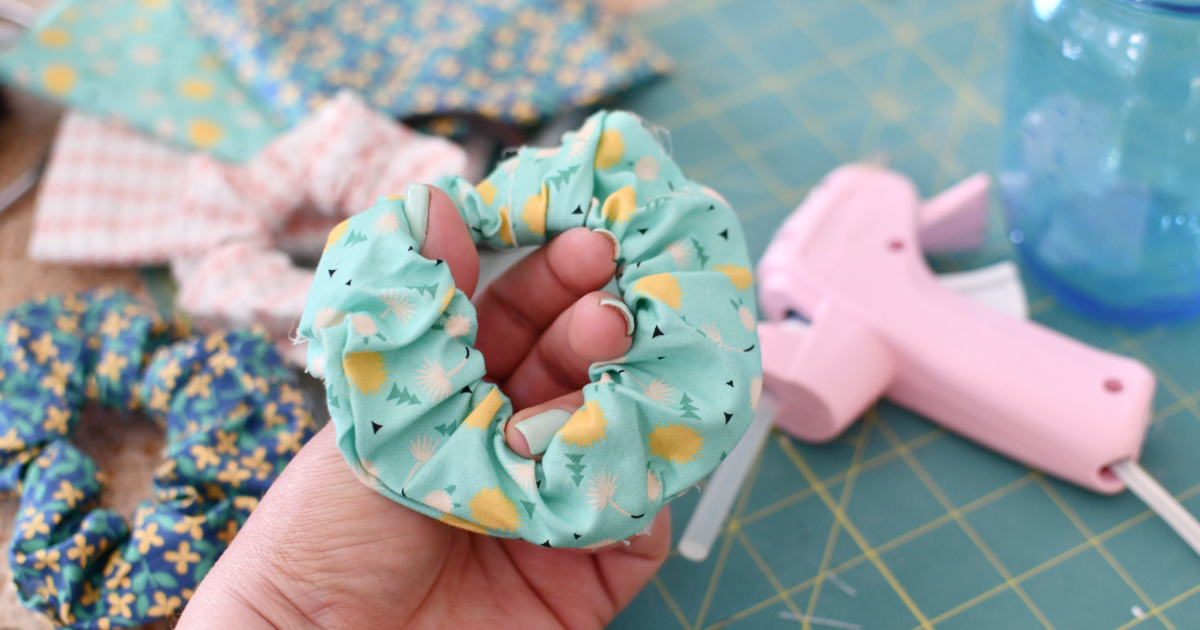
I’m so excited to share with you an EASY and cheap way to turn a 5¢ hair elastic band into a homemade scrunchie using a piece of fabric and a hot glue gun.
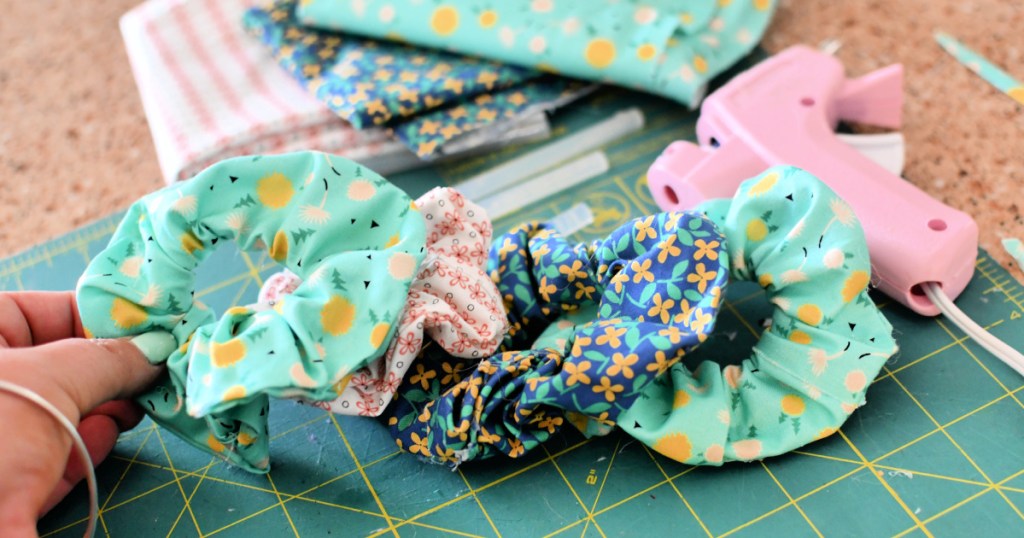
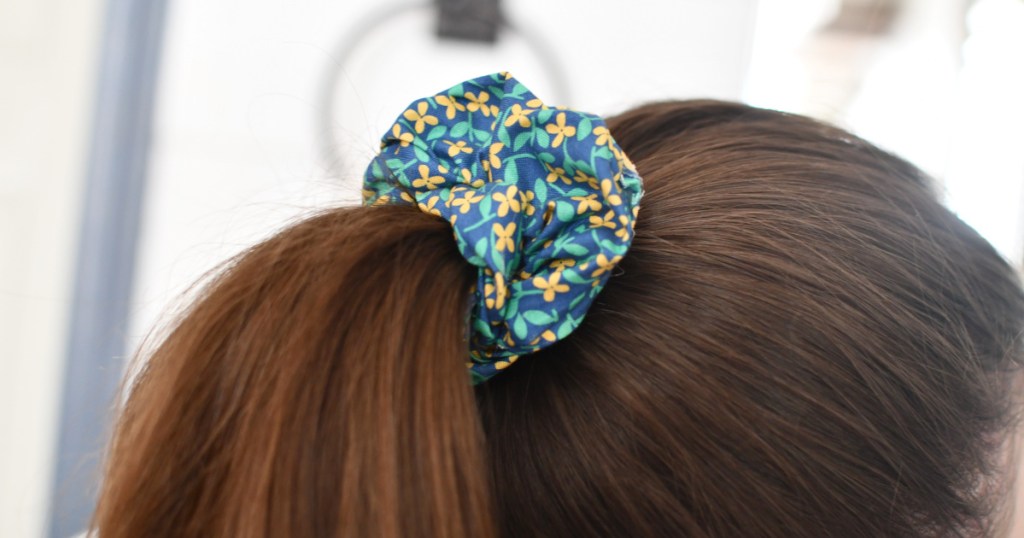
Create these must-have 80’s & 90’s inspired hair accessories in minutes!
There’s no sewing machine involved and you can even use scrap pieces of fabric or take this opportunity to upcycle old t-shirts or clothing into scrunchies! Ours turned out way cuter than I expected.
This is such a fun project to do with your tweens or teens.
Tips for how to make a no-sew scrunchie:
-
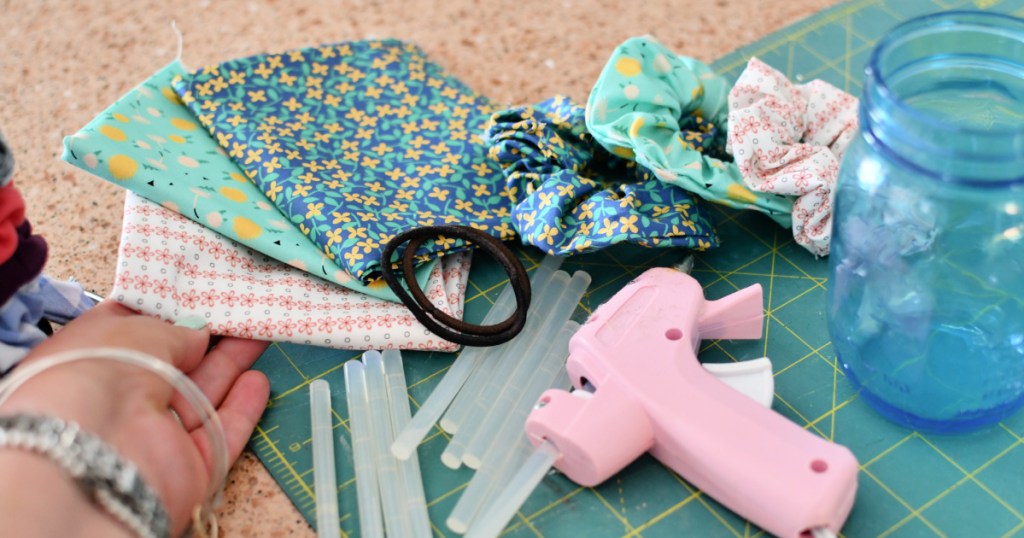
- I had some cute fabric quarters leftover from another project, so those work out great here! I experimented with different sized pieces of fabric and they all pretty much worked out. It just depends on the look you’re going for. I think smaller-sized ones for younger kids would be cute too!
-
- You’ll need some large elastic hair ties. I used these basic Goody brand ones we had laying around the house
-
- To make a nice “seam” you’ll want to fold over the ends of the fabric when gluing them together. This takes some patience but goes faster after you’ve done the first one. Be careful not to burn yourself!
-
- This post is meant to spotlight a fun glue gun hack to make scrunchies, however, check out this post at MarthaStewart.com for an awesome DIY scrunchy tutorial using the sewing machine if you’d prefer that method.
DIY No-Sew Scrunchies Using Glue Gun
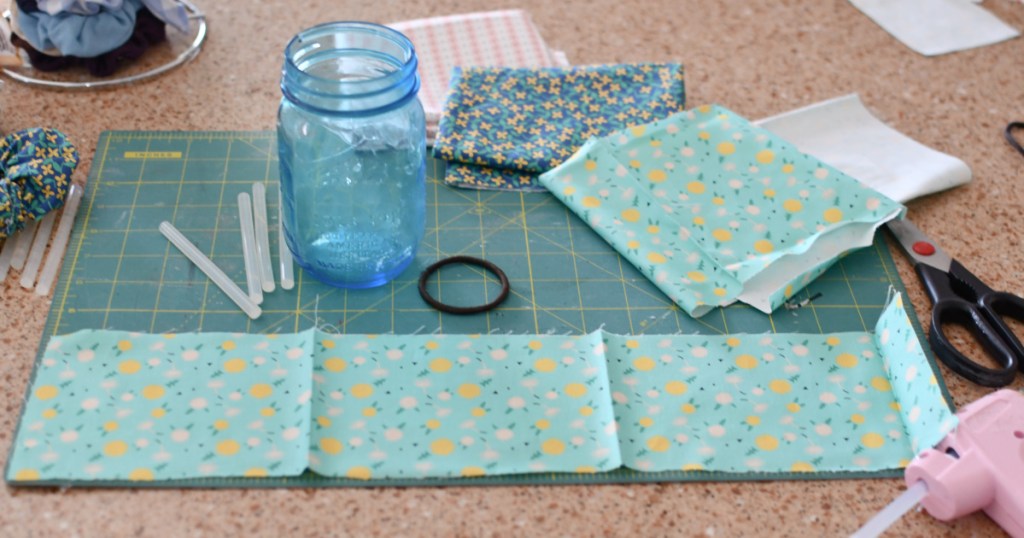
PrintSupplies Needed
Directions
1
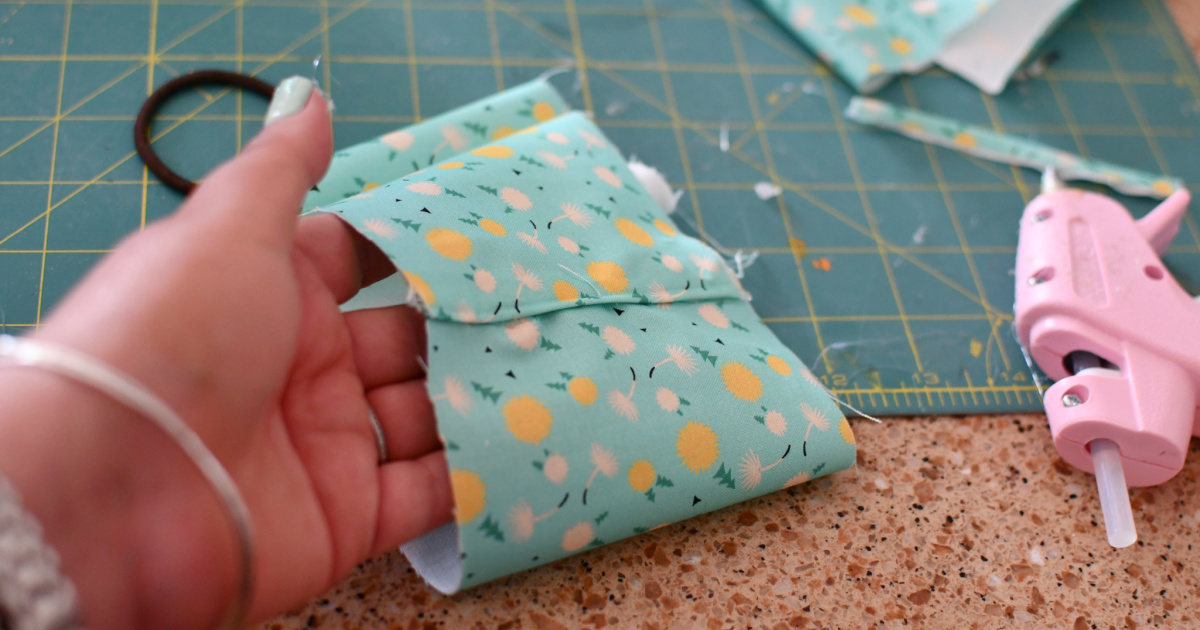
On the inside edge of one side of the fabric, make a line of hot glue and fold it over to hide the raw edge.
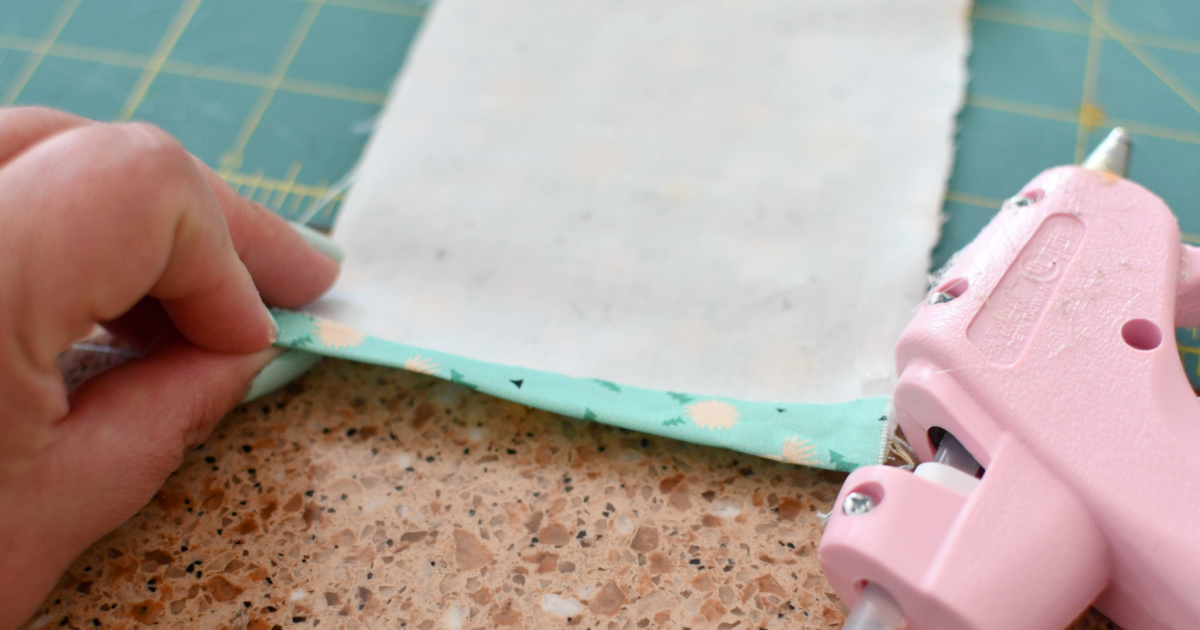
2
Then glue that edge to the other side.
3
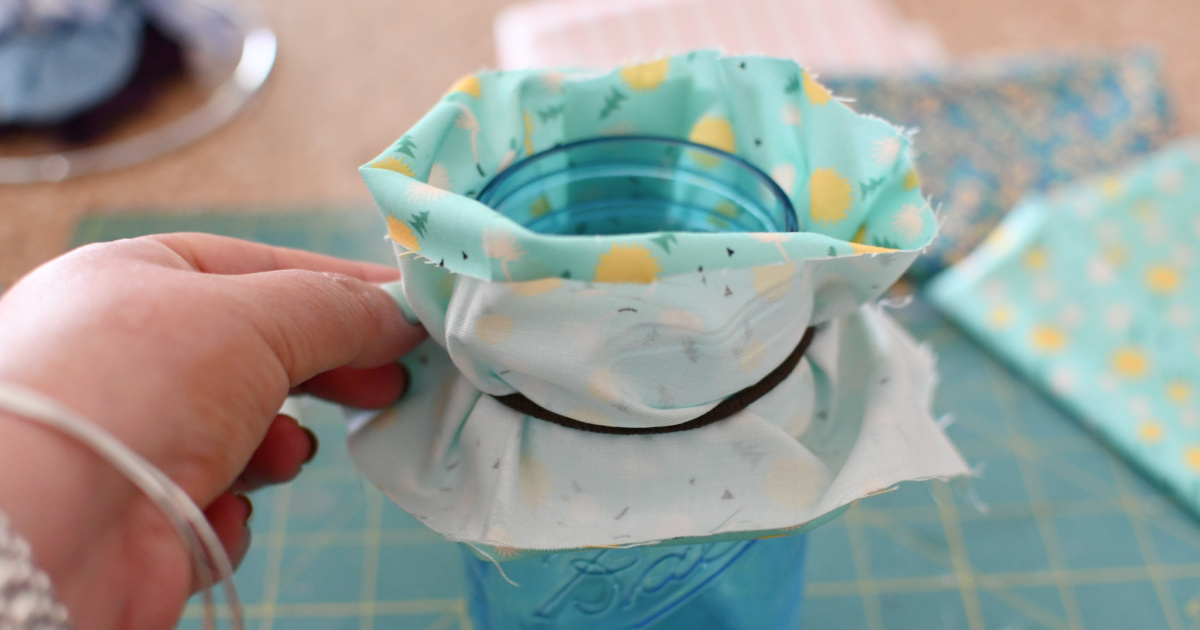
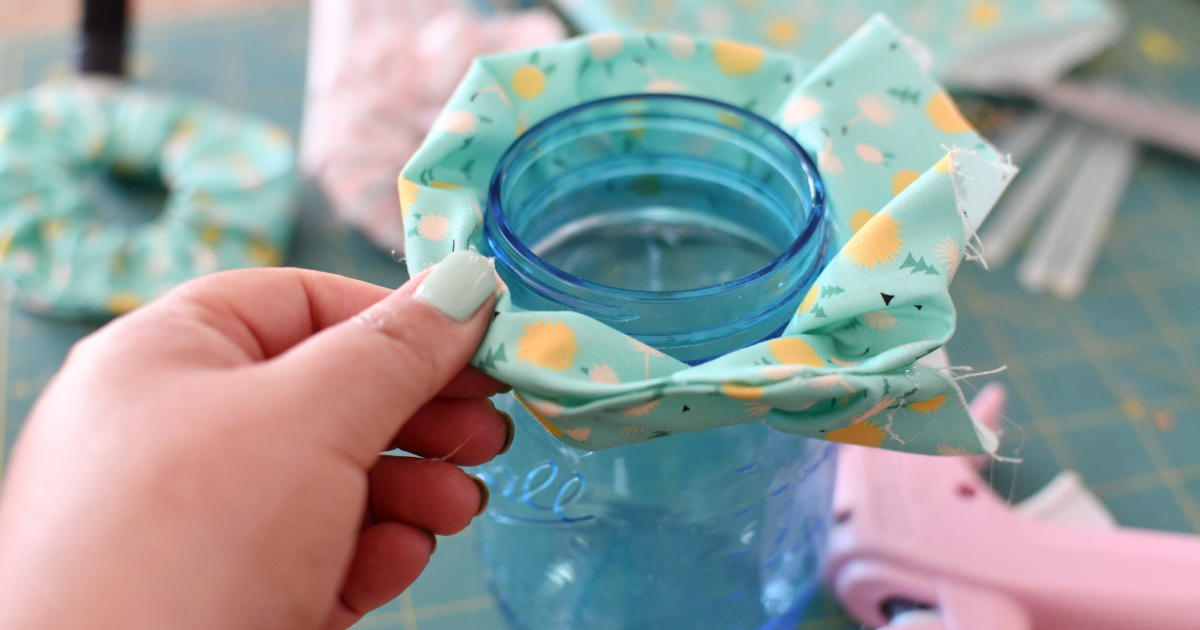
Turn the circle inside out and place it over the neck of a jar, and place the elastic hair band in the middle of the fabric.
4
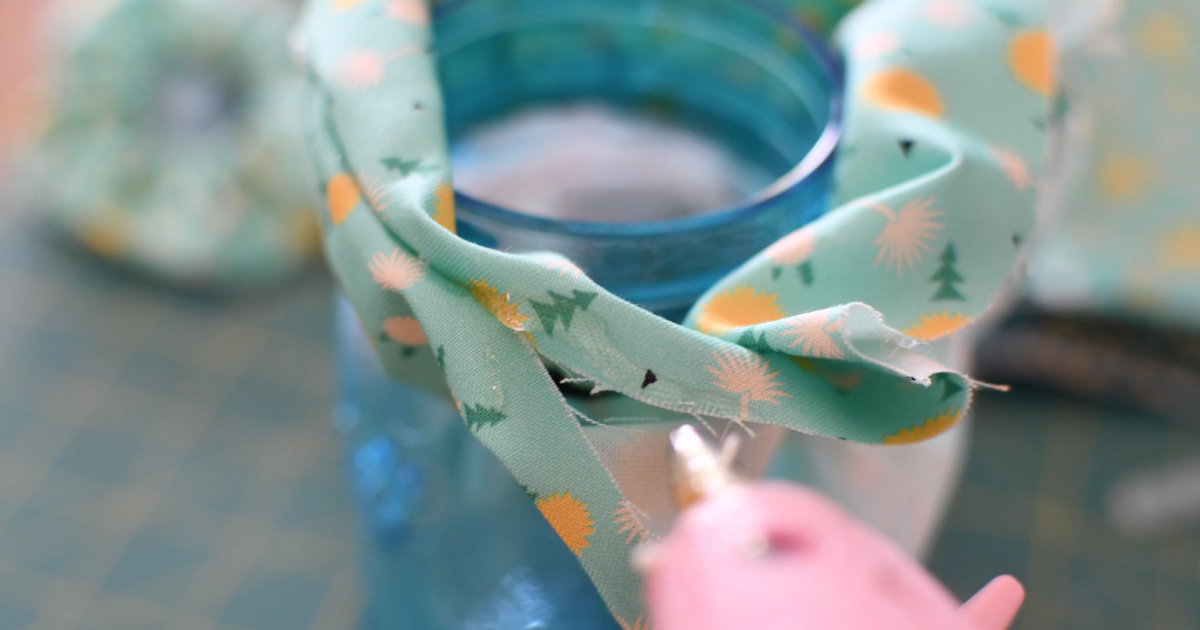
Use your fingers to slightly fold the top and bottom in to create a seam to hide the raw edges. Place a line of hot glue on the top and then pinch the top and bottom closed.
5
Keep going across the entire length of the scrunchie until the edges are entirely glued together.
6
Remove the scrunchie from the jar, use scissors to cut any stray strings, and your scrunchie is ready!
I love easy & inexpensive DIY ideas like this!
I already had these supplies on hand and they turned out so cute! DIY no-sew scrunchies are so fun to make. I can’t wait to make more using old t-shirts and clothing. My daughter thought these scrunchies were super cool, so that’s a win win!
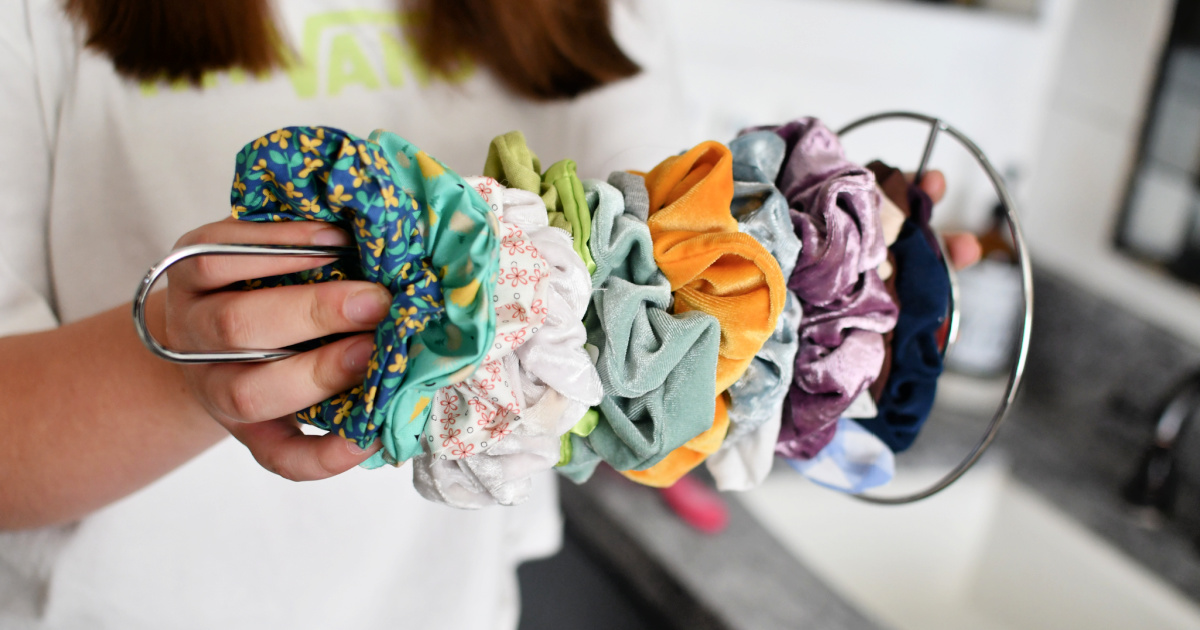
Hip Tip: Organize your scrunchies with a Dollar Tree paper towel holder! It’s an easy and cheap way to store your collection!


I use to make these at a sewing factory I worked at so easy less then a minute to make ! I need some so I may try this ! Thank you
If you have a sewing machine, they’re super easy to sew and only take about 5 minutes!
1 strip of 4.5″x20″ fabric, fold in half hot-dog style, and stitch a 1/4″ seam along the long edge leaving about an inch from both ends, turn the tube inside out. Pin the slightly opened edges right-sides together stitch that seam (1/4″ again). You’ll have a big loop at this point, thread a 7″ piece of elastic through the loop, and allow the scrunchie to gather. Secure the elastic. stitch the hole that was left open closed and you have a scrunchie. 🙂
Thanks for your tips!
Thanks for those tips Emily! I was hoping to use up some pretty scraps and I’m still working on making straight lines (practice practice practice, right?). I appreciate the dimensions!
These are so cute! My daughters will love this!
Thanks! Have fun!
Wow! Love it! I can’t sew, so this is eighth up my alley 😂
*right up my alley
Ha yes! Turns out you don’t need a sewing machine to make these!