
DIY Velvet Pumpkins That Look Store-Bought (But Are So Easy to Make!)
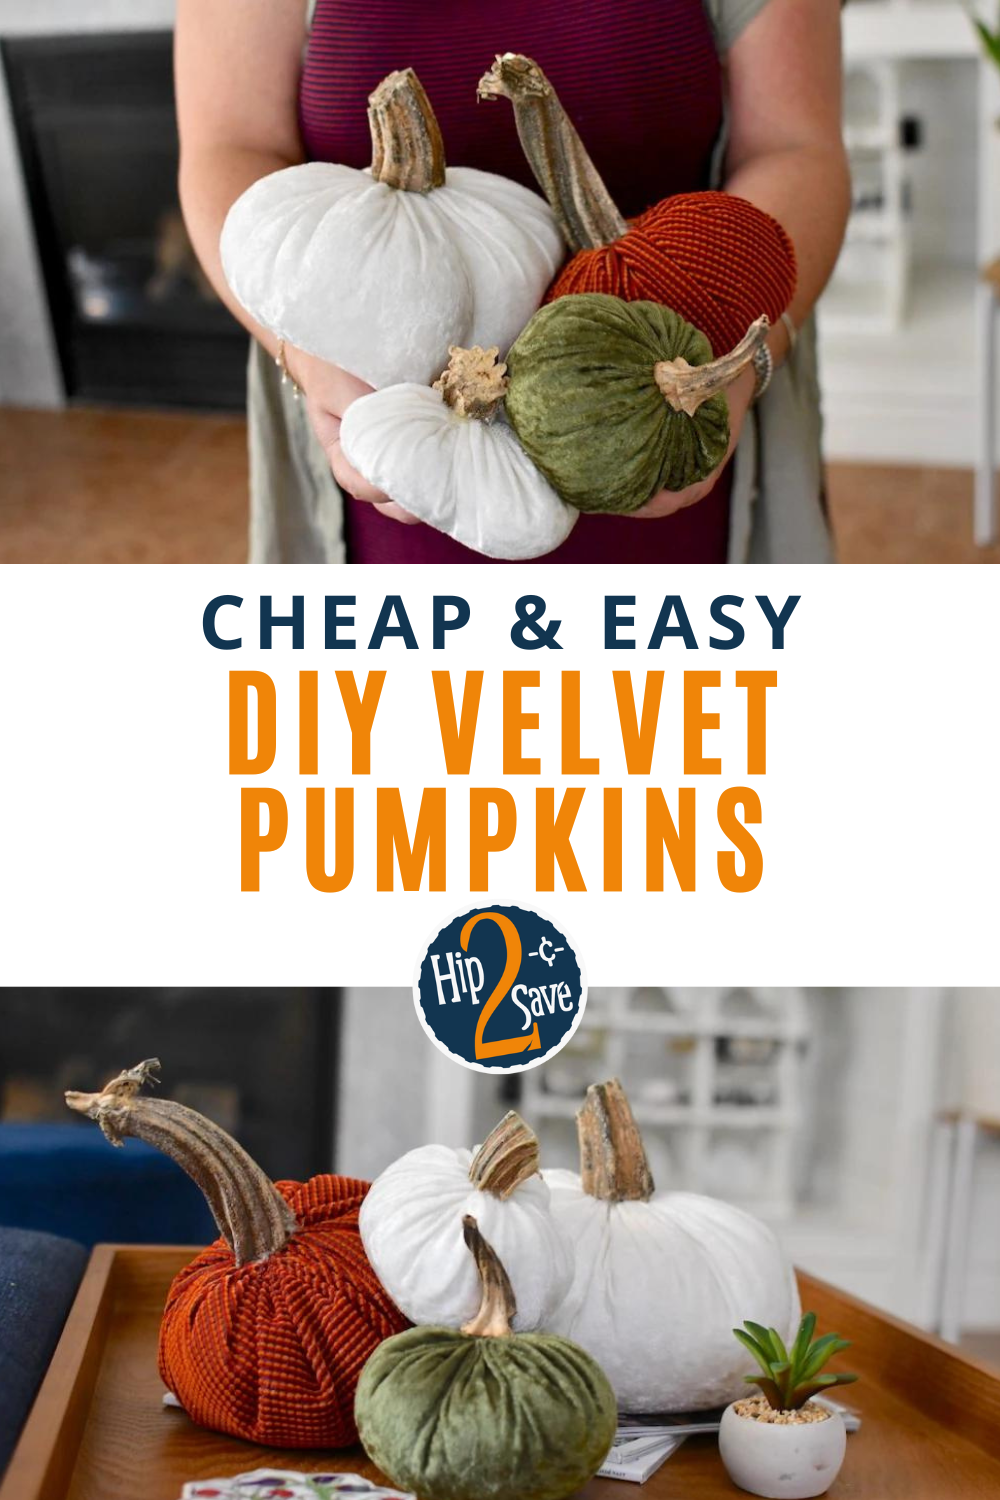
DIY velvet pumpkins are the prettiest fall decoration!

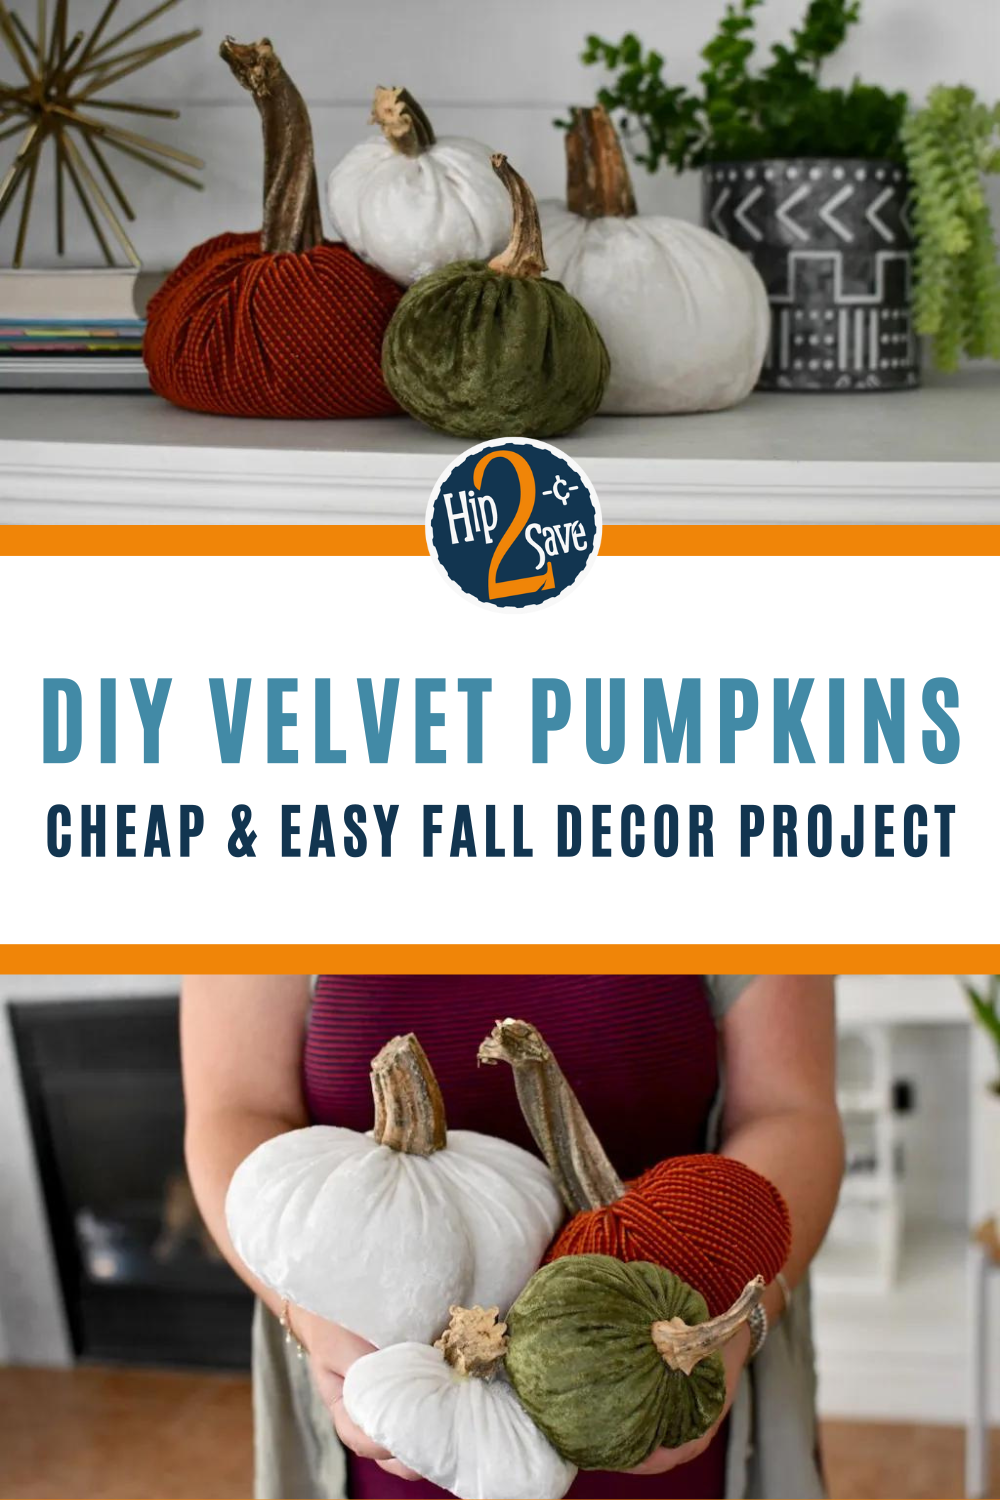
Fall just got a whole lot cozier! 🎃✨ Velvet pumpkins make for some gorgeous and unique fall home decor, so here’s a fun DIY tutorial so you can make your very own at home for cheap!
These trendy plush velvet pumpkins sold at home decor stores and online boutiques can be a little pricey, but they’re actually pretty simple to make! We especially love the DIY version because the options are endless, using any fabric you want while still getting a high-end look.

And it’s easy to make these velvet pumpkins—here’s how:
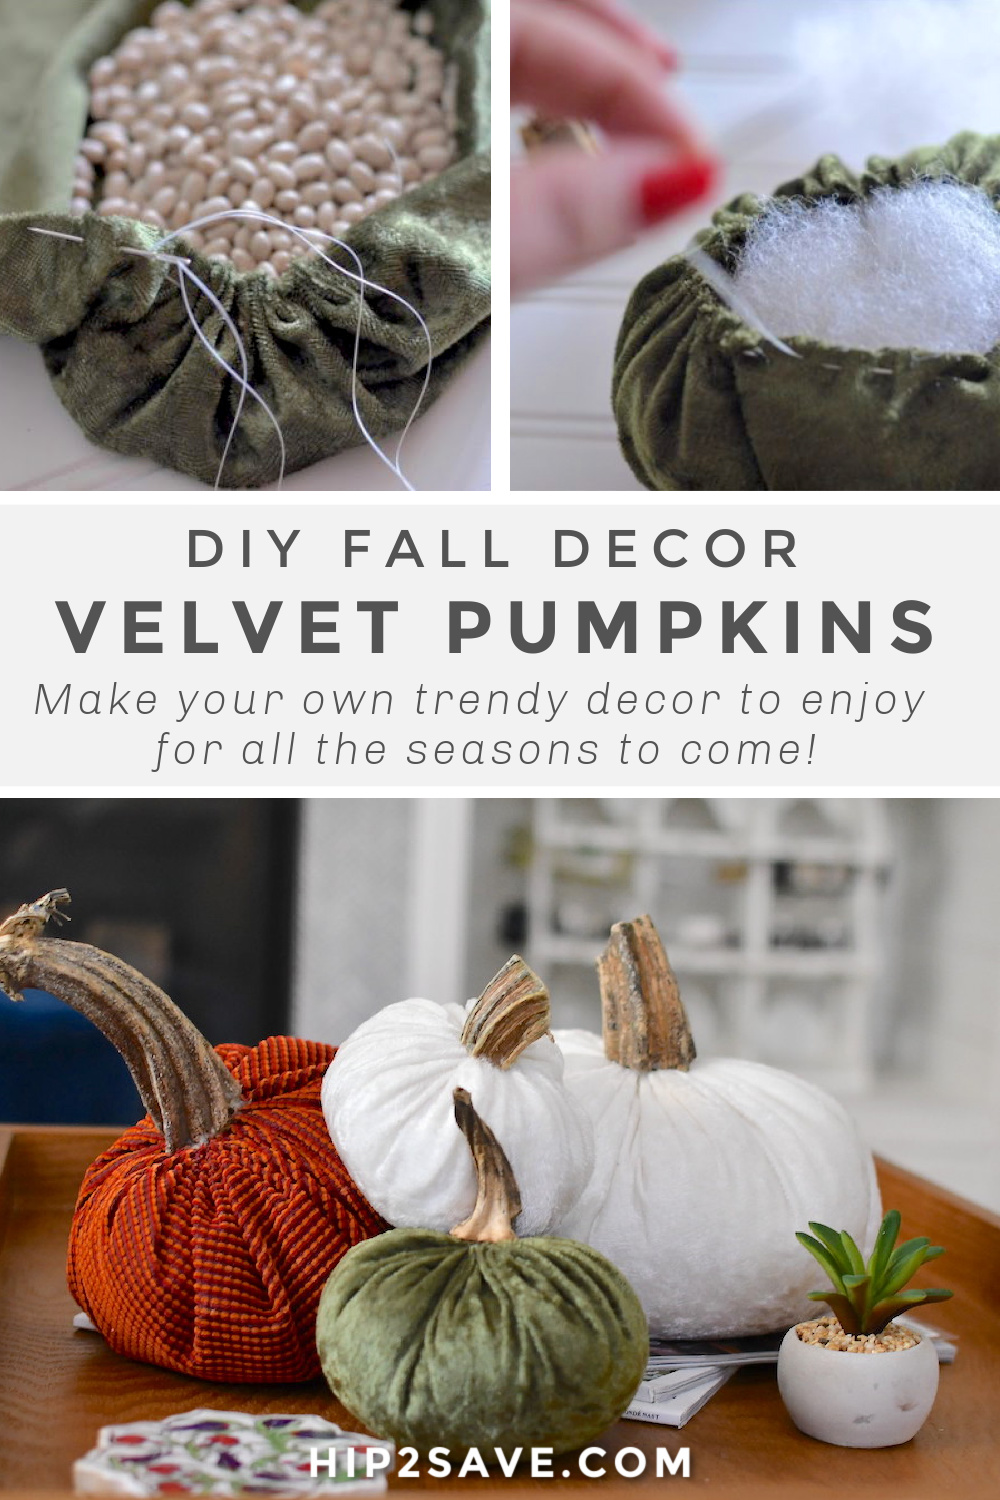
I mixed up my pumpkins by using some velvet and upholstery fabric I found on clearance. Then all you do is cut circle shapes out of fabric, hand stitch around the edges, and then stuff with dried beans and fiber stuffing. Easy peasy, right?!


DIY Velvet Pumpkins
PrintSupplies Needed
- Plush velvet-like fabric or real velvet fabric
- Upholstery thread
- Sewing needles
- Dry beans (or rice)
- Poly-fil craft stuffing
- Hot glue gun & glue
- Scissors
- Pumpkin stems
Directions
1
Find a large circular object such as a plate, pot, pizza stone, etc. to trace a circle on the backside of your fabric using a marker or pen. Pick a circle shape at least 6″ in diameter and cut your fabric.
As a tip, use a variety of sizes if you’re making multiple pumpkins so you have a diverse selection of pumpkins to display.
2
Place the circle with the wrong side of the fabric facing up and sprinkle some beans in the middle. Create a running stitch around the edges of your circle.
3
Gently start cinching the edges, but don’t tie off the thread yet. Fill the pumpkin with the desired amount of stuffing.
4
Pull tightly to close the hole and stitch the opening together. Crisscross the opening with tight stitches. Tie off the thread.
5
Optional step: On a couple of my smaller velvet pumpkins, I finished by stitching through the top and bottom while pulling tightly. This gives a more realistic, smashed-down look.
6
Glue stems on the top of your pumpkins. Enjoy!

Here are a few DIY tips to keep in mind when making velvet pumpkins:
- Collect dry stems from real pumpkins, gourds, etc. or you can use cut-up branches for a more rustic look. To glam them up, you could even spray-paint them gold or silver.
- Go thrift shopping for cheap fabrics. There are many ways to save at thrift stores, so why not shop for some unique fabric while you’re there? Plus, more than likely you’ll end up paying way less than buying it new.
- Don’t be intimidated by hand stitching. I’m NOT an experienced sewer AT ALL! If it’s been a while since your hands have touched a needle & thread, read this helpful post explaining a running stitch and double thread, which is also what I used. It’s an older post, but it’s still extremely helpful!
- Use an extra-strong thread to sew your velvet pumpkins. This is very important so that when you’re pulling your thread tightly to close the top of the pumpkin, the thread won’t break.

These whimsical velvet pumpkins are so fun to make! 😍
They look so cute grouped together for a festive centerpiece or on a large tray or bowl. Grab a group of friends, and make this a fun fall craft activity!
Thinking about buying some velvet pumpkins instead?

Set of 3 Small Velvet Pumpkins $24.99 (regularly $26.99)
As you probably already know, Amazon has everything – including trendy, handmade velvet pumpkins. If you’re looking for quick shipping and gorgeous fall decor, this listing fits the bill!
Need to decorate your front porch? Make this reversible holiday sign using stencils!

Comments 0