
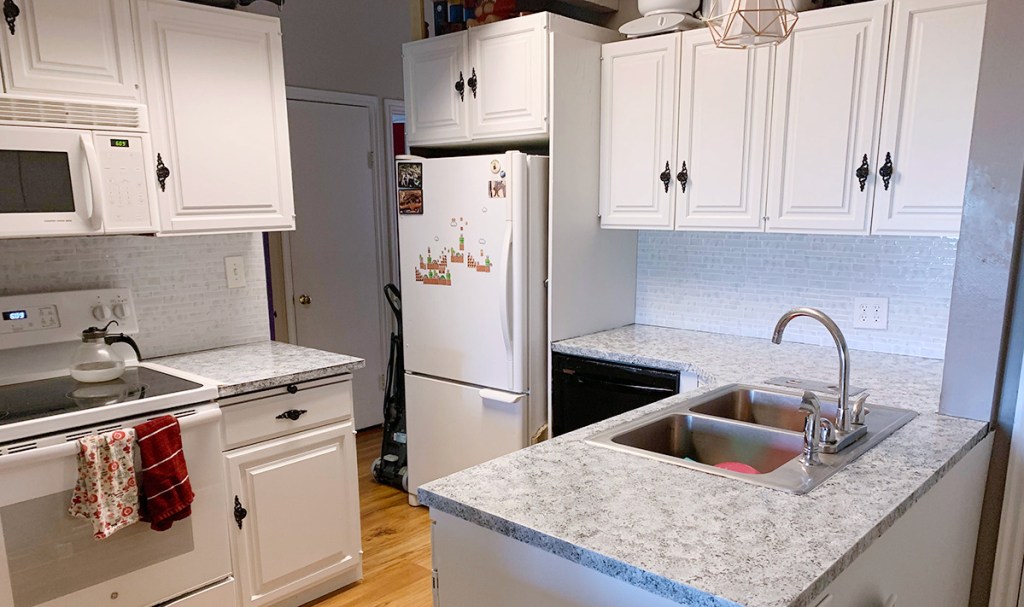
This Under $300 Kitchen Transformation Took Less Than a Week
Kitchen renovations can be so expensive!
Luckily, our Hip2Save community knows how to stretch a budget. Reader Amy shared her amazing kitchen transformation that came in under $300 in less than a week!
Recently, I had been gifted some hand-me-down appliances from a family member who was starting a kitchen renovation in their home. This sparked me to start a little renovation in my own kitchen. The best part? My project ended up costing under $300 and was completed within a week.
Here’s how I did it:
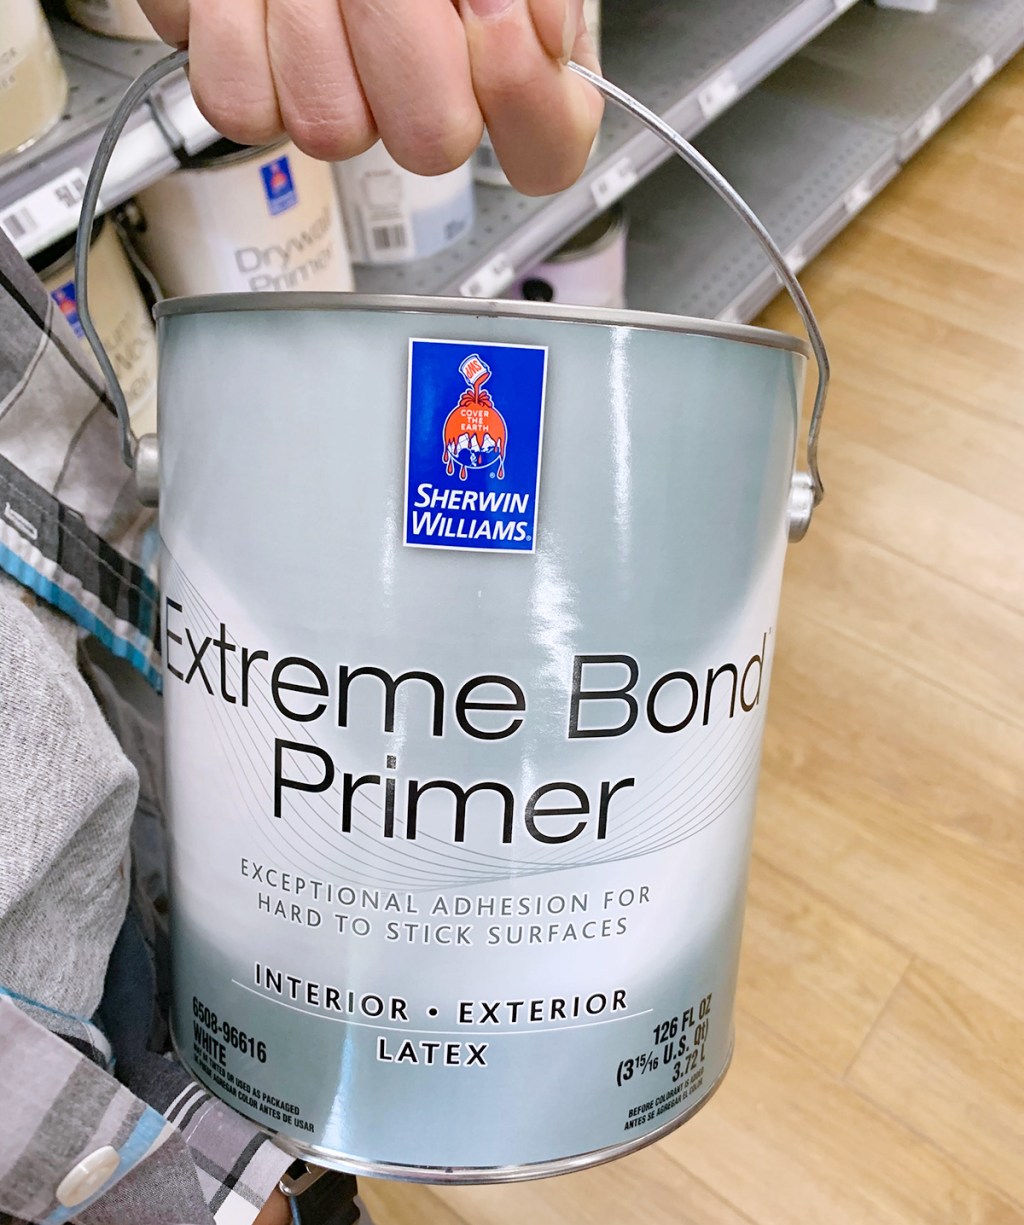
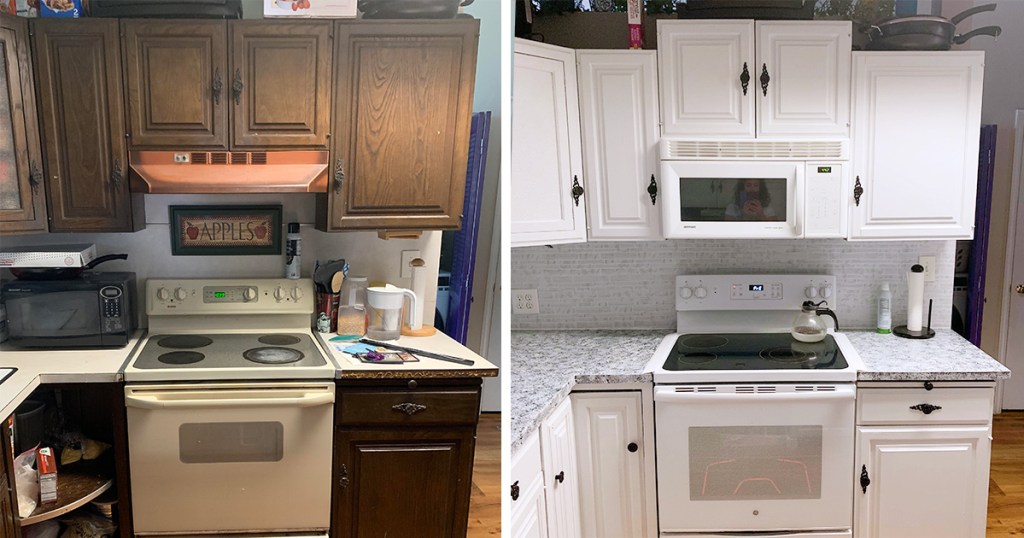
I bought my primer and paint from Sherwin Williams during a 40% off sale and used a $10/$50 coupon, leaving my total around $95.
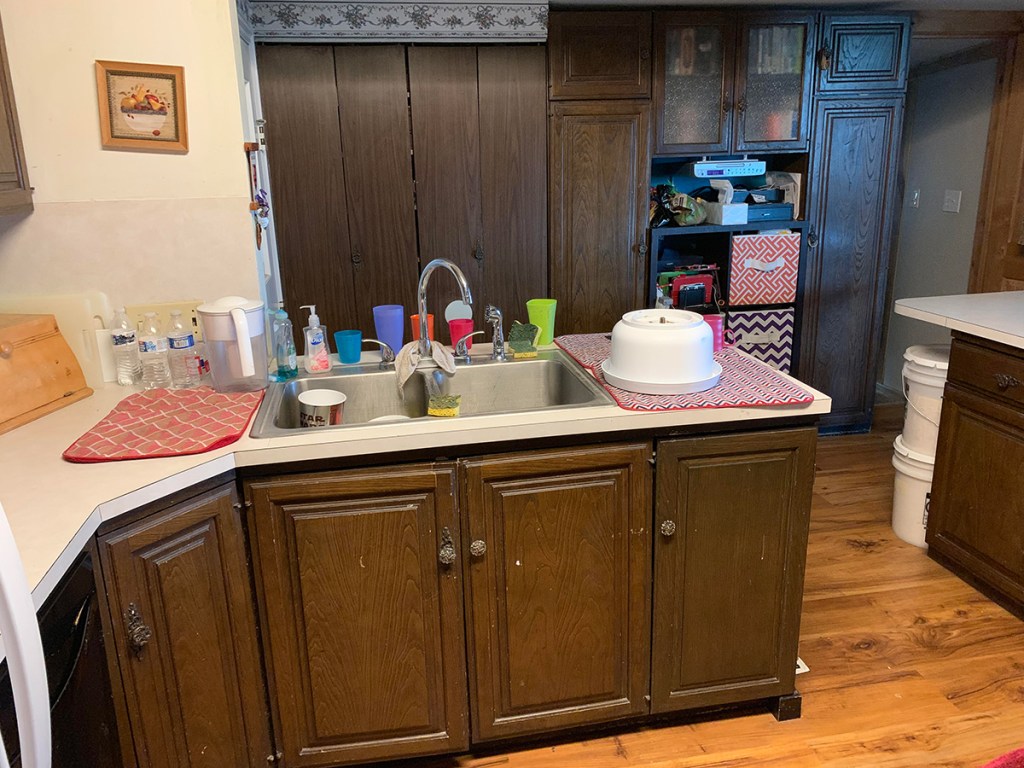
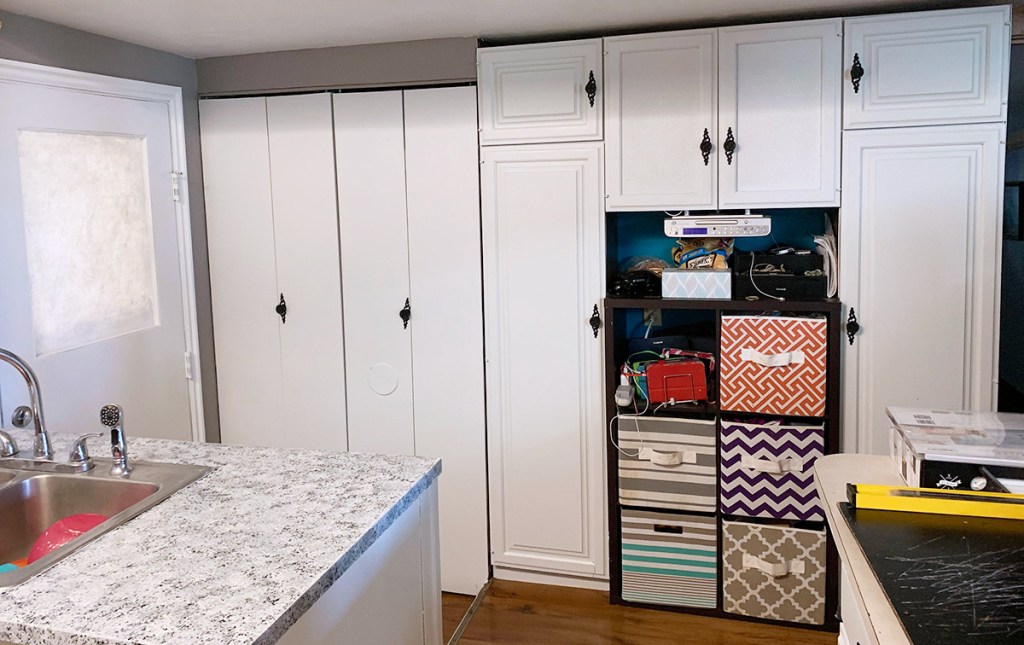
⬆ BEFORE / AFTER ⬇
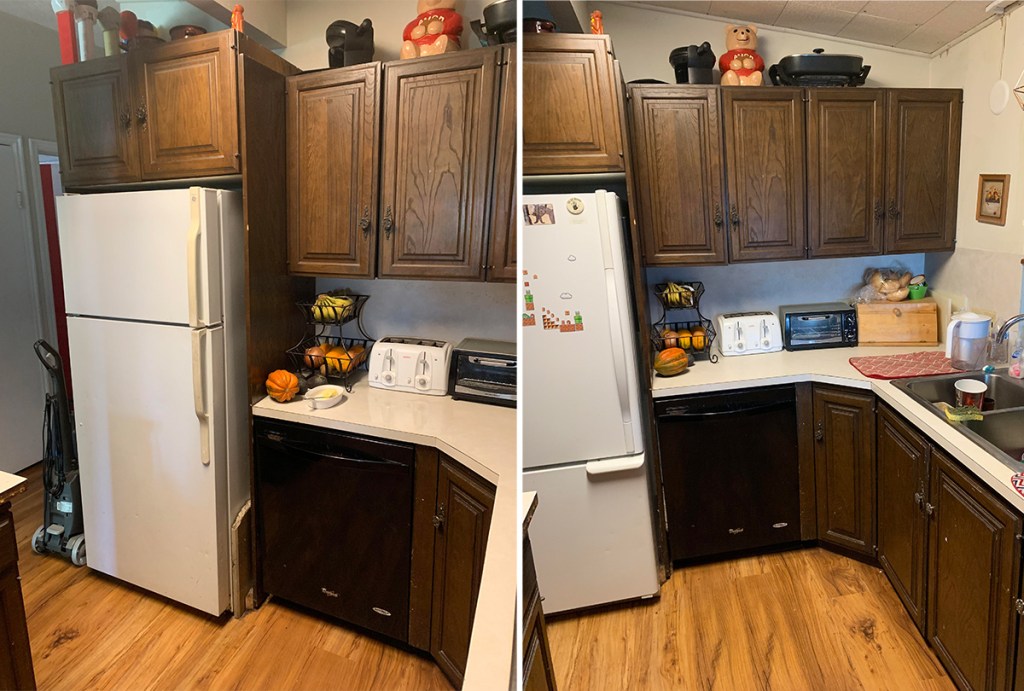
I used a Giani Countertop Kit from Amazon for around $80.

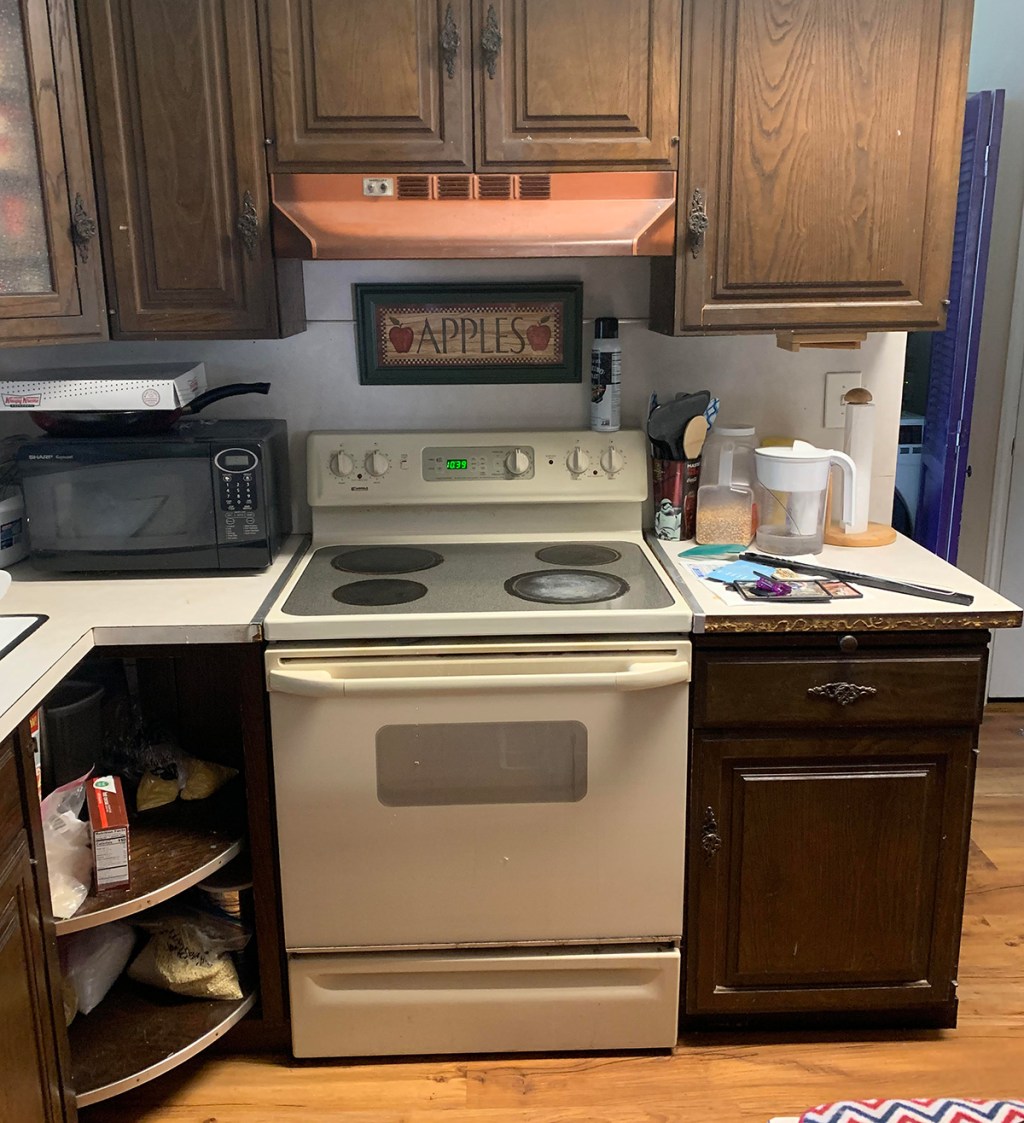
⬆ BEFORE / AFTER ⬇

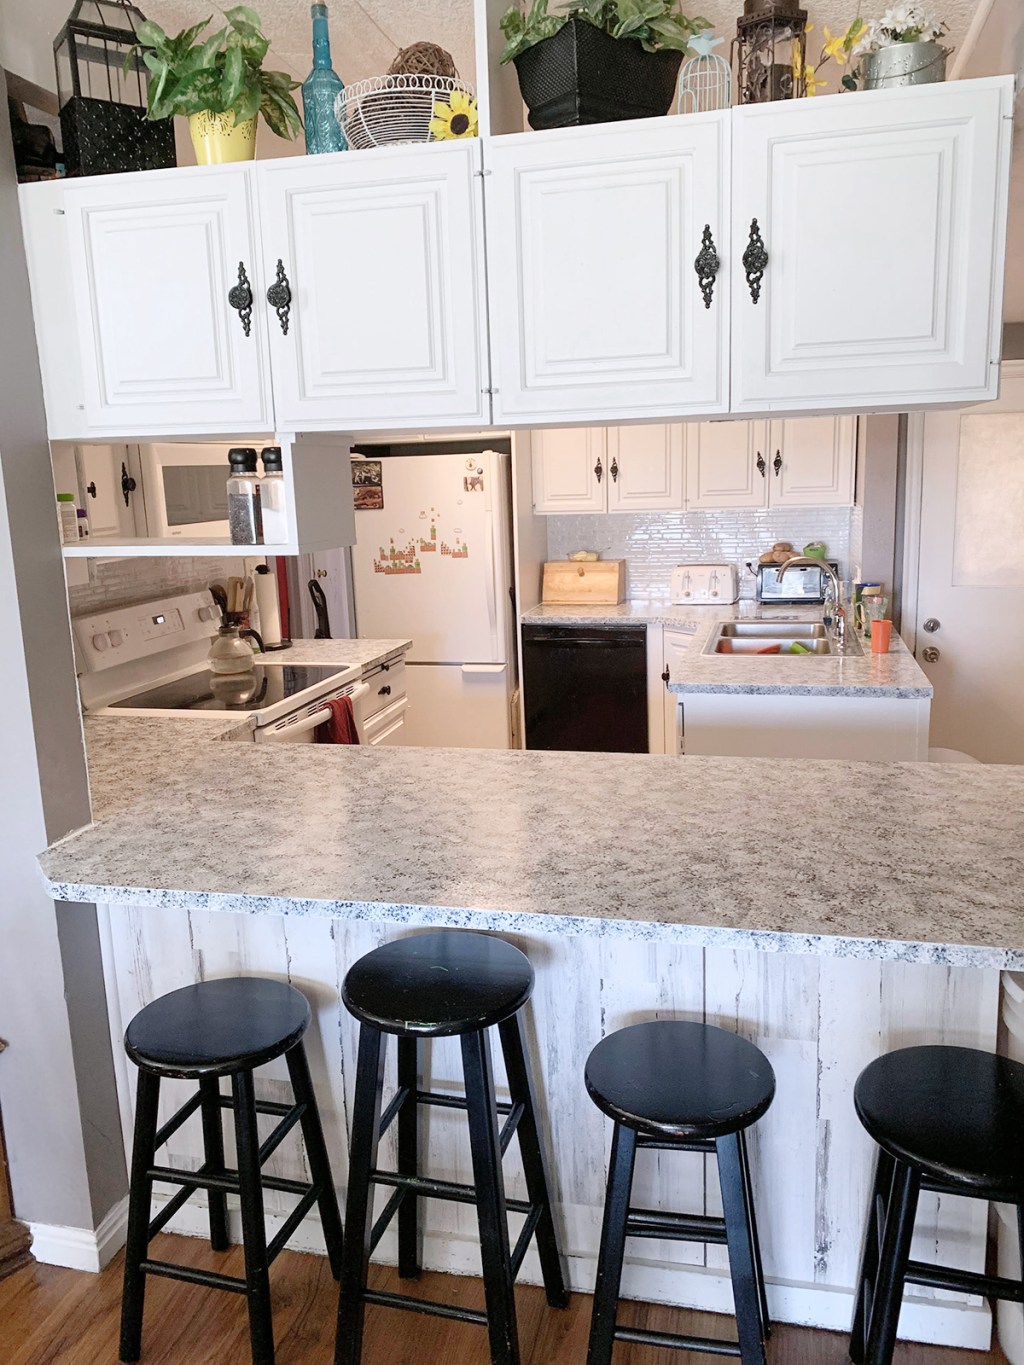
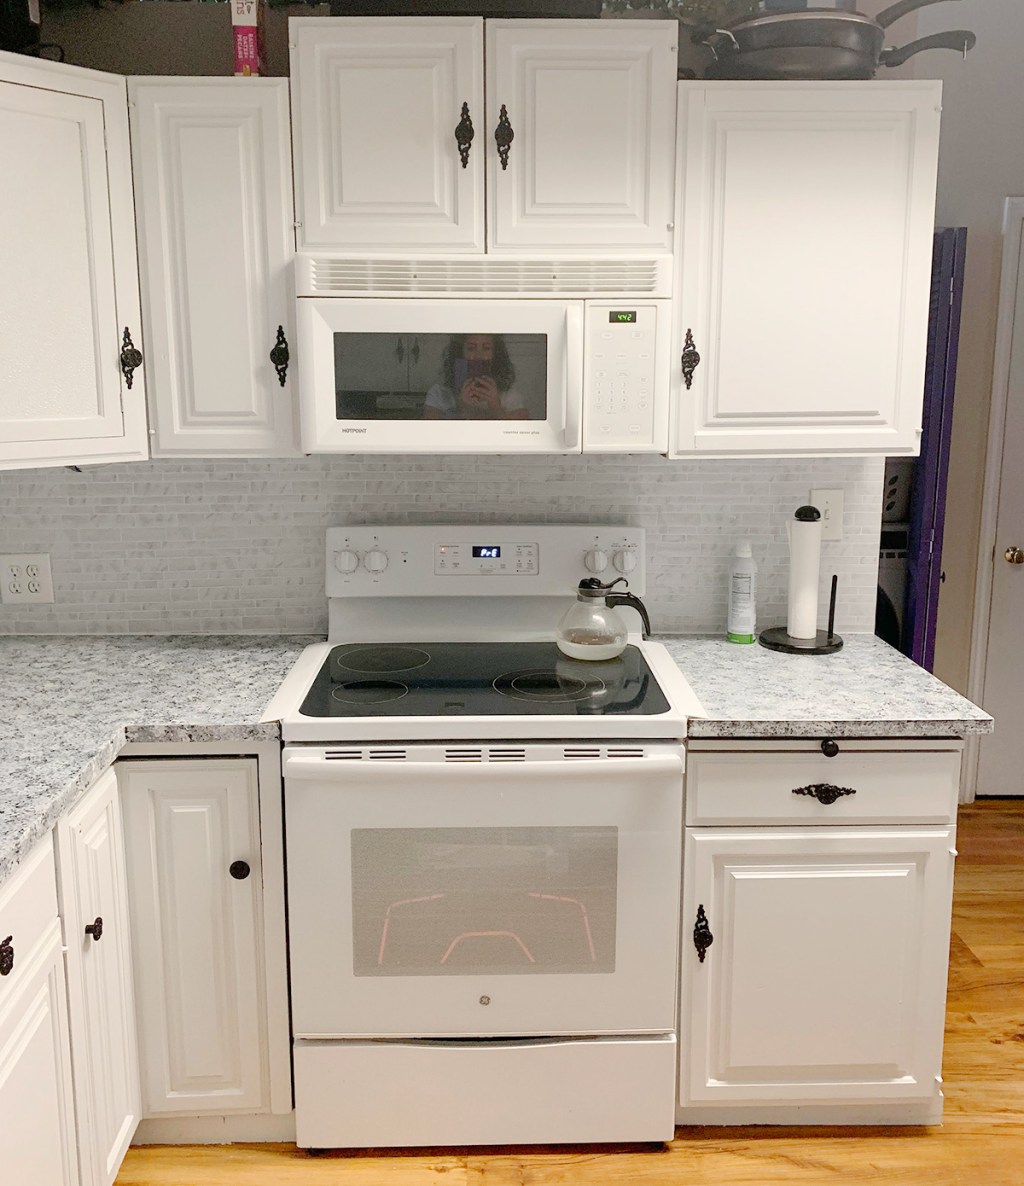
My backsplash was completed using peel and stick tiles from Amazon for $30 per package. My project needed 4 packages so, in total, the tiles were $120.
⬆ BEFORE / AFTER ⬇
I used a little black spray paint I already had on hand to refinish the hardware pulls.
⬆ BEFORE / AFTER ⬇
My “new appliances” were hand-me-downs from a family member who was upgrading their kitchen as well (which is why I started this project in the first place!)
It took me about 4 days to do all the painting. The countertops kit instructed to let the paint dry for 3 days before replacing your appliances, so I painted half my counters, then 3 days later did the other half.
The whole project was done in about a week and a half. Not bad when compared to my friend who hired a crew to do her kitchen—8 weeks and $20,000 later they still aren’t done!
What a gorgeous transformation! 😍
I love how a new set of FREE appliances kick-started such a rewarding project. Better yet, it was so much more affordable and efficient than a traditional kitchen renovation!
Thank you, Amy, for sharing this amazing kitchen DIY project with us!
HAPPY FRIDAY!
Do you have a funny, “Hip”, or unique tip to share?! Fill out our Happy Friday form. Every Friday, we post one submission by a Hip2Save reader (view past submissions) that gives us a glimpse into their frugal lifestyle or simply makes us smile. If yours is published on Hip2Save, we’ll email you a $10 Amazon eGift card!
Learn the Tips & Tricks to having your Happy Friday submission picked!


Love it! =) Always looking for ideas on how to diy ‘on the cheap’! We only use Sherwin Williams paint………. Its like painting with custard instead of water. It saves time and mess even if it does cost a bit more.
Thanks!
Looks fabulous I love the brightness of the white cabinets. What better way to recycle and repurpose and save money. Congratulations in your new kitchen the heart of home
Thank you!
Thank you so much for sharing your project. Looks awesome!! Great job!!!
Wow! That looks great! I love the backsplash. Great work.
Great job!! I love it!
Did you use a brush? Roller? I’m so worried about using the right tools so they don’t look streaky. Did you take all cabinet doors off? Any help is appreciated.
Yes I’d like to know more as well. Did you sand the cabinets?
I have the same question.
I painted my kitchen cabinets over a year ago and this blog is pretty much i followed. Lots of sanding between each steps, and i used a sprayer from Amazon with air compressor for a smooth finish.
https://www.frugalwoods.com/2014/05/03/how-to-refinish-kitchen-cabinets-part-1/
Beautiful transformation! Looks so clean and bright in your kitchen. It does take a bit of guts to do and yours looks great! I had a blog a couple years ago where I painted my cabinets epoxied my countertops and cabinets. It’s at the frugal dribble at word press. I tried to post a link but it wouldn’t let me. I didn’t use a Gianni kit but similar idea.
Sherwin Williams website may have how to video and list of supplies needed. HTH
I didn’t sand, I did a vinegar wash first (equal parts vinegar and water), then used the high quality primer. I used regular brushes for the cabinets with the self leveling paint- it doesn’t leave brush marks or anything. Definitely worth the few extra $$ for high quality paint. I took the doors off when I did the top cupboards, but after realizing what a pain it was to put them back on we didn’t take them off the bottom ones. We just let them stay open while they dried- maybe not a professional tip but sooo much easier.
Wow, what a transformation! Beautifully done! Thanks for sharing your tips for renovating on a budget.
Wow! Great job!
Love how bright it looks!
Thank you everyone! I appreciate the compliments! 😊
Just a reminder to always use a stain-blocking primer when painting wood cabinets to prevent tannins from bleeding through the beautiful white paint. 😊
This is amazing! What a huge transformation! So so happy for you!
Thanks! Me too!
I’m in love with this. We just bought a standard construction house and I hate the kitchen. I’m geared up for this project! Definitely checking out the products you suggest
You can do it!
Awesome! Wish I had that much motivation! 😂😂
Do anyone know how to remove scratch mark in formica countertop? We are moving from condo. Need to remove the scratch .
There is a seam fill product called seamfil to fill seams in laminate. You can order color match. You will have to figure out what pattern or color your top is to match it.
Looks amazing! I’m in the middle of doing my bathroom cabinets and hope they turn out that pretty!
Were your old cabinets laminate? I have the same dark brown cabinets but they are laminate. 😝
They are real wood- not sure of the prep for laminate cabinets. 🤷🏻♀️
I’m impressed. My husband and I redid our kitchen ourselves and it took us a whole month! I painted the cabinets and walls and he added hardware, retiled the backsplash, and installed pendant lights. It was a HUGE job, but so worth it in the end!
Nice job! It looks amazing!
Amazing!!!! Can you let us know how the peel and stick backsplash is holding up? I want to try that but nervous because some reviews say they don’t stick well
Ok- peel and stick tiles- I loved how fast and fairly easy they were to put up, but if you didn’t get them exactly straight or lined up you would have to peel it off and re-stick it. In the areas where I did that I have noticed some of the edges coming up. A little dab of super glue fixed that problem. Overall I would say I am happy with them, but might have gone with real tile if we planned on staying here for a really long time.
I tried peel and stick tiles too, they fell off my walls.
Loved the look for a few days though lol.
Thank you both for your response!!
I used peel and stick tiles from Home Depot Smart Tile brand and tiled over an existing glass tile backspash about 6 months ago. They have completely held up with the exception of one small piece. When I smoothed them on, they did take on the bumps of the glass tile under, but nobody else would know it. I get compliments all the time on the tile. It cost me about $300 for a good sized kitchen waiting for a sale and using a coupon.
Wow,it looks like a totally different kitchen. Did you paint inside the cabinets too?
Love posts like this 💗
I have not done the insides of the cabinets yet, I ran out of paint! I might get around to it, but now I am re-doing my table and chairs. 😊
You go girl!! What a great job!! Bravo!! 👏
I redid my entire kitchen, tables, chairs & all last Sept. my cabinets are not real wood and I did splurge on the general finishes gel stain and it was worth it! I painted countertops too. I wish I could post pics. I had never even touched a drill and did it all in a week & half. I probably spent about $300 on mine. I’m still amazed hoe beautiful it turned out.
This looks soo great! Awesome job!
Wow so much brighter and fresh and clean looking! Crazy that you did it in a week! Mine took months but only working a few hours at a time…
Way to go! I love love love this! Not only is it frugal AND beautiful but it is oh so rewarding to have the satisfaction of doing it yourself.
Thank you! I needed a summer project, I go crazy if I am not working on something.
Wow. Just wow. She needs to do a YouTube video for how she did this exactly, because she’s obviously a VERY talented lady, and needs to be recognized! Bravo, excellent job! Whoever you are, you can make a living doing this N make a lot of money!
Can you share what primer AND paint you used? And… was the primer a “stain sealing” like the person above mentioned?
The primer I used is pictured in the post. I used the Emerald paint in site white for the top coat. I did two coats of each. The people at sherwin Williams are super helpful and knowledgeable. I told them what my project was and they showed me which products would work best for it.
What did you use to put inbtwn your stove and counter top? So food does not drop inbtwn?
https://www.amazon.com/dp/B0717539J8?psc=1&ref=ppx_pop_dt_b_product_details
Looks amazing!! Congratulations:)
Awesome👌
Only issue with the counter top paint is that over time it WILL peel and chip and start to look very unattractive. :/
There’s always one.
Or maybe two. 😑 We had the same problem — twice.
I used this two years ago in a bathroom and it looks perfect!
I painted my laminate countertops blue 7 years ago. Just now are we starting to see a spot here and there, mainly by my husband’s coffee maker. He is much rougher on the countertops. I used giani too and about to paint countertops in another house with it again. Well worth it for 7 years.
We made the mistake of painting our dark wood cabinets white using the Rustoleum Cabinet Transformation kits. A year later the white became yellow from bleeding through. We ended up having to strip and sand the cabinets and repainted them using Benjamin Moore paint. HUGE difference. Five years later and zero issues. Don’t skimp on paint and prep work… it’ll save you in the long run!
I was debating whether or not to use that kit and then i read bad reviews. Glad we didn’t use that one.
Is that the gray giani or a different color? We painted with blue 7 years ago and I love but they have discontinued that color. I’m going with gray in a different house, just want to be prepared in case I need to add some more gray to the mix. I know how I apply it makes a world of difference in the color.
It’s actually the white diamond kit without doing the optional second coat of the white top layer.
This looks great but I don’t recommend the Giani countertop at all. We’ve used it twice and both times, the paint began peeling away after a pretty short time frame. It was very disappointing. We have an unusually shaped countertop so this was definitely a more economical option, and we even tried it again … third time will be the charm and we’ll end up biting the bullet and buying a new countertop. We did, however, buy a cabinet kit to paint our cabinets and that has held up very well.
Is the primer and self leveling paint you mention the same can or 2 separate products? Looking to paint my worn out cabinets too. Thanks!