Our DIY Tile Planter Box Makes a Unique & Useful Teacher Gift!
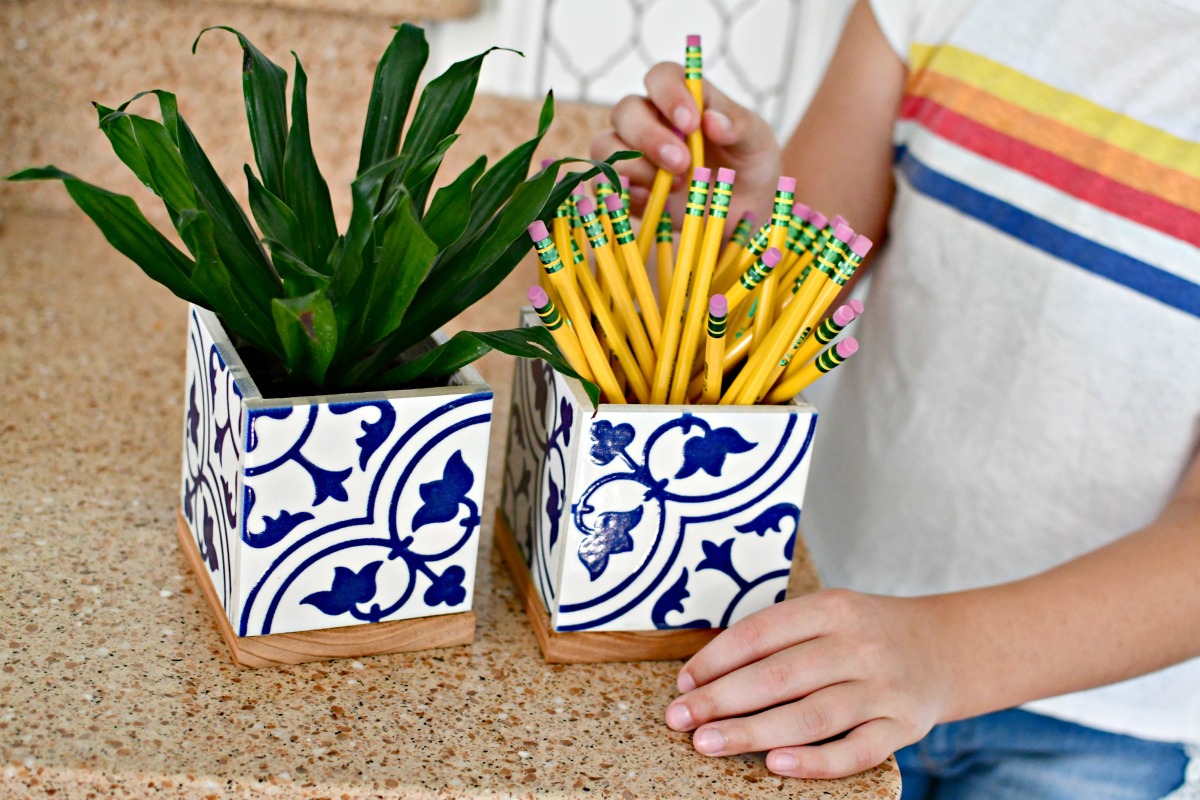
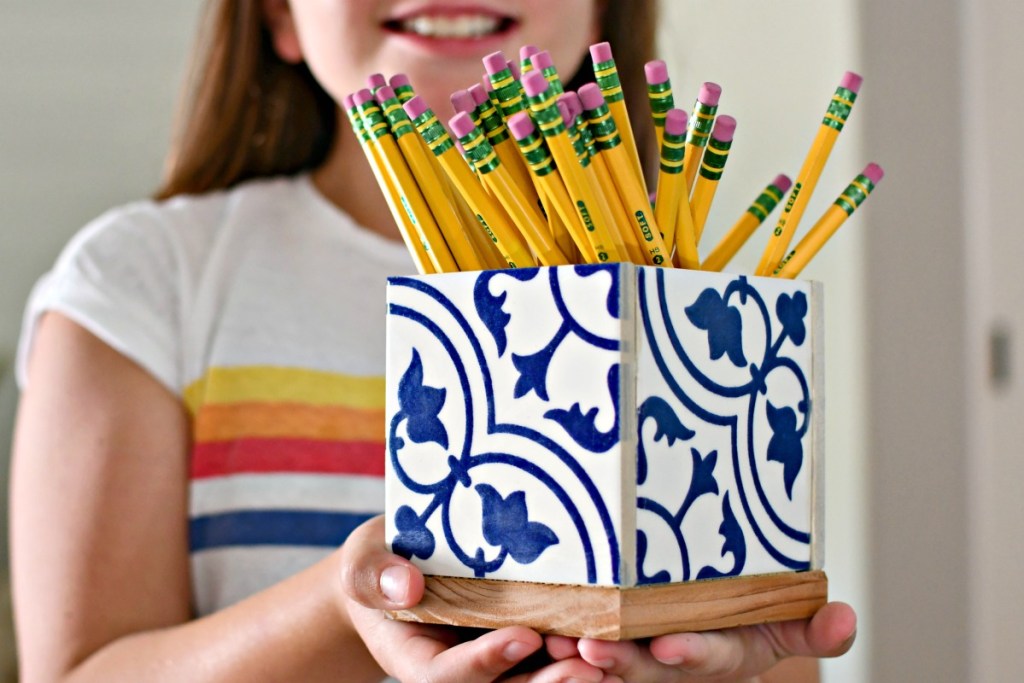
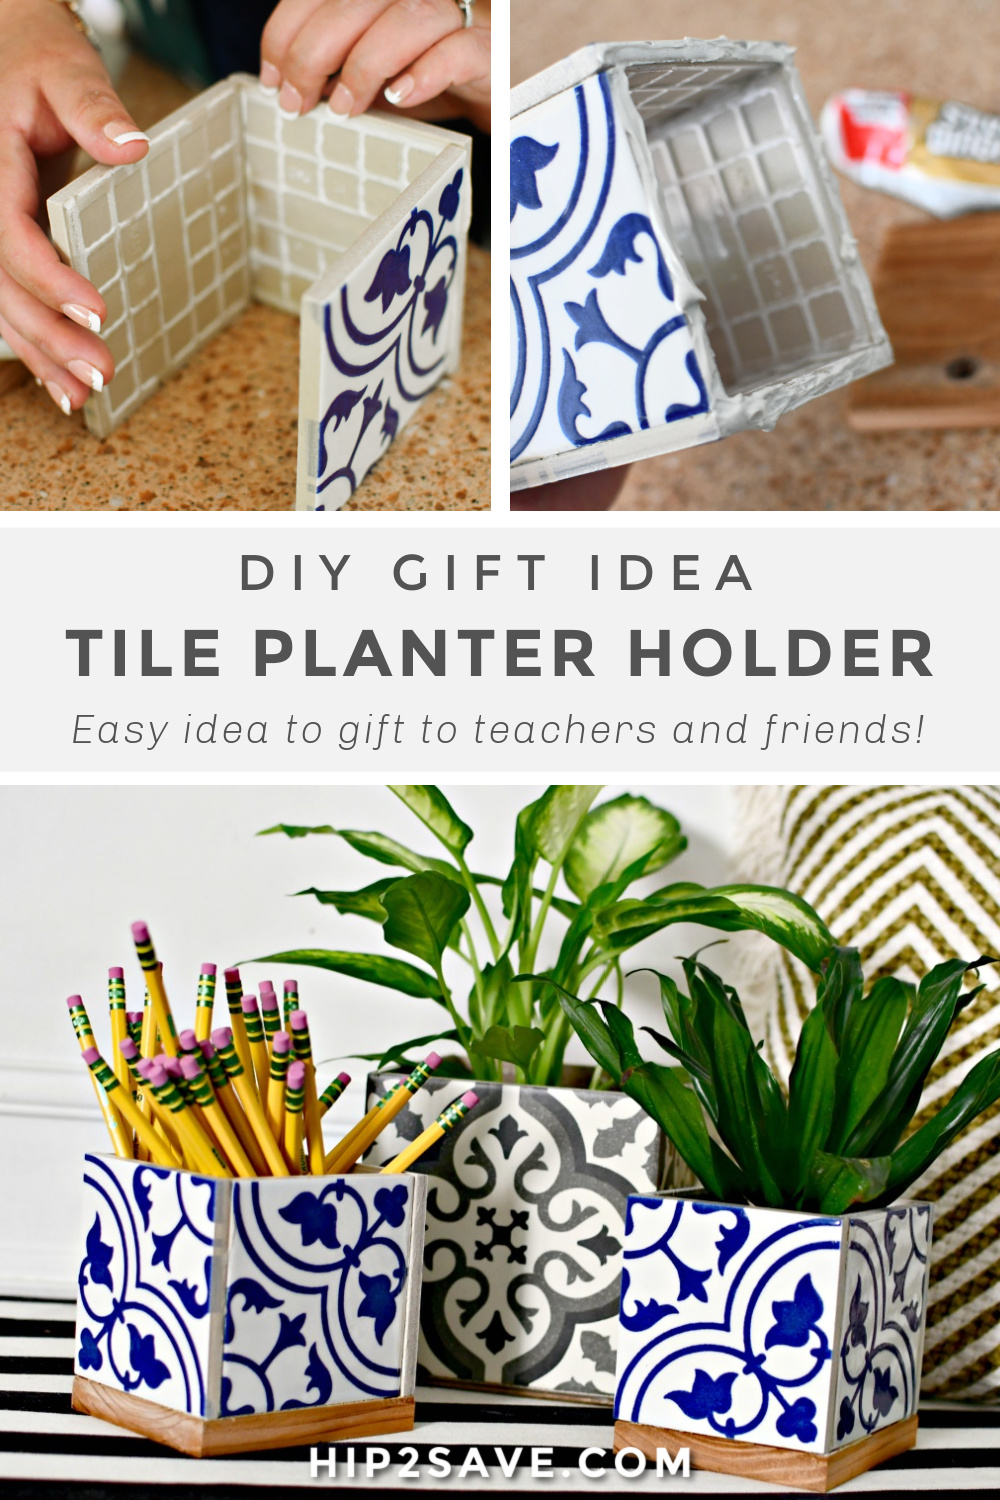
This simple homemade DIY planter box or pencil holder is surprisingly easy to make!

Have some extra tiles from a project you want to re-purpose?
I’m sharing how to turn a few ceramic tiles into a stylish planter or pencil holder. What a thoughtful gift idea for a teacher to display on their desk or for a friend to jazz up their office space. Of course, you’ll want to make one for yourself, too! 🤗

Don’t worry – this project is simple to make!
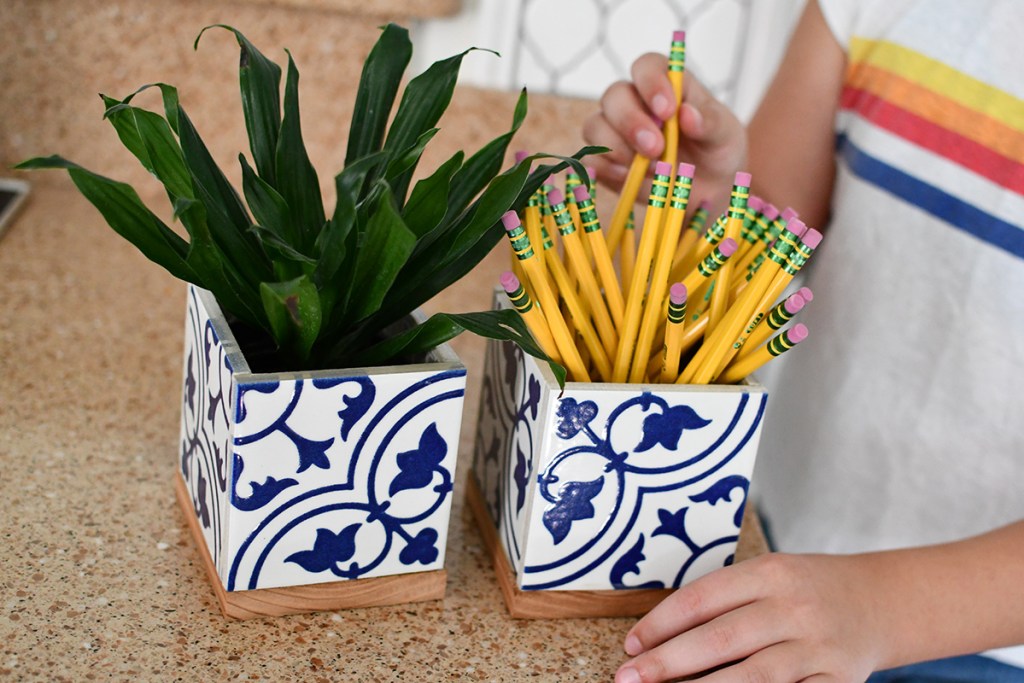
We’re gluing sides of the tile together to form a cube and then gluing a wooden base on the bottom. You can then place a small faux or real potted plant inside, or use it to keep pencils and pens together.
Where can I find some tiles?
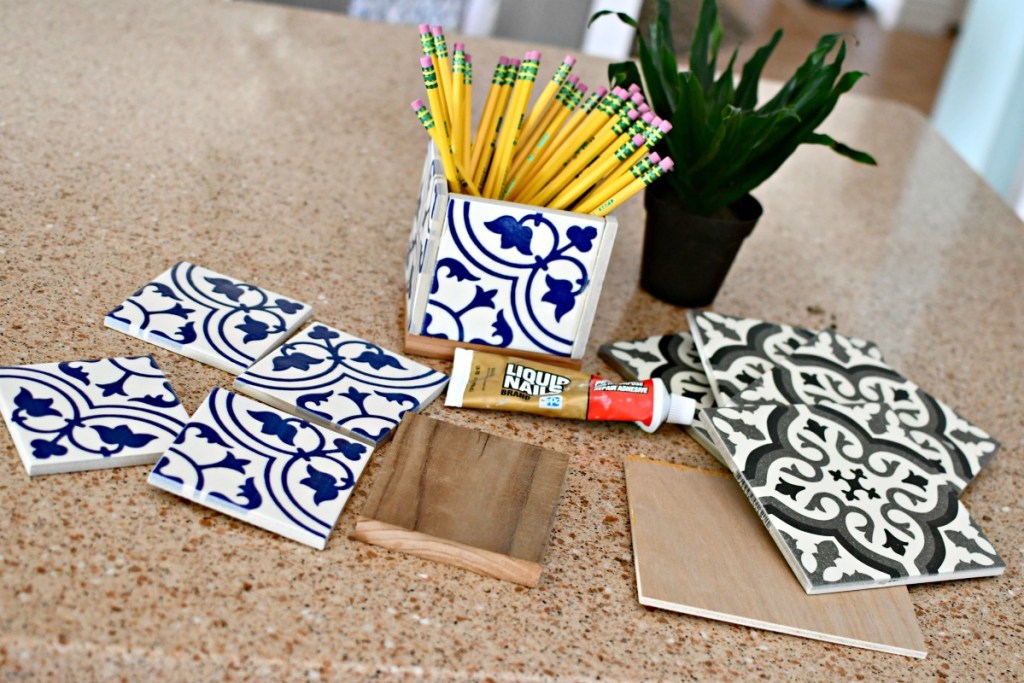
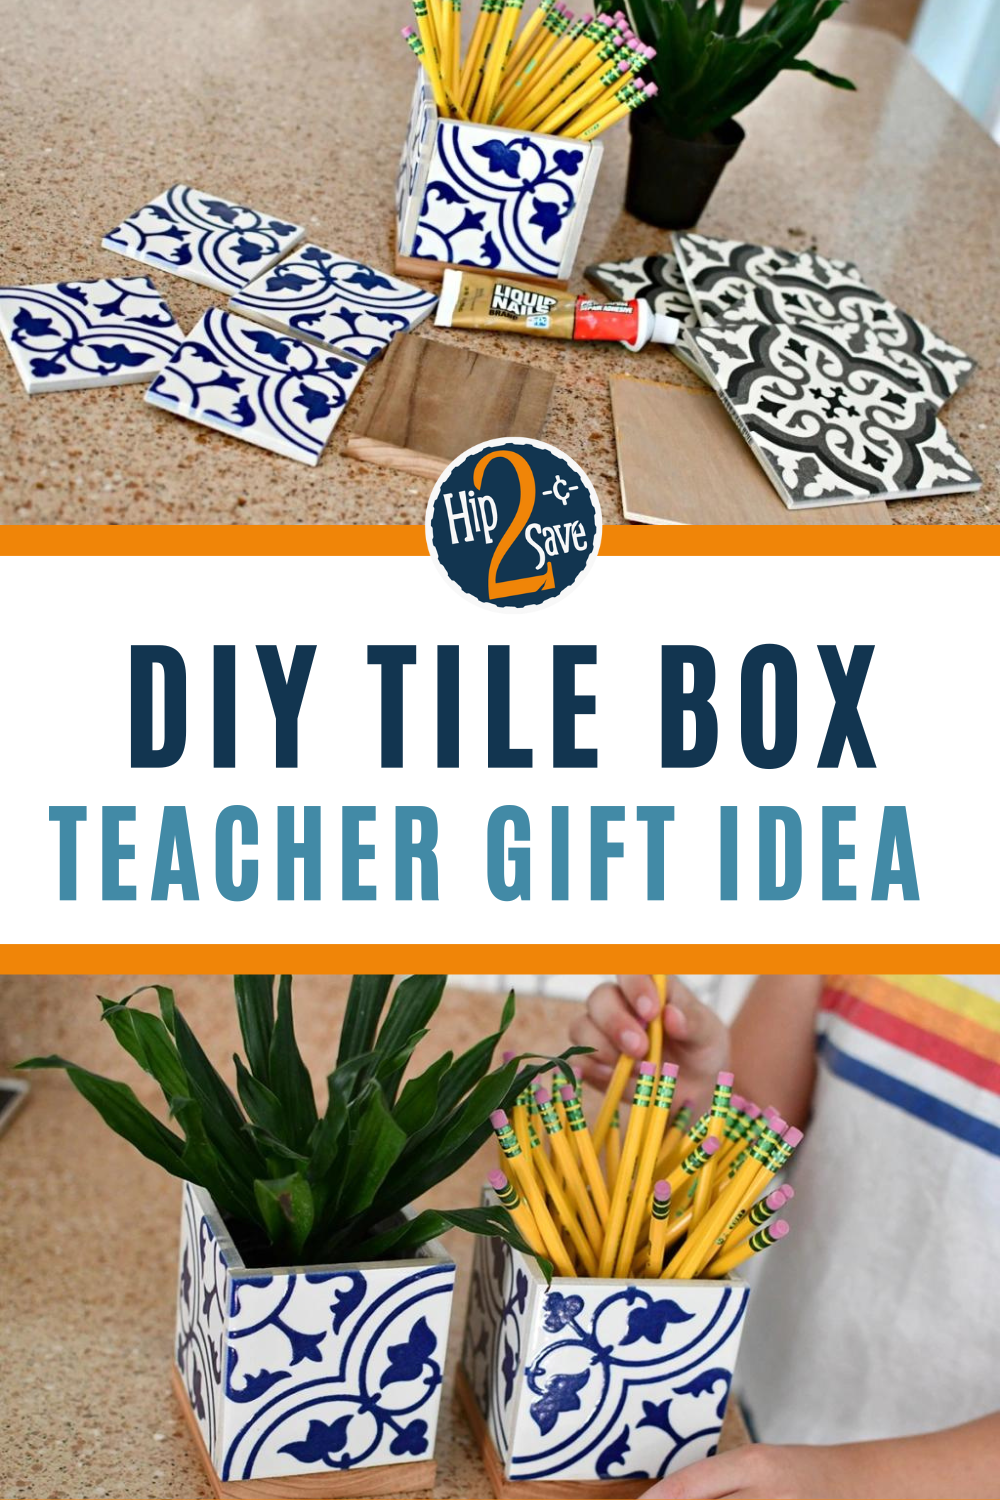
This project works for either 4-inch or 6-inch square tiles. I love this trendy Spanish tile look, so I chose them for my project, but you can use any color or style as long as they’re square.
While this is the perfect project for using up those leftover tiles, if you’re interested in my 6-inch black and white tiles, I found those at Lowe’s. The 4-inch blue and white tiles came from my local tile store. Both types of tile were around $1 each! I’d encourage you to check your local tile store for clearance tiles.
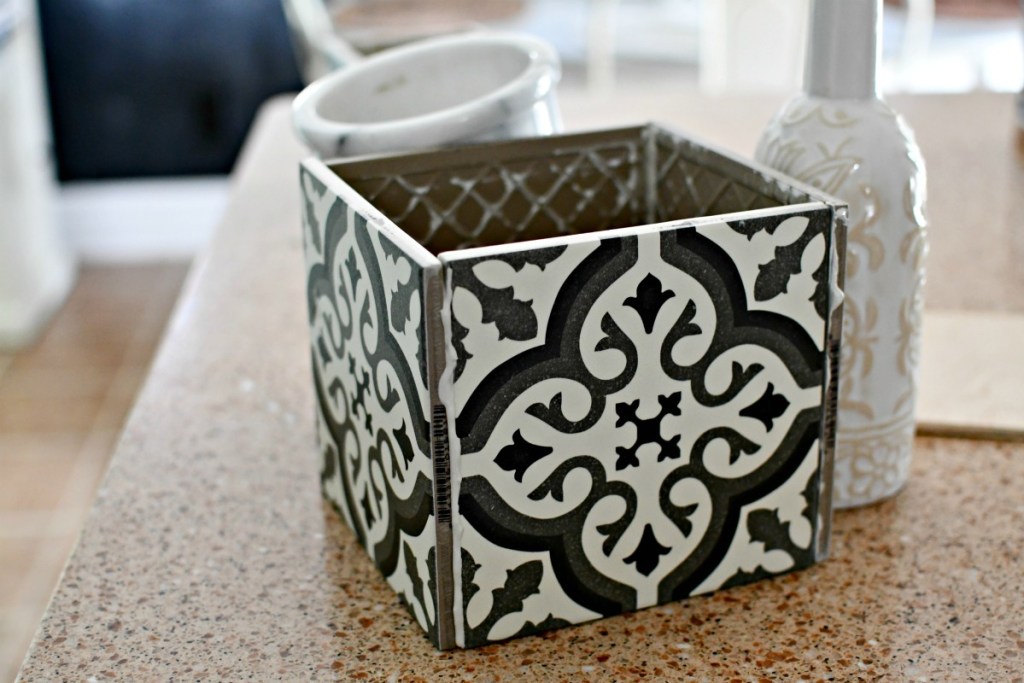
Hip tips for making this DIY tile planter or pencil holder:
- Grab a strong construction adhesive such as Liquid Nails. This will ensure that your tiles do stick, and be sure to also allow time for them to dry overnight.
- Support the tiles while they dry. I used heavy objects on each side so they wouldn’t fall over when drying.
- Use a piece of wood as a base for your cube. For an evenly constructed cube, I cut pieces of scrap wood we already had in the garage that fit the bottom area. You can check out craft stores for square wooden plaques if you don’t have wood on hand to use. I stained the wood pieces with some leftover stain, but that’s optional.
- Consider placing adhesive cork bumpers under the tile planter to prevent scratching your furniture. You can also make trivets and/or coasters with the leftover tiles using the bumpers, too!
DIY Tile Cube Planter/Pencil Holder
PrintSupplies Needed
- 4 pieces of square tiles (either 6-inch or 4-inch)
- construction adhesive (such as Liquid Nails)
- scrap piece of wood for base
- wood stain (if using)
- sandpaper (to sand excess glue if needed)
- small potted plant or pencils
Directions
1
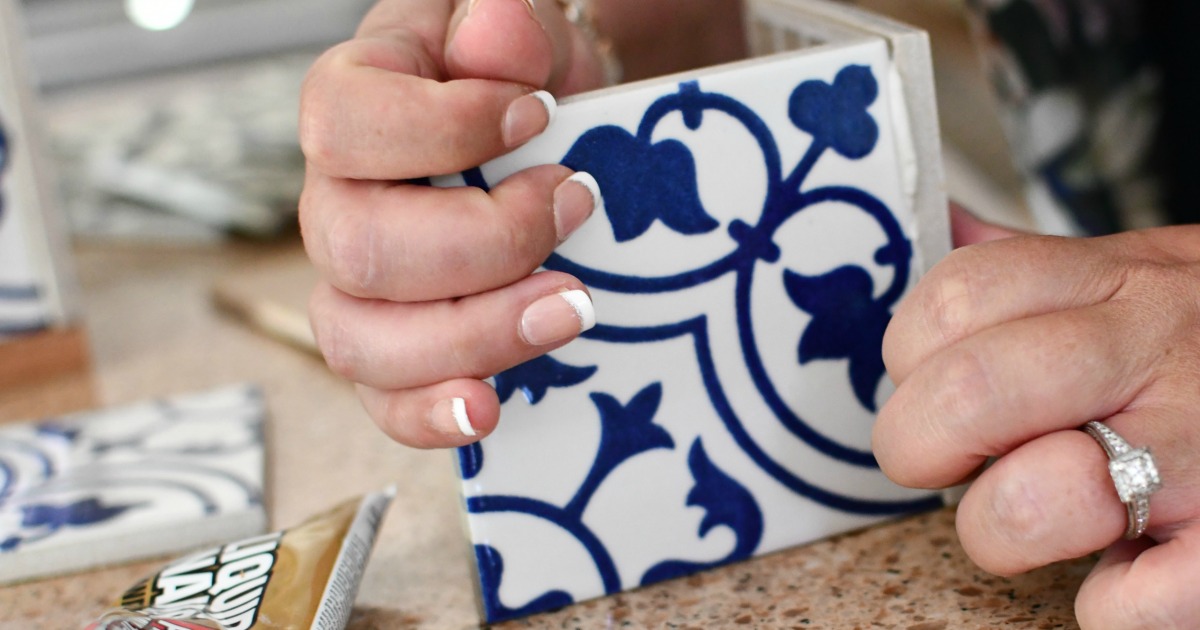
Place a generous amount of glue along the edge of one piece of tile, and glue it to the edge of another piece. Make sure the design is facing outward. Hold the pieces together for a minute or two until the glue has a chance to initially set.
2
Continue with that process on all four pieces to make a cube shape.

3
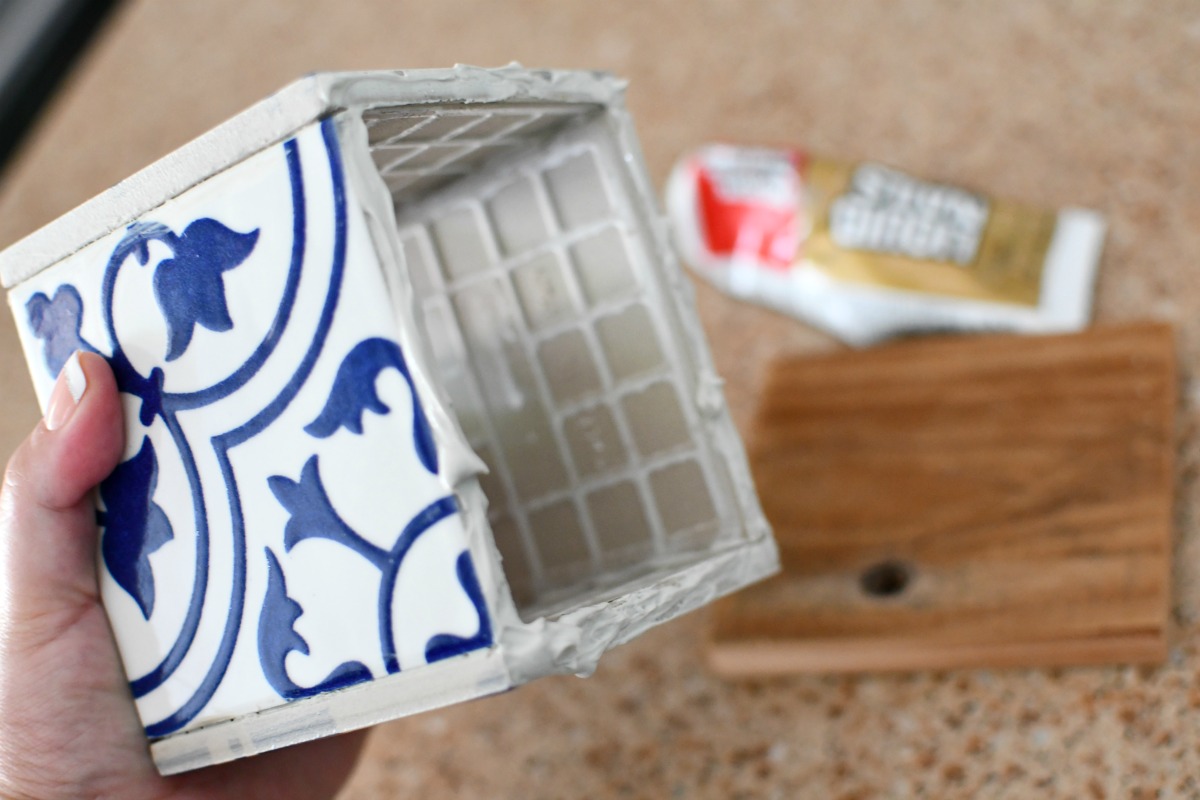
Use a power or hand saw to cut a piece of wood the same size as the bottom of cube to make a base. Alternatively, you can purchase a square piece of wood from a craft store. Stain wood and let dry if desired. Glue base to the bottom of cube. Let dry overnight.
4
Sand any excess glue on the tile, and wipe the tile clean. Place a small potted plant or pencils inside your tile cube to gift as desired.
I LOVE how simple this project was!
The combination of tile and wood is so pretty. Now I’ll be on the lookout for any and all pretty tiles! What a fun craft and gift idea. I think I need one for my desk too. How about you?!
Check out a larger-scale DIY planter box I also made from tiles!

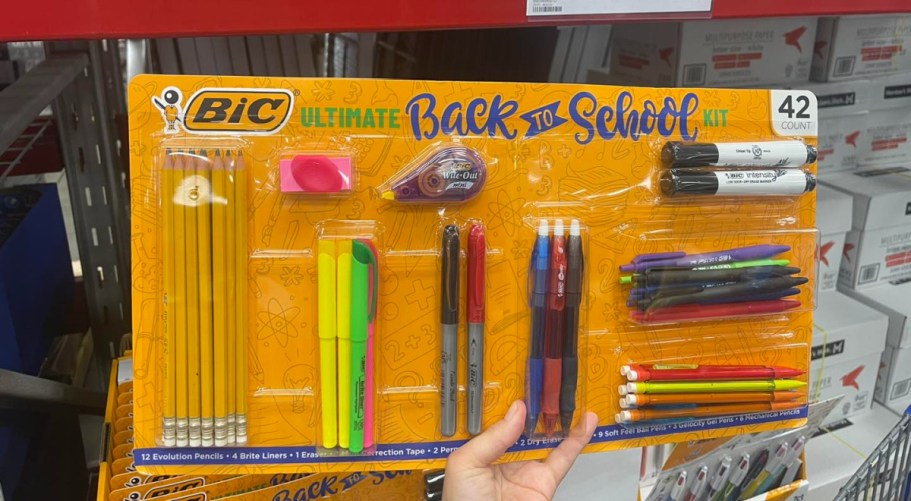


Forget the planter box. Just give us the pencils … and maybe a box of tissues 😉
Wow
Agreed!
Lauren’s not wrong….
Love the blue and white tile you used here Lina 🙂 I could see an aloe vera plant used here for a classroom with more natural sunlight. Beautiful idea, I’ll keep this idea for the future.
Thanks so much Jennifer! ❤️
LOVE this idea!! Keep up the crafty ideas! Love them. 😁
Aw thanks Raquel!
Love! Super simple and super cute!
Gorgeous tiles! I used almost identical tiles for a reno on my old kitchen floor..would’ve never thought of this idea. Brilliant!
Oh pretty! And thanks so much Nita! <3
Thanks so much!!! Absolutely amazing the stuff you make! This is a definite on my list!
Ah that’s so sweet – thanks Bev!
Coasters from dollar tree could be used too. The cork on the back side would look better I think than the plain tile.
Nice idea- thanks!
Lina, the article you wrote about impress nails was life-changing for me. I have always wanted beautiful nails, but I didn’t want to spend the time and money at a nail salon. I often joked with my daughters that if manicures were free I would spend the time and if they were fast I’d spend the money. Your solution was fast and cheap and beautiful. Win Win Win!
Oh yay! I was excited those work for me too ❤️ thanks Christina!
I love that nail post also! Will the impress nails work if your nails are flat? I noticed they are very curved.
These would also be cute to hold makeup brushes!!
Yes love that idea!!
Love this idea! It would make a great remote holder to for a living room!
I tried to put the sticker type B&W tile as a black splash over my stove. It looked too busy for the area. I absolutely love this tile and could not think of anything else to do with it. Thanks to you Lina, I can now use the tile as the planter/pencil holder. Thank you for the great idea!
Oh good – you’re welcome Nancy!
pretty!
Thanks so much!
Hi, I’d like to do this for a library program. Would it be okay if I used one of the pictures for a flyer? Thanks for considering! 🙂
Sure- thanks!
What glue did you use? 🙂
https://amzn.to/2UBqxWP —> Liquid Nails
This is way cute! Love the little plant & pencils! I like to craft, but only have time in the summer it seems. Thank you for sharing! Can’t wait to try this! 👏🏻👏🏻
Thanks Amy!
What about the exposed sides? How do you hide the rough edges of the tile?
It’s on the inside – so when you fill it – not very noticeable.
I had bought the exact same black and white tile from Lowe’s to do my kitchen floor 😂 At least now I have some ideas for extra pieces lol. Definitely making a trivet or two, never would have thought of that. Thank you!!
How pretty! I’m a teacher and would love this for my classroom!
Thanks so much Molly!
Why didn’t you use a 5th tile on the bottom? Wouldn’t that be easier?
It would not be a perfect box due to the thickness of the other tiles. The bottom needs to cover a tiny bit larger surface area if that makes sense.