
Make Easy 3 Ingredient Salt Dough Ornaments for the Holidays | Sweet Family Tradition
Make salt dough ornaments at home with this easy recipe.
Make this easy Christmas craft with the kids. ❤️
Salt dough ornaments are easy and fun to make and can be given as gifts or hung on your tree. Here’s a salt dough recipe so you can make them at home too!
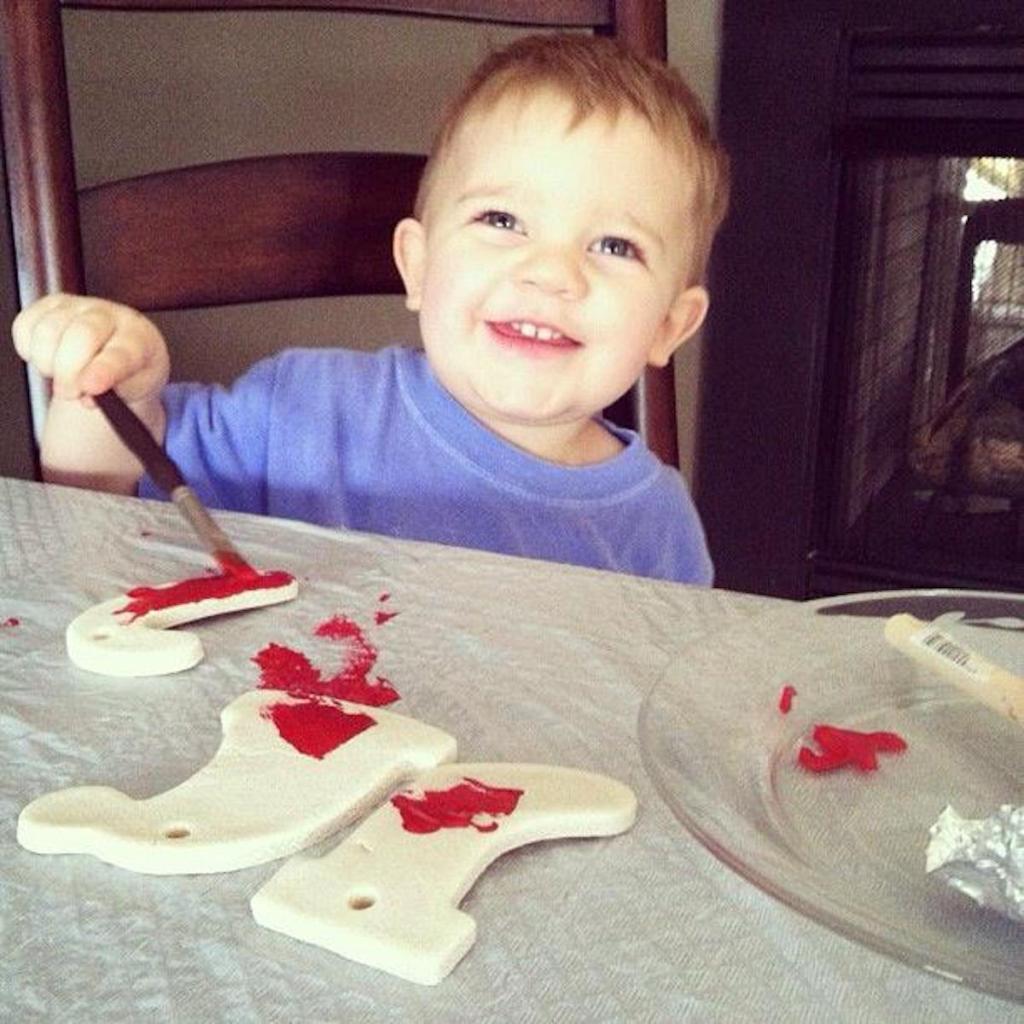
I started making salt dough ornaments with my kiddos when my oldest was just a baby. Above is a photo from 2012 when he was about 2 years old and he’s nearly 12 now. 🥹
I started making this salt dough recipe because it’s SO easy and quick to do with any age kiddo. As a mom who seldomly does crafts, I appreciate the minimal ingredients and effort it takes on my end. 😅
Plus, I love that you can paint them which doubles as another great craft for kids or a frugal holiday party activity and you can even use them as fancy name tags on presents or give them as keepsake gifts – perfect for grandparents.

Our salt dough ornaments have become a tradition my youngest now remembers and always asks to do every year so I’m always sure to make time for it.
Plus, I LOVE how frugal salt dough ornaments are to make!
Even though we eat gluten-free, I always make sure to have a bag of the cheapest white flour in the store for this craft and the only other ingredients needed are water and salt! It doesn’t get much simpler than that!
Before we get started, here are a few tips I’ve learned over the years that will make your salt dough recipe and ornaments come out perfect!
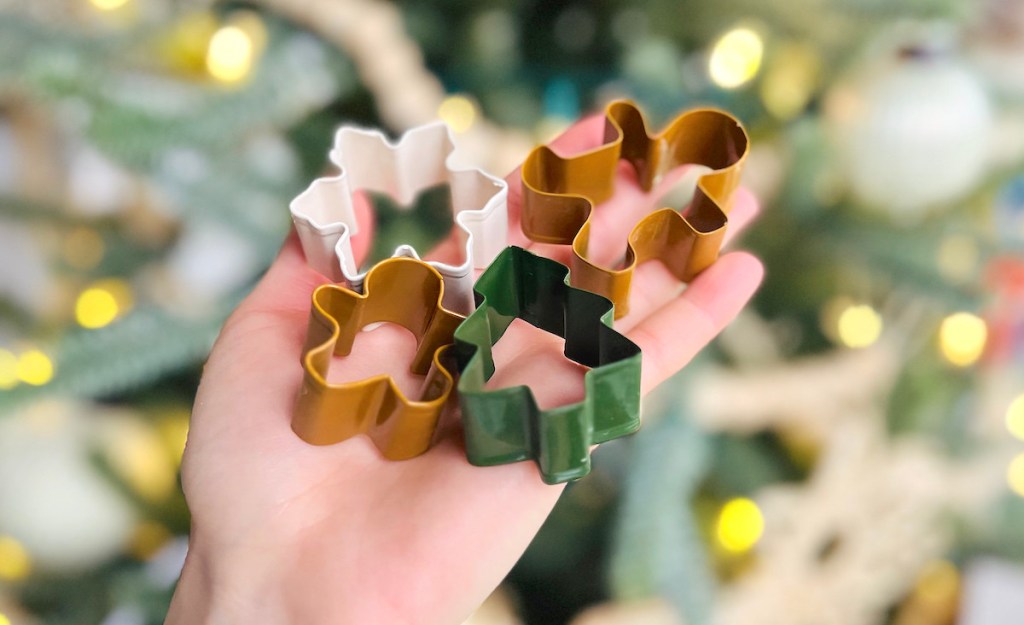
Use mini cookie cutters.
Not only do these look the cutest when complete but they also don’t weigh down your tree branches if you’re using them as ornaments. Plus, they’re the easiest for little hands to handle.
For the past two years, I’ve used the smaller cutters from this gingerbread family and tree set from Target and I also noticed they now have an assorted mini cutter set that would work perfectly too!
Avoid ornament puffing.
This happens when the dough gets too hot. To avoid this you can simply air dry your ornaments overnight instead. Since we make these every single year and my kids like to hang them immediately, I don’t care too much whether they’re perfect or not. Whether you bake them or air dry them is really your preference!

Roll the dough just right.
Aim for about a 1/4-inch thick when you roll out your dough. Any thicker and they’ll get too heavy for your tree branches and they’ll take longer to dry. Any thinner and they’ll be more prone to breaking.
Get creative with decorating your dough before they dry.
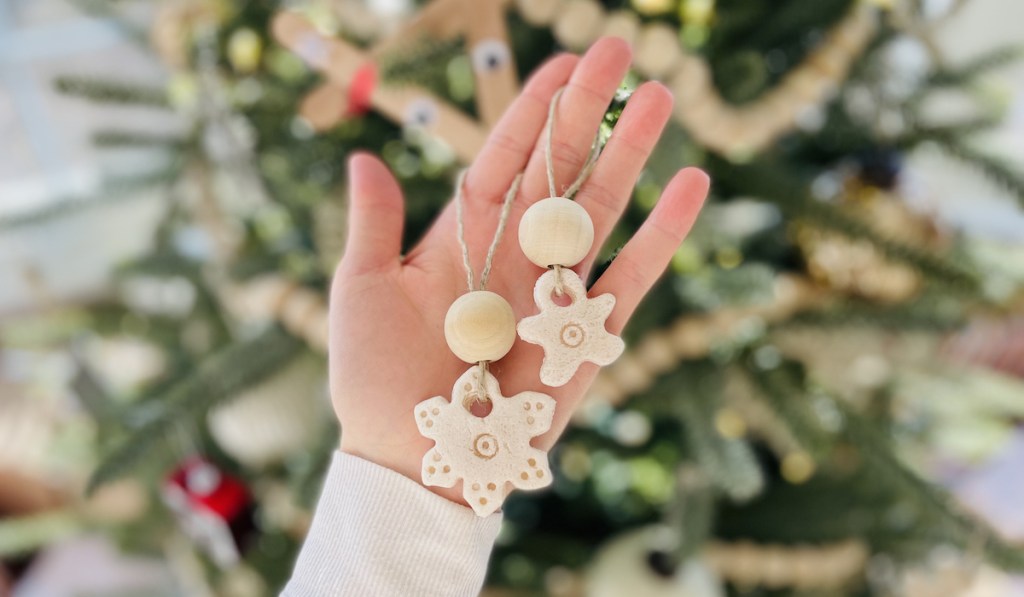
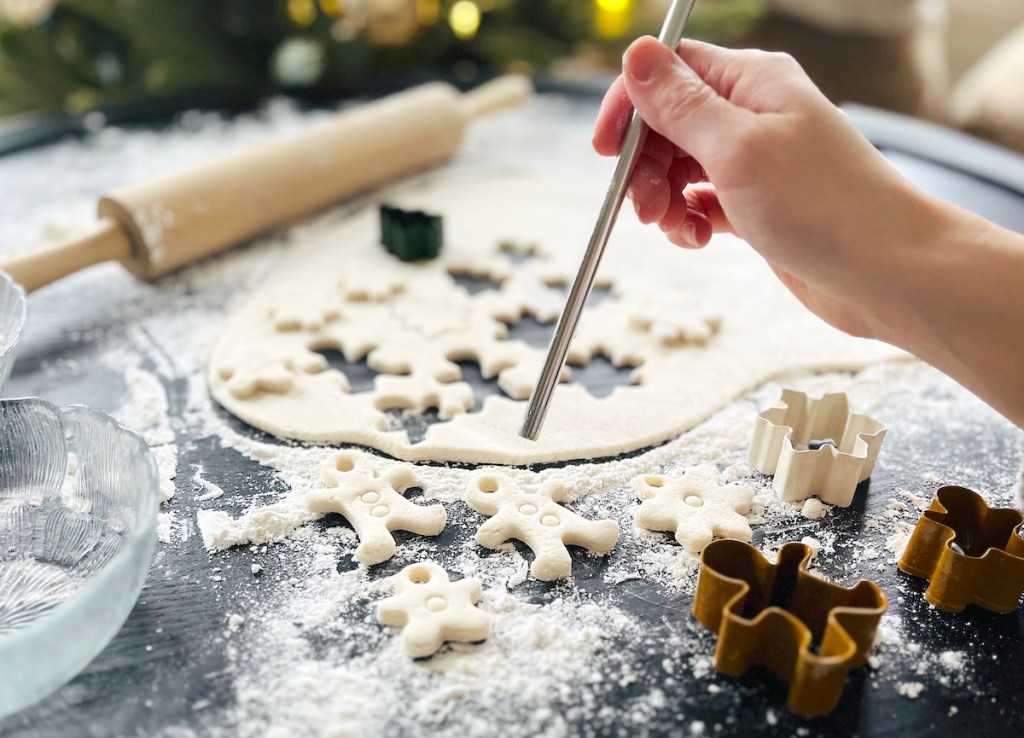
Not only are straws good for making the holes to hang your ornaments, but they double as a way to decorate them too! For the past couple of years I’ve used them to make “buttons” on the gingerbread, “ornaments” on the trees, and different designs on the snowflakes.
You can also get even more creative with your salt dough ornaments and use the tips of pencils, your little one’s feet and hands to preserve their first Christmas, or go all out with some cookie stamps. The options are endless!

Add essential oils to make your salt dough ornaments smell incredible.
You can add some of your favorite essential oils to your salt dough recipe to make your ornaments smell great! You’ll add a few drops to the dough (which I’ll explain more about in the DIY below). My favorite to use is Plant Therapy’s Organic Peppermint Oil but I also think any of their Christmas essential oils would be perfect too!
Regardless if you bake or air dry, this little tip is sure to elevate each one!
Want to change the color? You can also opt for food coloring if you want to make your ornaments different colors!
Now…let’s make some salt dough ornaments! 🤩
Salt Dough Ornament Recipe
PrintSupplies Needed
- 2 cups of all purpose flour (+ extra for rolling)
- 1/2 cup of salt
- 3/4 cup of water
- Essential oils (optional)
- Rolling pin
- Stand Mixer
- Cookie cutters (mini size perferred)
- Straw
- Twine, string, or ribbon (for hanging)
- 1" Wood beads (optional)
Directions
1
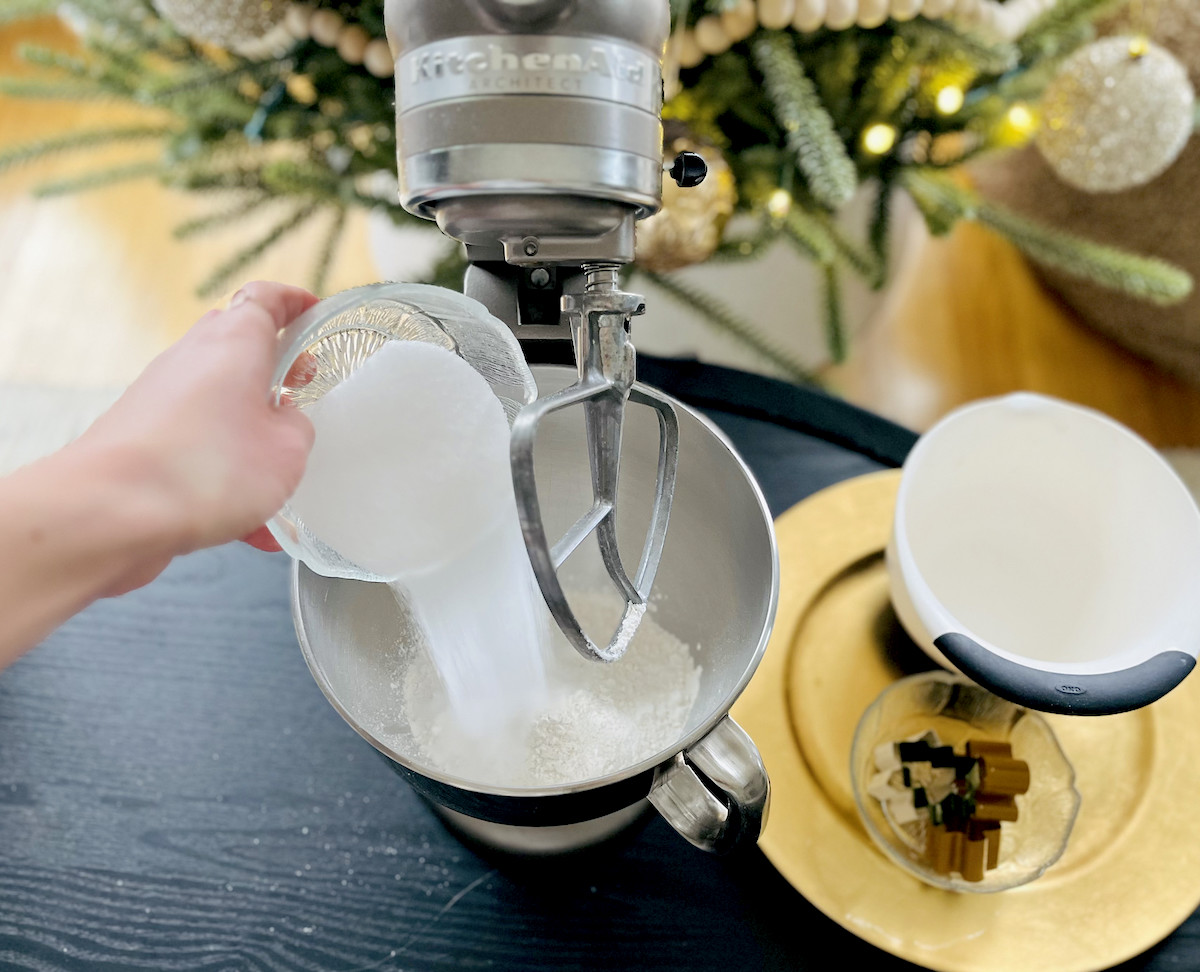
Add your flour and salt to an electric mixing bowl. Using a dough attachment, blend until combined.
2
Add a few drops of your essential oils and/or food coloring (optional) to your water if you are using them. While your blender is stirring, slowly pour water into your dry ingredients.

3
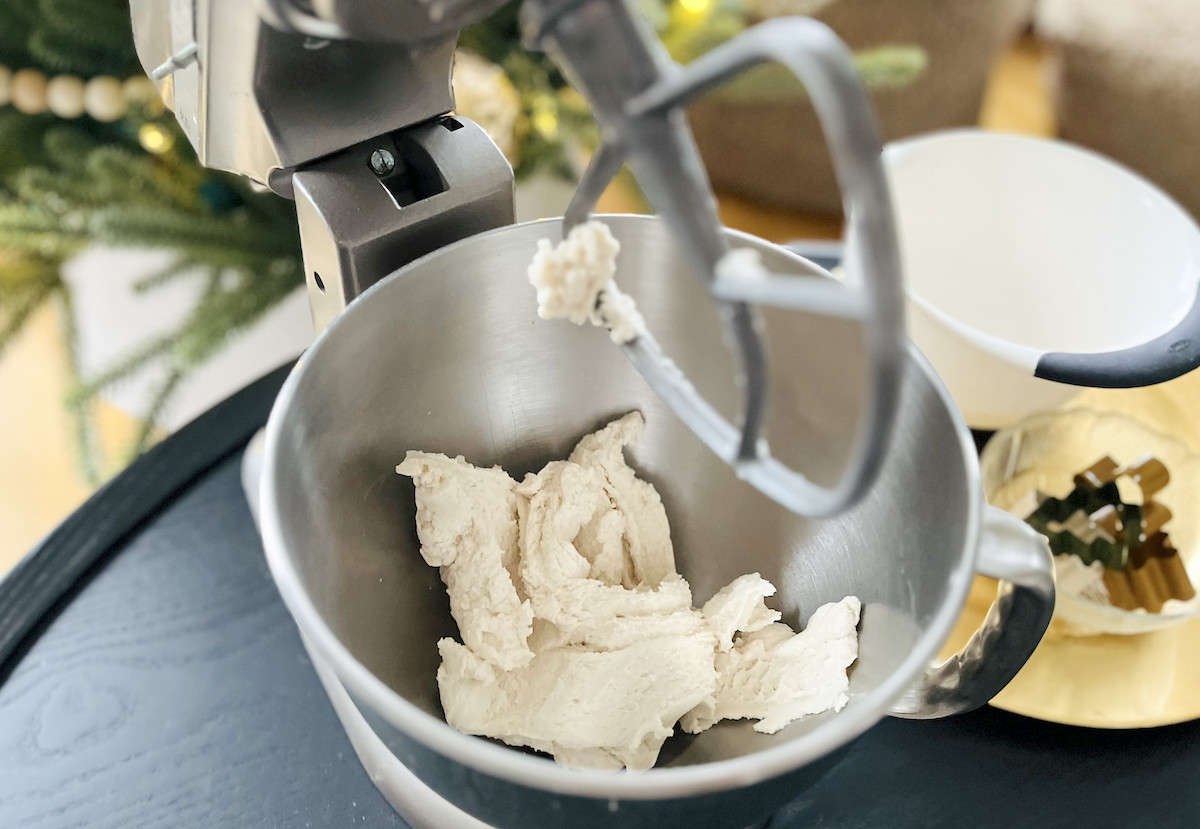
Blend slowly until dough forms and there are no excess dry ingredients at the bottom of your bowl. If needed, add an additional tablespoon of water at a time while blending and repeat until your desired consistency is reached.
4
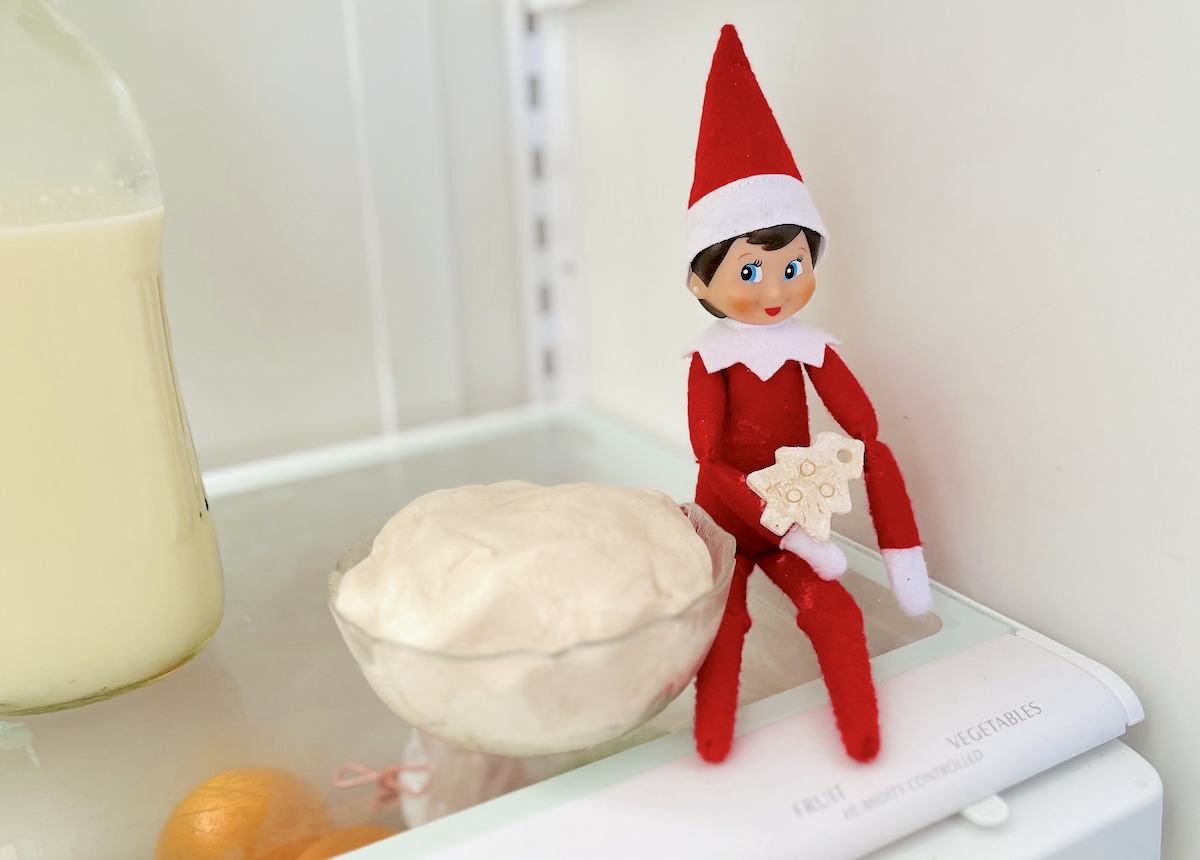
Place your dough into a small bowl and chill in the refrigerator for about 10-15 minutes. This will allow your dough to firm up and be easier to handle when cutting your ornaments.
5
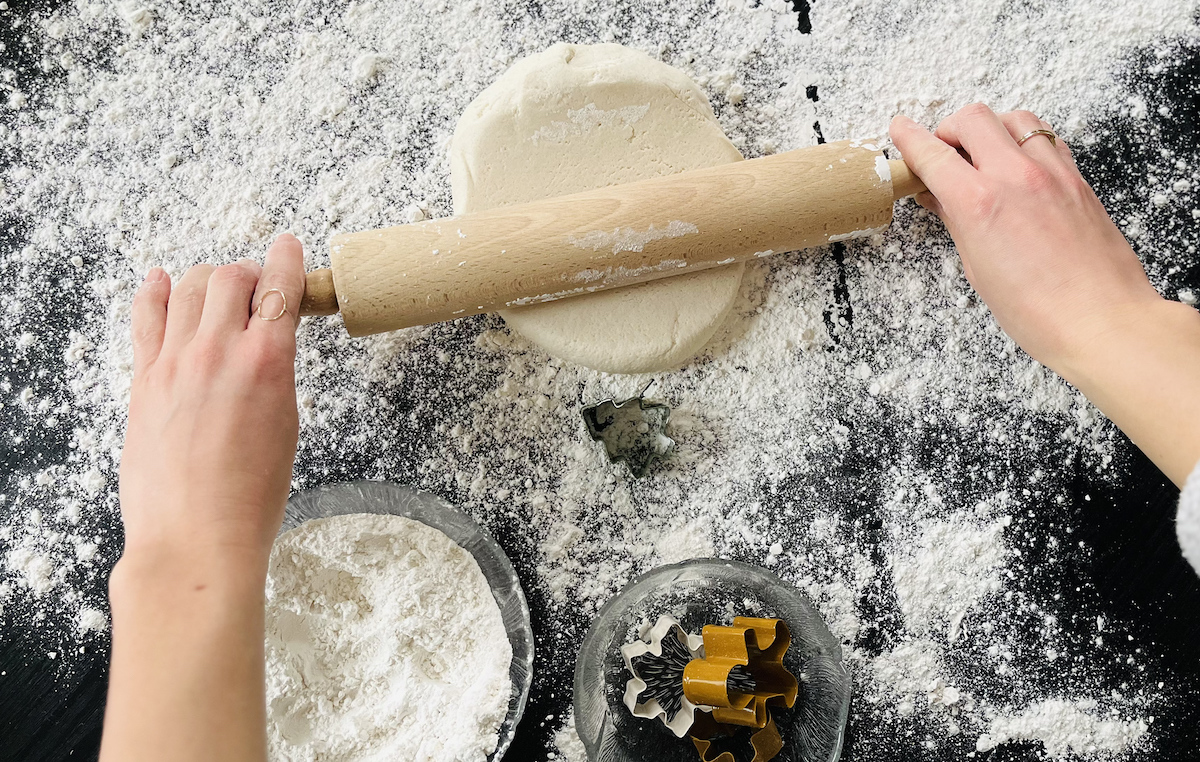
Lightly flour the surface where you’ll be rolling out your dough. Using a rolling pin, roll out your dough until it’s about 1/4″ thick.
6
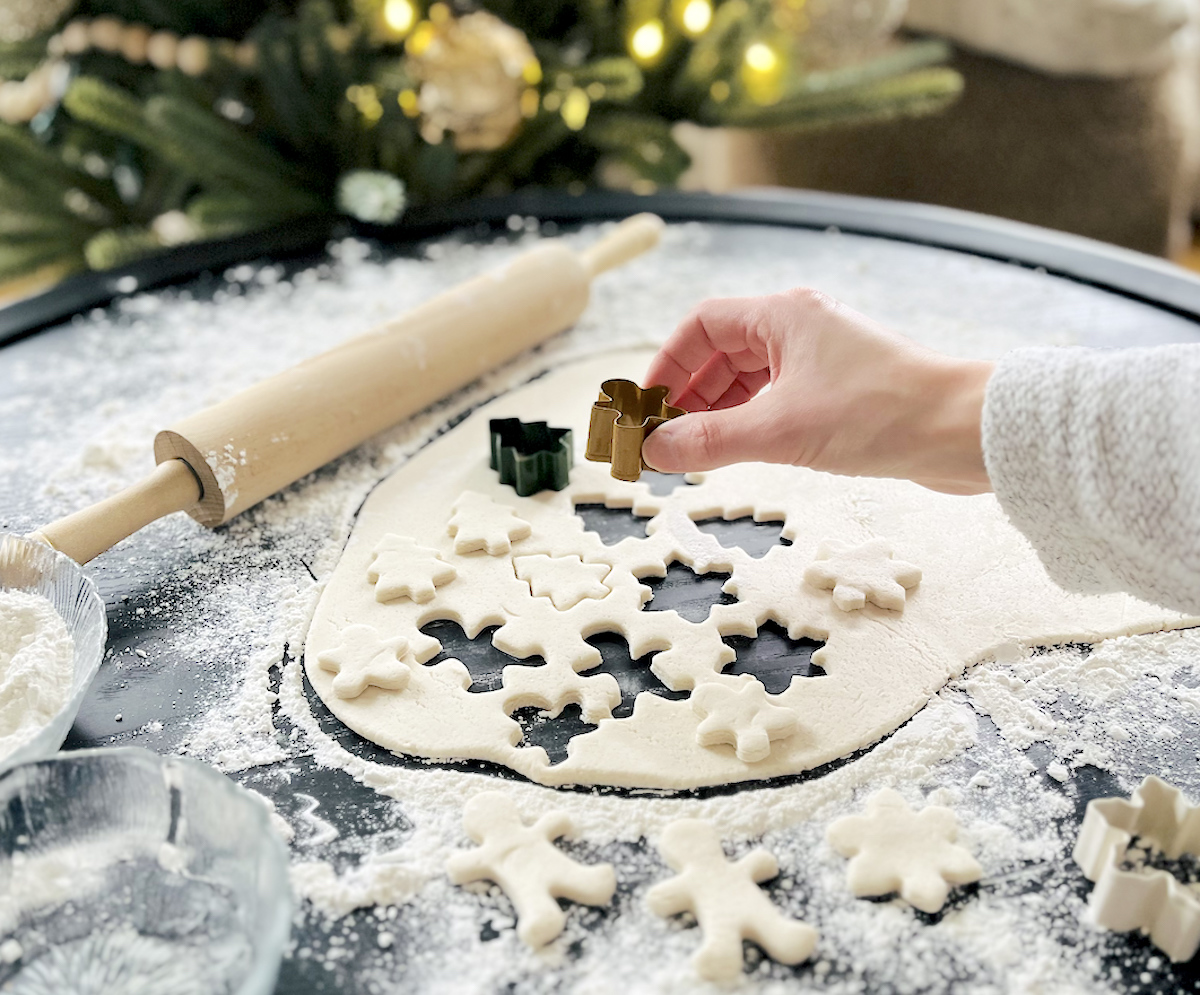
Cut out your shapes using your mini cookie cutters. Reroll the dough and repeat until the dough is nearly gone.
7
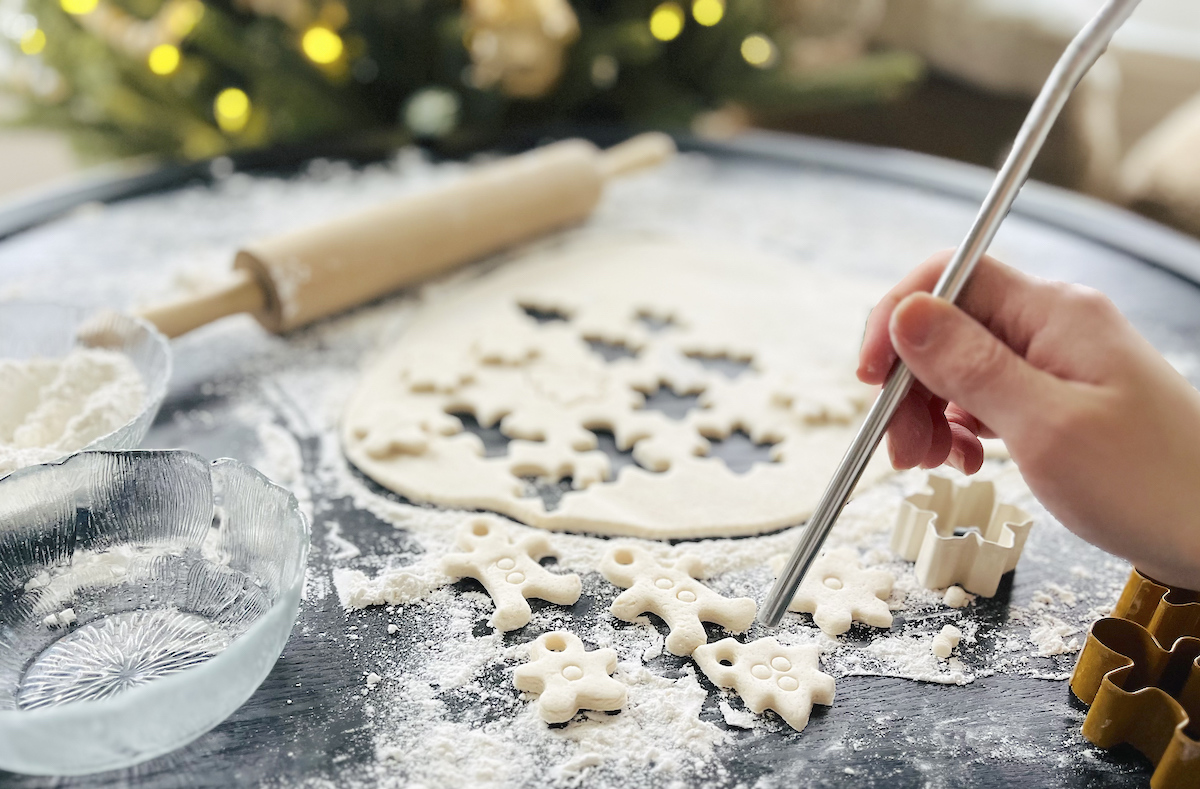
Using your straw, cut out holes in the top of each ornament. Be sure to clear your straw after each cut. (This hole is where you’ll be hanging them from.) Then continue to “decorate” your ornaments using your tools (pencils, cookie stamps, etc.) until you’ve reached the desired look.
8
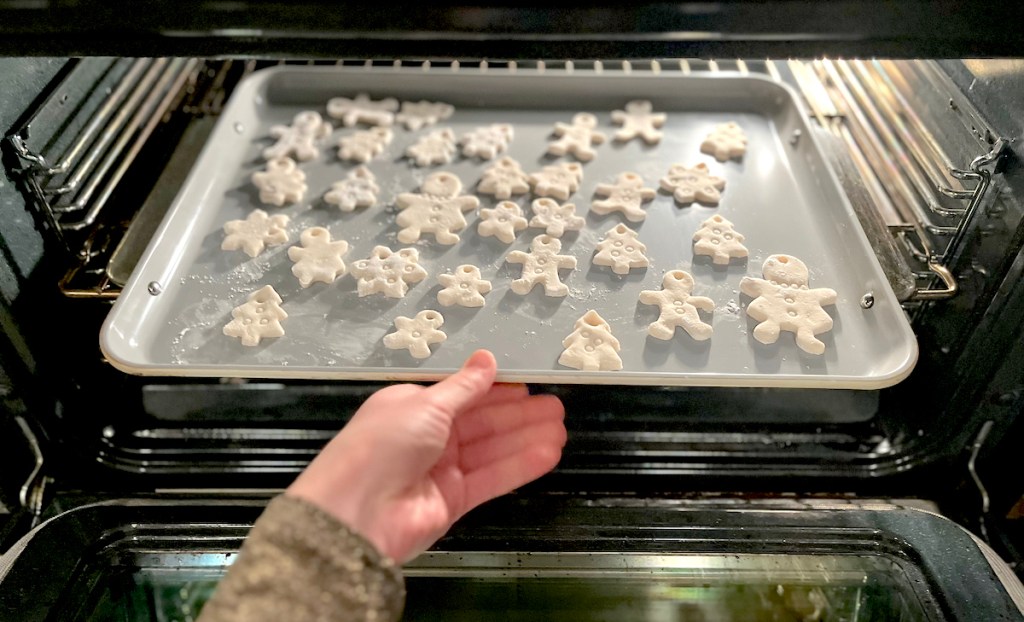
Place your ornaments on a non-stick pan (or cover a metal pan with parchment paper) making sure none of them are touching. If baking your salt dough ornaments, place them in the oven at 300° for about 25-30 minutes. Or let your ornaments air dry overnight until firm if you’re not baking them.

9
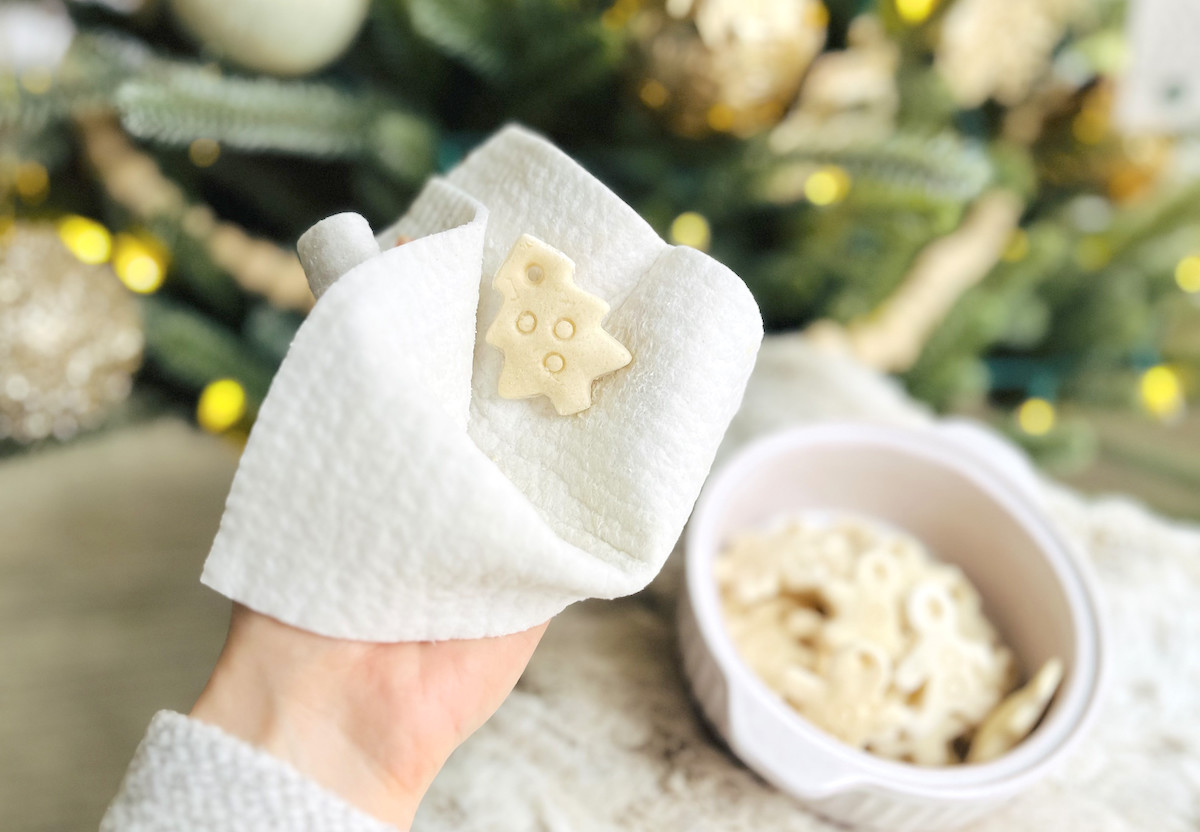
Once your ornaments are firm, wipe off any excess flour. A damp Swedish dishcloth works perfectly. If you plan to add additional decorations to your ornaments such as paint, glitter, coloring them, etc. now’s a good time to do that.
10
Cut your twine, string, or ribbon, into about 9″ pieces and string through the top hole of your ornament.

11
If using wood or other types of craft beads, string each end through the bead making sure they’re even in length.
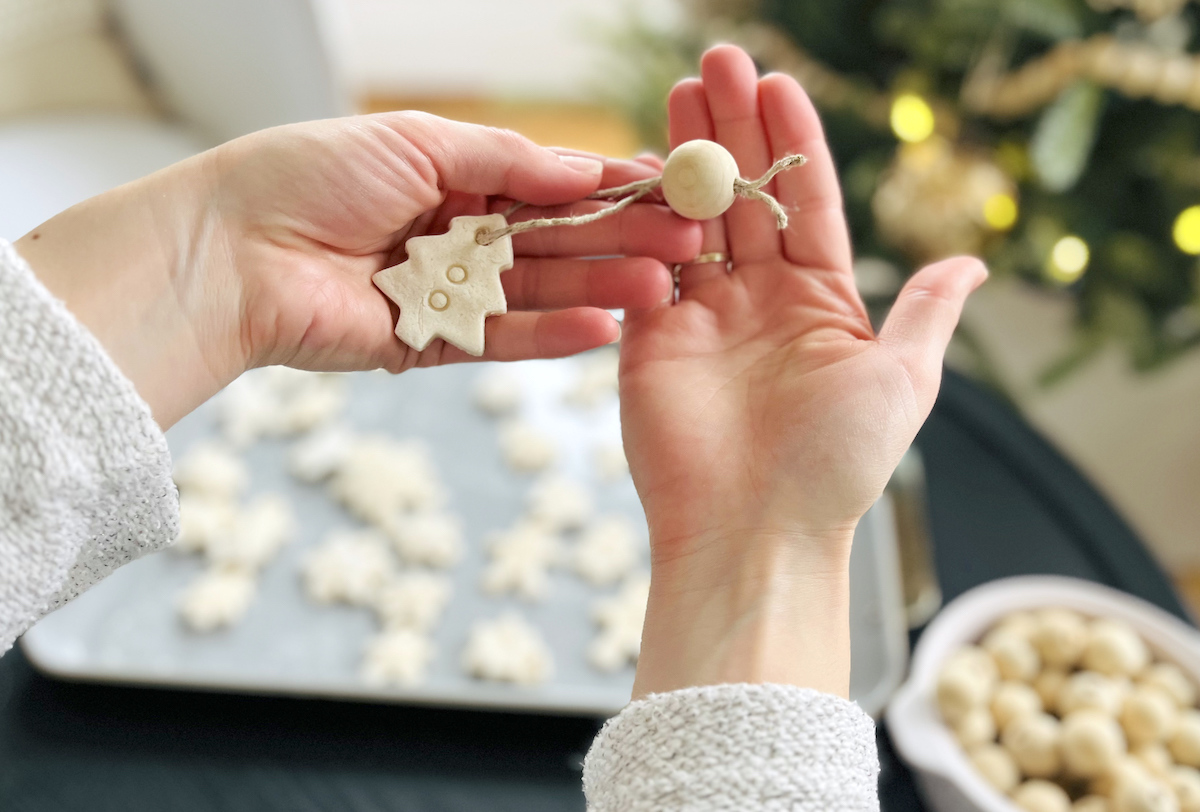
12
Move the wood bead down to the top of your ornament and tie the ends of your string. Cut off any excess string. Repeat until all your ornaments are complete!

13
Hang your pretty new ornaments on your tree! You can also use them as gift tags or wrap them as keepsake gifts for loved ones.


And there you have it, friends…a super simple, frugal, and festive craft anyone can do at home! I really hope you enjoyed this family tradition of mine and if you make them, be sure to share them with us on Instagram, Facebook, or TikTok!
Merry Christmas, Hip2Savers! 🎄
Check out these Christmas deals before you hop off to make these!


Such a cute and useful craft for kids. 🙂
It sure is! Glad you enjoyed this post, Lynne! 🎄❤️
I love this. Thanks for sharing.
You’re so welcome! 🤗💗
I would love to make these with my class! Are they durable? Should I Mod Podge them? Any tips are greatly appreciated.
Hey, Maria! I bet your class would LOVE this – what a great idea! I don’t think you’ll need to do anything extra to them once they’re dry. I’ve never used mod podge on them so I can’t vouch for that, but I don’t see why it would hurt anything. All of my kids made tree-shaped salt dough ornaments in school and they used green paint, glued a tiny school picture on the front, and used a pipe cleaner for the hanging part. Have so much fun with your class!
Hey. Just wondering if these are keepable from year to year or will they deteriorate?
Hey, Virginia! You can definitely keep these from year to year! I have some my kids made at school that are a few years old now and still look like the day they brought them home. I’m sure you’ll do this anyways, but just be sure to pack them up carefully so they don’t break. ☺️
Instead of wooden balls could you just make them with this recipe or would they not set up right? Do you know if you can make the dough the night before?
They may not hang straight but the wooden balls definitely aren’t necessary to make them. You could make the dough the night before. Just make sure to cover it so it doesn’t dry out and it may need to sit out just a tad longer the next day before it will roll. 🤗