
How to Paint Pottery Barn Style Terracotta Pumpkins at Home for LESS
This viral Halloween DIY paint project turns ordinary jack-o-lantern pumpkins into stylish Pottery Barn terracotta pumpkin dupes.
If you only do one craft project this fall, jump on this trendy paint project!
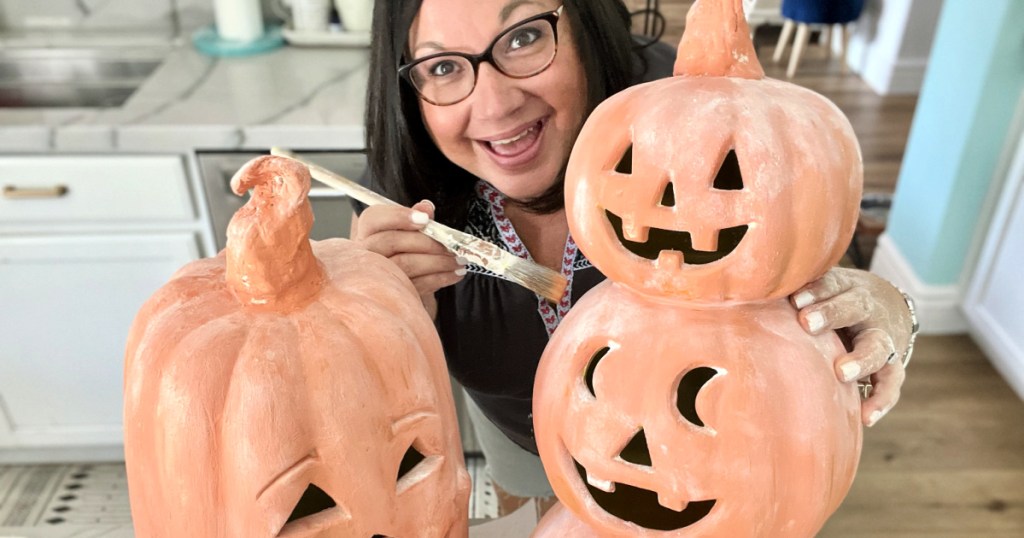
I am all about trying the latest viral TikTok and Instagram trends, and today I’m excited to share a clever pumpkin makeover that I’ve seen all over the internet this month. How fun would be to have a craft night with friends and paint these terracotta pumpkins?!

Inspiring crafters such as Liz Marie Gavin and Lolly Jane have been painting inexpensive jack-o-lantern pumpkins to look like high-end Pottery Barn versions using a faux terracotta technique. I tried making my own and the results are gorgeous as well as Hip2Save approved!
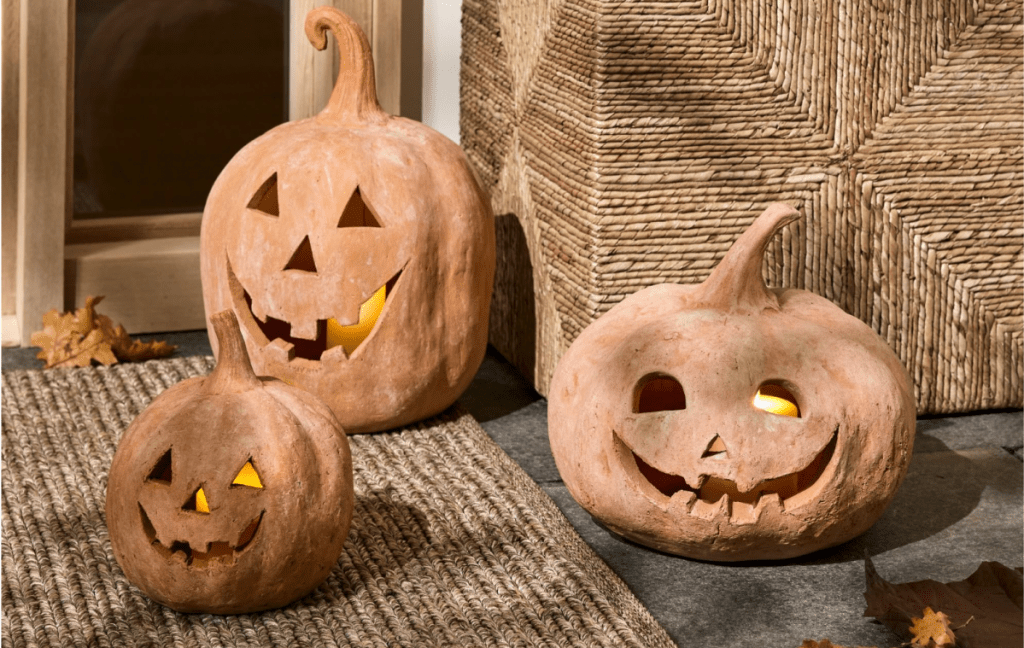
Use Pottery Barn’s spooky yet stylish jack-o-lanterns for inspiration, and let’s make it cheaper!
These hand-crafted Pottery Barn terracotta pumpkins are actually no longer available and were said to have been priced around $89 for one. I do love the whimsical look of the stem and the rustic finish, yet I’m not a fan of super pricey seasonal decor because it’s only used for a short period. Plus, plastic is honestly much easier for me to store and less likely to break in my opinion.

Get a similar look by first grabbing lesser expensive pumpkin jack-o-lanterns!
You can do this project at various price points and sizes. I found these two larger pumpkins on sale last week at my local Fry’s (Kroger) grocery store priced at $20 and $25 and they are LED and light up. Maybe hit up the thrift store or look through your own decorations for pumpkins. Walmart has Way to Celebrate brand jack-o-lanterns in-store.
Check out this similar stacked jack-lantern from Target.com or you could also buy a carvable pumpkin from a craft store such as Michaels and carve the face details first before painting.
Tips to consider before making DIY Pottery Barn-inspired terracotta pumpkins:
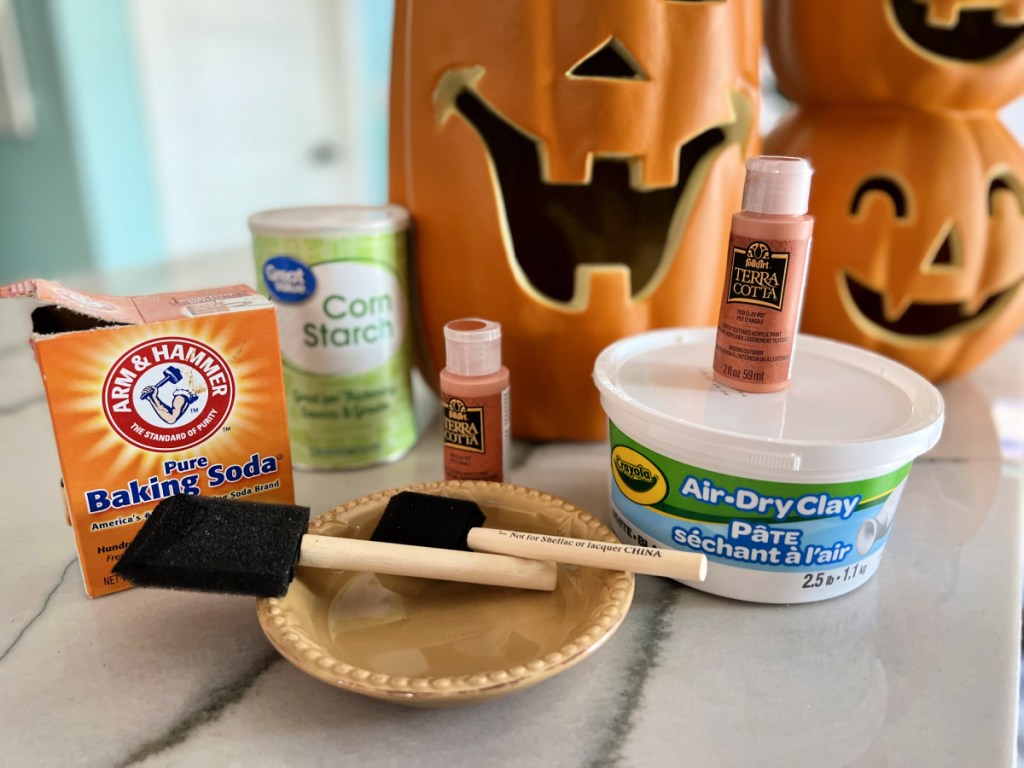
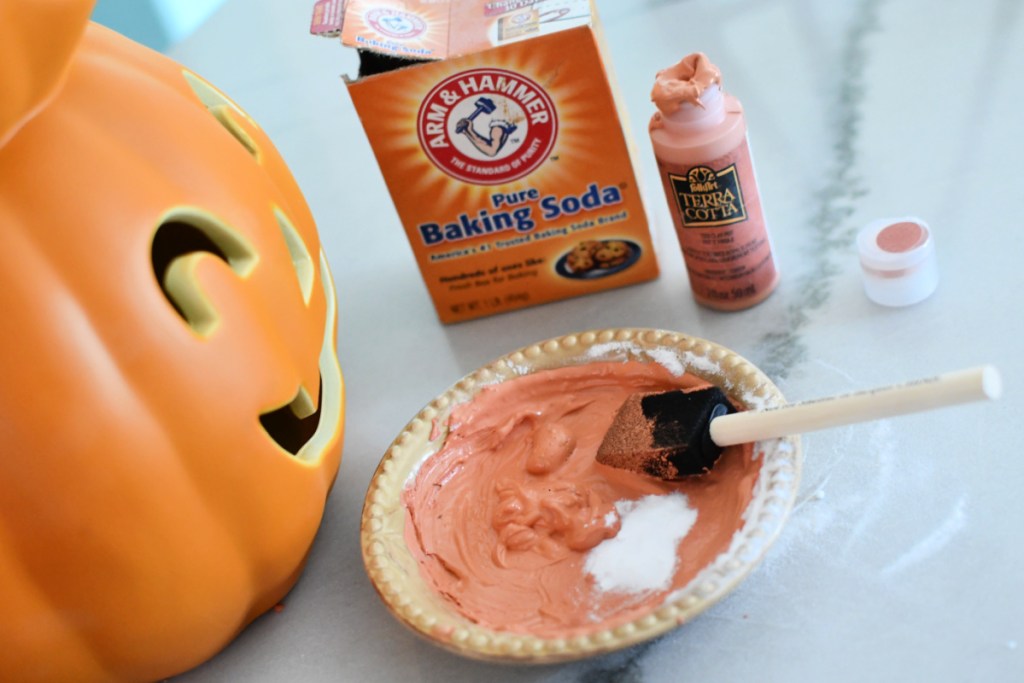
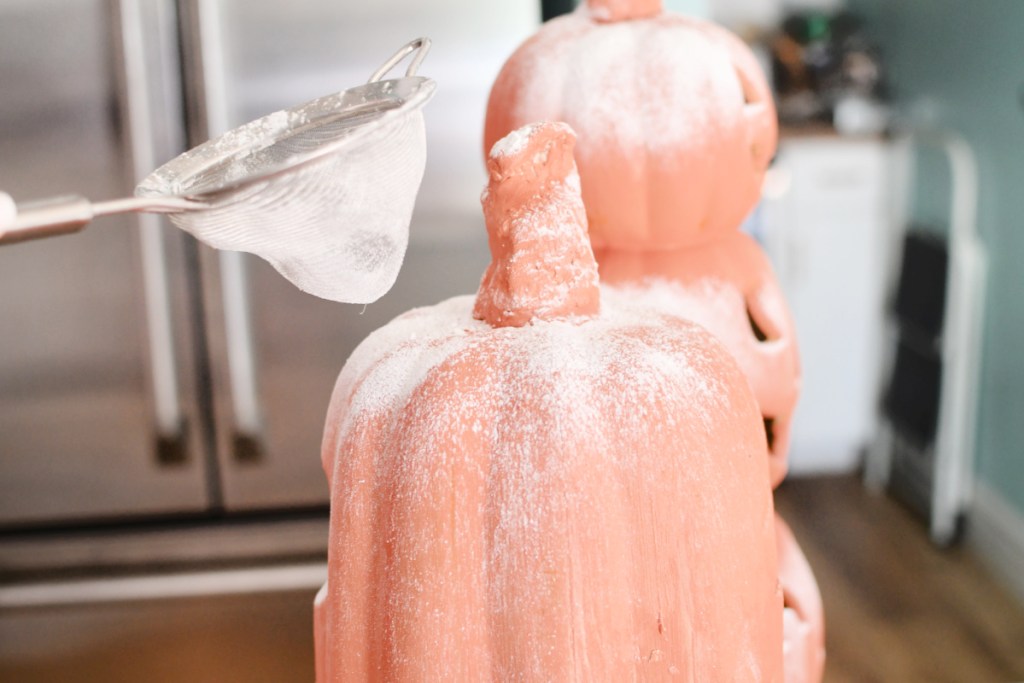
- The secret to getting this terracotta finish is to dust the pumpkin with cornstarch or flour after painting. I mixed terracotta-colored craft paint with a little baking soda for great texture.
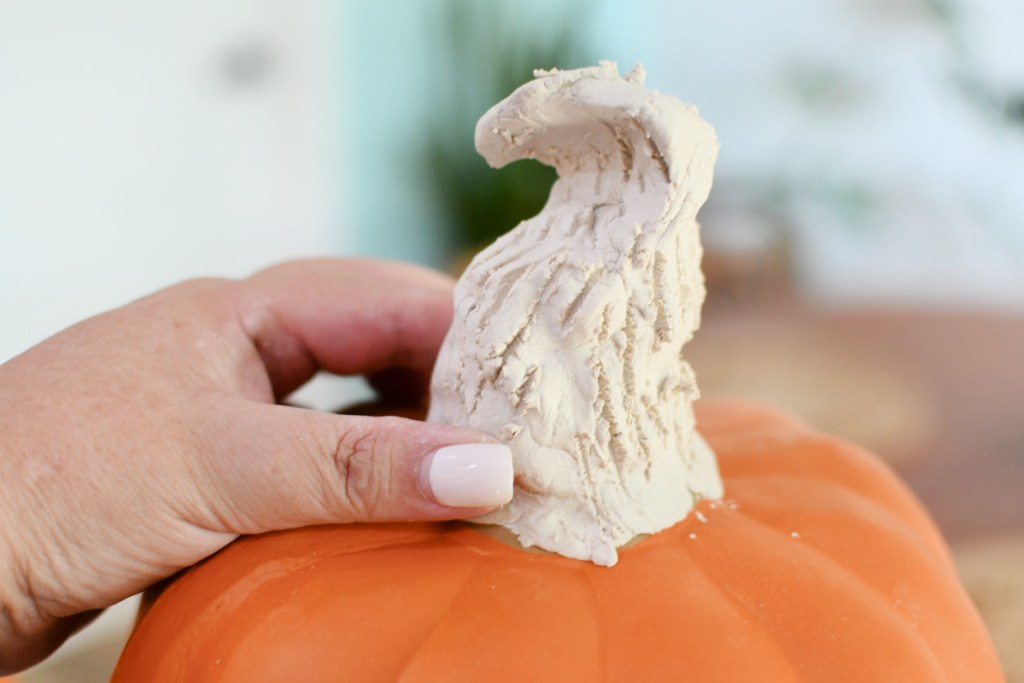
- Before painting, I made a more prominent stem using air-dry molding clay. This is an optional step, but I love the results.
- As far as paint goes, I bought Terra Cotta paint in the color Clay Pot, but you could always mix white, orange, and brown acrylic paint to get the desired look.
DIY Pottery Barn Style Terracotta Pumpkins
PrintSupplies Needed
Directions
1
Create a stem using the air-dry clay on top of the pumpkin, using your hands to mold.
2
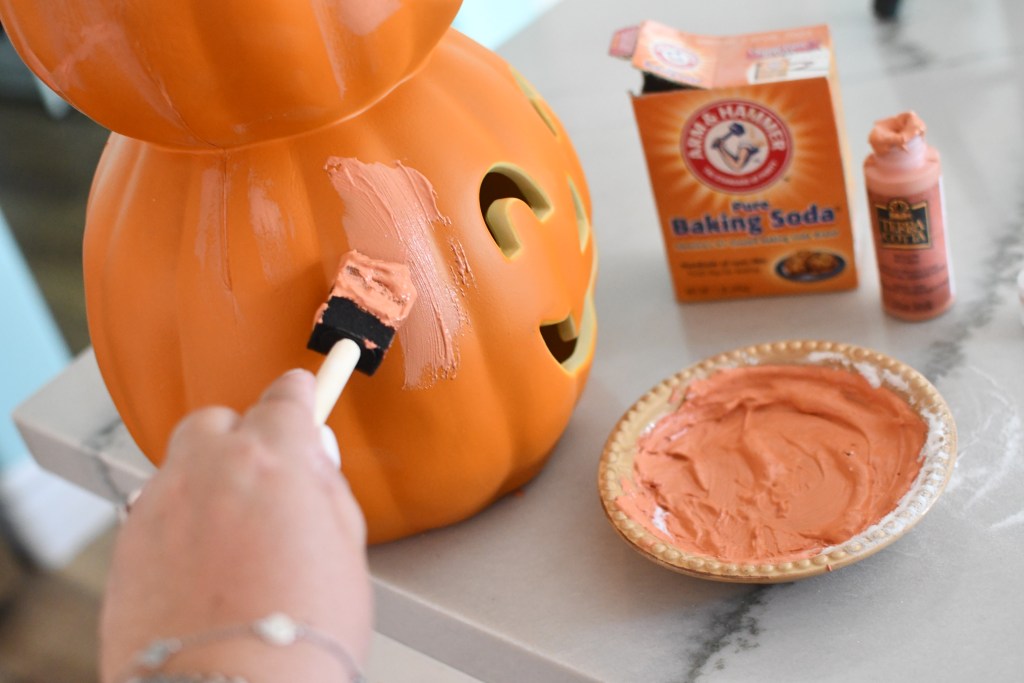
Mix the paint with a little bit of baking soda for texture. Use a brush or foam brush to coat the pumpkin with paint. Apply a second coat if needed.
3
While the pumpkin is still slightly wet, dust the cornstarch over the pumpkin. I used a small strainer. Use a dry paintbrush to spread the dust around.
4
Consider adding a clearcoat spray paint to keep all protected and looking great.

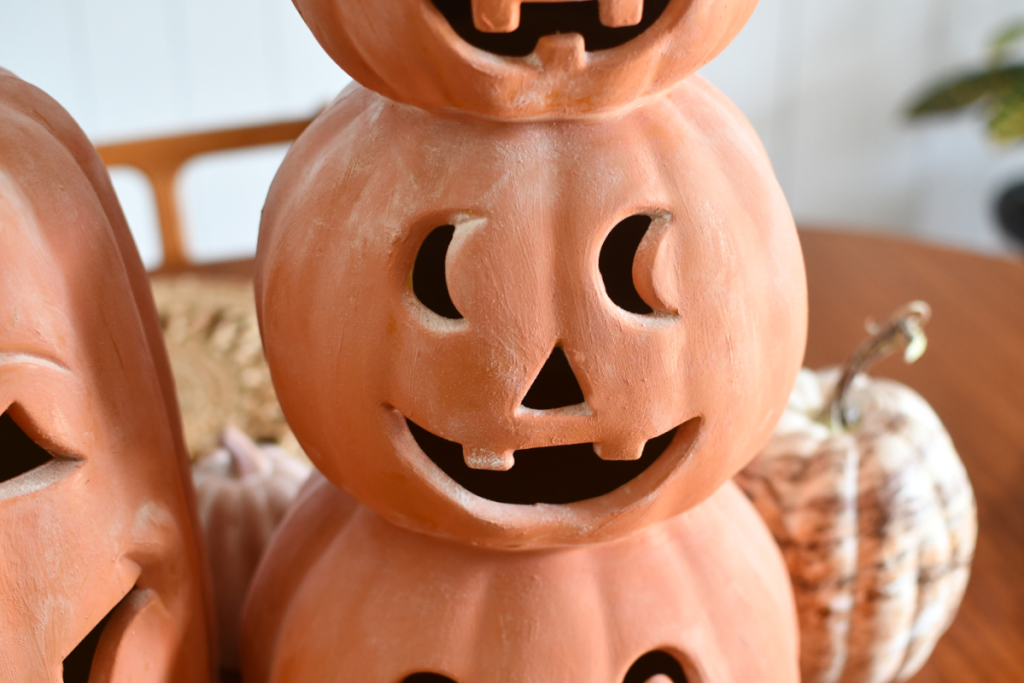
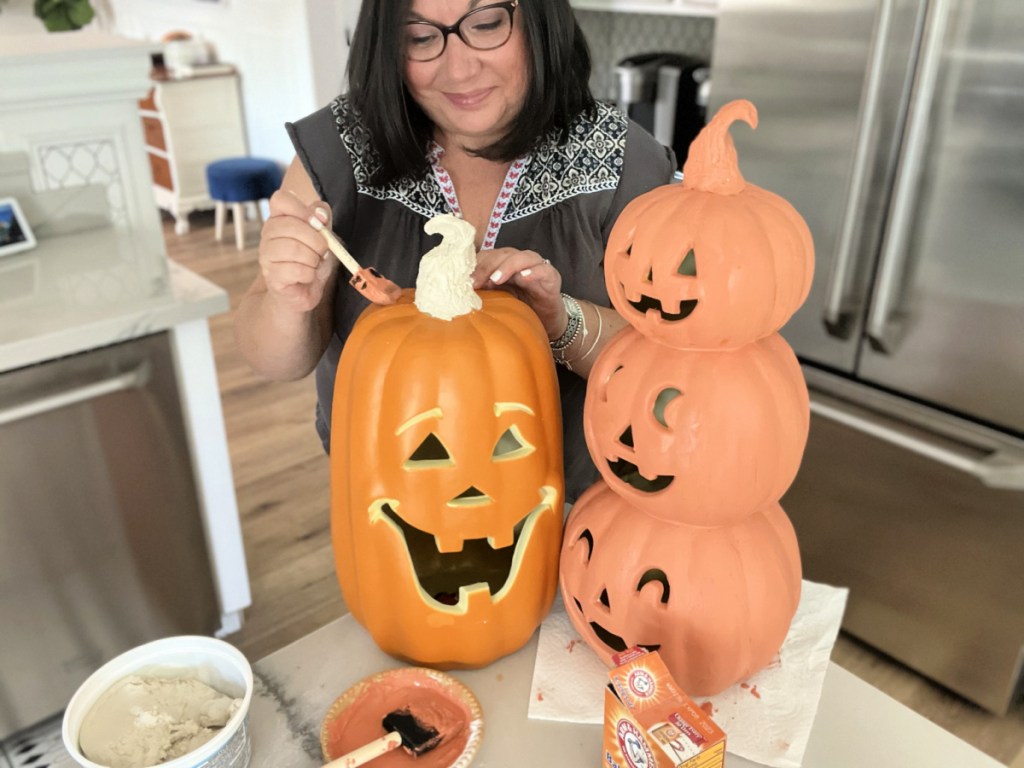
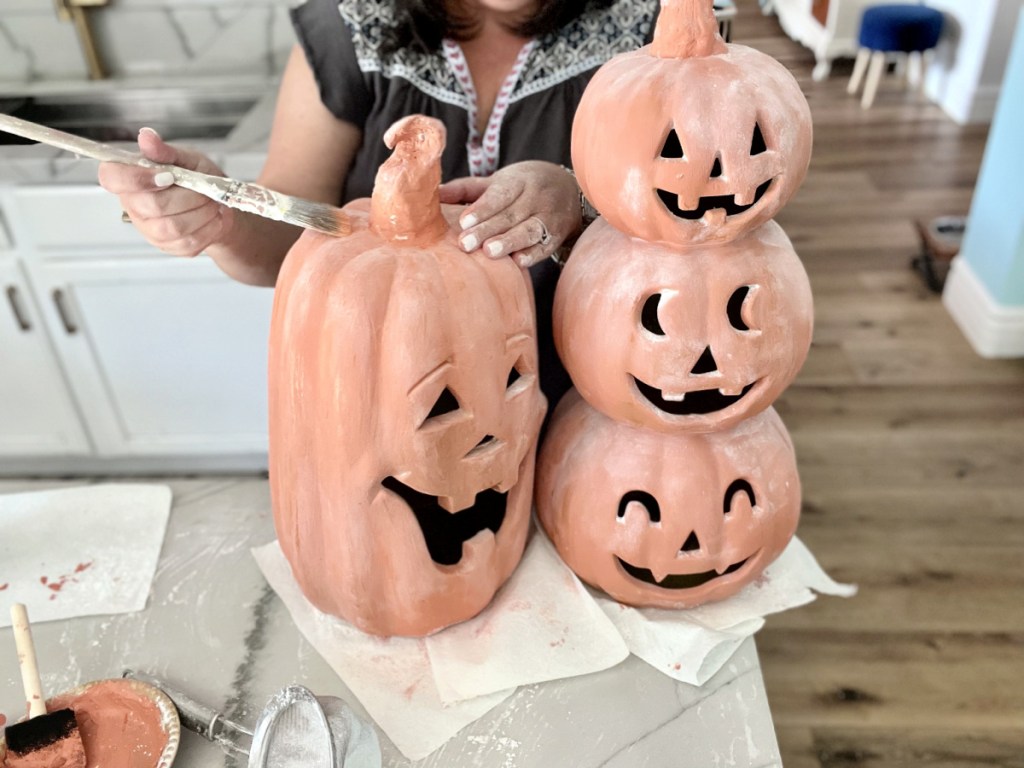
I love my cute terracotta-painted pumpkins so much!
They look much more high-end and stylish compared to the bright orange before. I can’t wait to light them up and will display them on a table to get the house ready for Halloween! I love there is no wrong or right way to do this craft.
Overall, this is a fun fall project I found to be so fun and worth doing. If you end up painting some terracotta pumpkins let us know!
These tissue paper pumpkins are another fun and frugal craft project to consider!


I’m loving this terra cotta look! Thanks for the tip Lina!
Thanks Lori! Glad you like it too!
Wow, this really looks fantastic ! thanks for the tips !!!
Oh sure- I am glad you like this!
I actually like yours more, Lina! Great job! The PB ones look kinda creepy and not in a good way lol.
Haha! Thanks so much!
Lina, these are GORGEOUS! Now I’m looking around my house for things to paint, ha! Thank you so much for sharing! 🎃💕
Yes!! Ha. Yay, that’s so fun!
I love this! Thanks for sharing.
Yay! Thanks Carol!
Absolutely awesome!! Wow.
You are SO talented, Lina. You have a gift. Thanks for sharing it with us!
Thanks Margaret for your encouragement! Glad you liked this.