This Reader Makes Her Own DIY Wooden Porch Signs for Cheap

Get in the fall DIY spirit!🍁
Large porch signs are extremely trendy right now, not to mention so darn cute! Every time I drive past a home with a porch sign, I let out an audible gasp because I just think they make the entire house look so welcoming and chic. I have tried to get myself to purchase one of these signs on multiple occasions, but I just cannot get myself to spend that much money (have you seen some of these prices)?😲
I am so happy that this week’s Happy Friday reader Christine is sharing how she makes her OWN signs that look just as good, if not better, than the overpriced signs from the store!

I have been enjoying crafting even more and getting excited about decorating for the holidays. One of the projects that are pretty popular these days is the porch signs, and I saw Lina do a feature on her masterpiece.
I have been into tons of Dollar Tree crafts lately (DIY high-end decor on the cheap) and have been doing some research on the most economical way to make porch signs, so I’m sharing some of my tips.

Ask if your local store sells cull wood; you may be lucky and find wood pieces that would work for your project for really cheap. In my case, I found a 24 x 48 piece that the gentleman at Home Depot said I could have for FREE. I asked them to cut it in half and, of course, was super excited. I just purchased oops paint and stain.
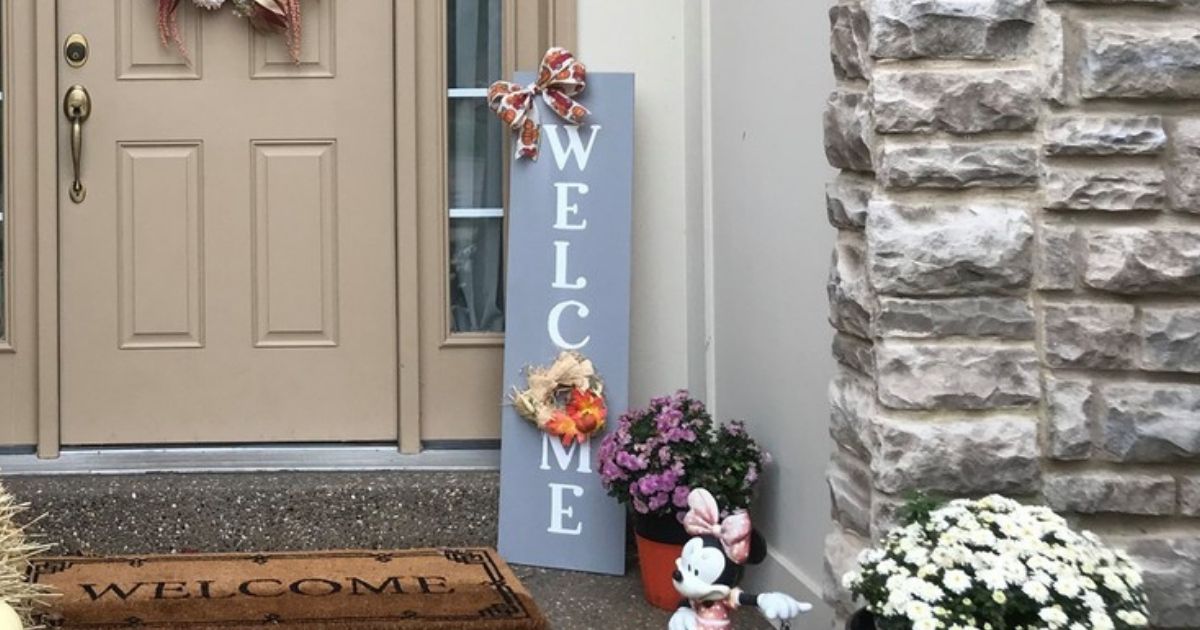
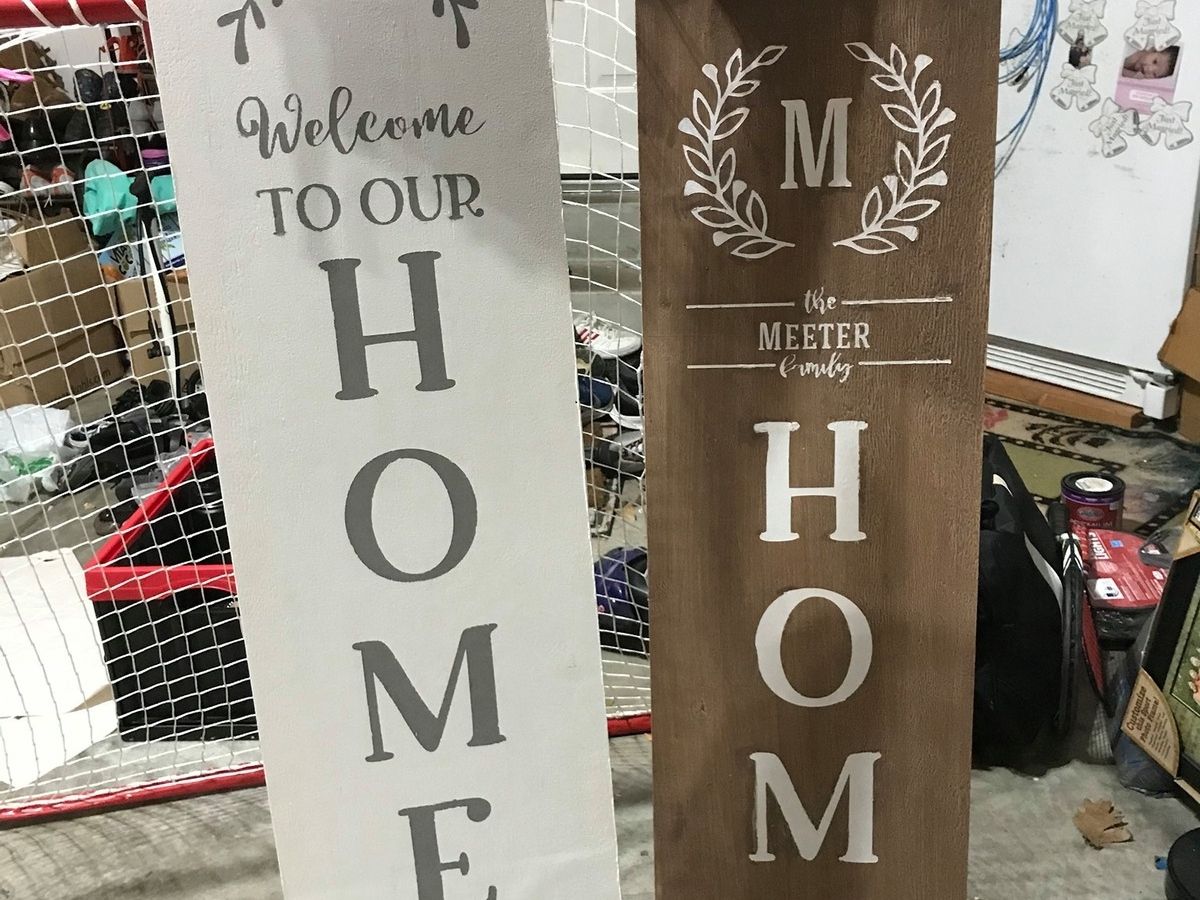
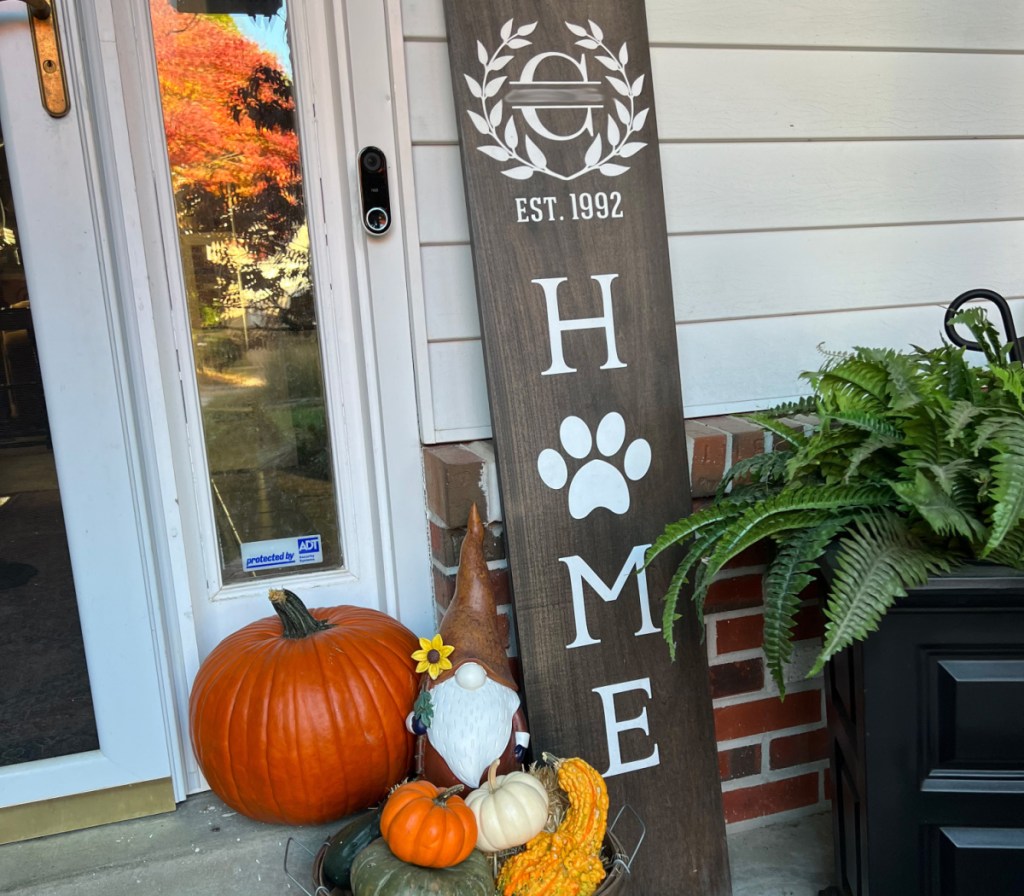
On one of the halves, my husband cut it a little shorter because there was slight damage on the end, but it’s still a good length. I stained and personalized it and plan to gift it to friends who just moved to a new home. On the other side, I created a reversible sign for my family where one side is personalized and the other has a welcome where I can change the wreath on the “O” depending on the season/holiday (see my porch photo of it in use).

Try contact paper for stencils. I purchased mine from Dollar Tree. If you have a cutting machine, do a search online, and you will find that there are FREE cut files for porch signs. Without a machine, you can also print out the letters, go over the back of the paper with a pencil, then set the paper on the board. Trace each of the letters, and you should see the outlines of the letter that you can paint. I’m pretty happy with the results.
Happy Fall, Everyone!

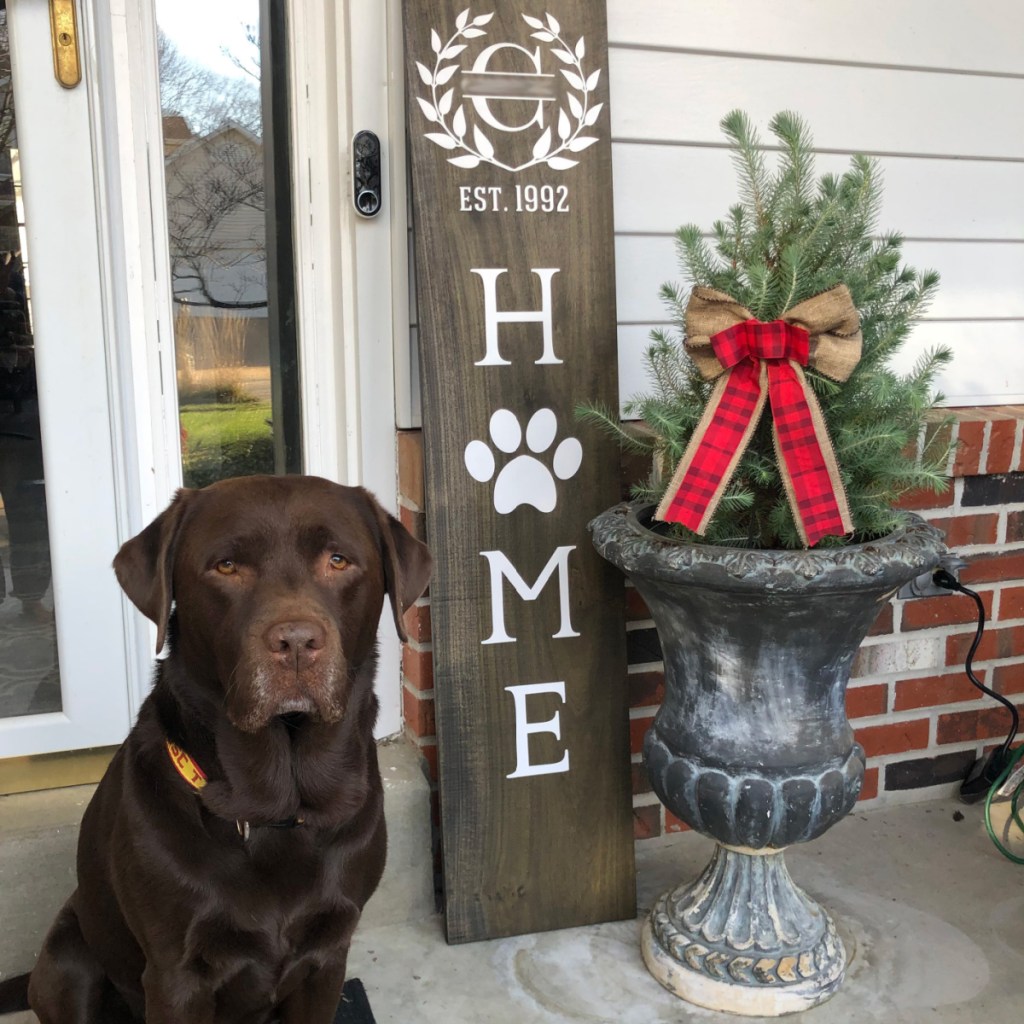
Thank you, Christine, for sharing your tips with us on how to make high-end decor without breaking the bank! Your signs look so professional and clean, and the personalized touch is priceless! The photo of the sign with the adorable pup is a sign Christine made for her friend – how sweet! And how smart was it to ask Home Depot for any extra wood for FREE? So awesome!
Don’t forget to check out Lina’s DIY sign that Christine referenced in her post!
HAPPY FRIDAY!
Do you have a funny, “Hip”, or unique tip to share?! 
If yours is published on Hip2Save, we’ll email you a $10 Amazon eGift card!
Learn the Tips & Tricks to having your Happy Friday submission picked!


Beautiful and creative, kudos to you Christine.
Your signs look great Christine!
Wow! Those look amazing! Great job!
Thanks everyone! They were fun to make, and I think after the first few, I was able to improve on my friend’s sign. Happy crafting.
Beautiful signs 😊