
DIY Raised Garden Bed Tutorial: What We’d Do Again (& Differently!)
Try these DIY raised garden bed ideas for your next home project!

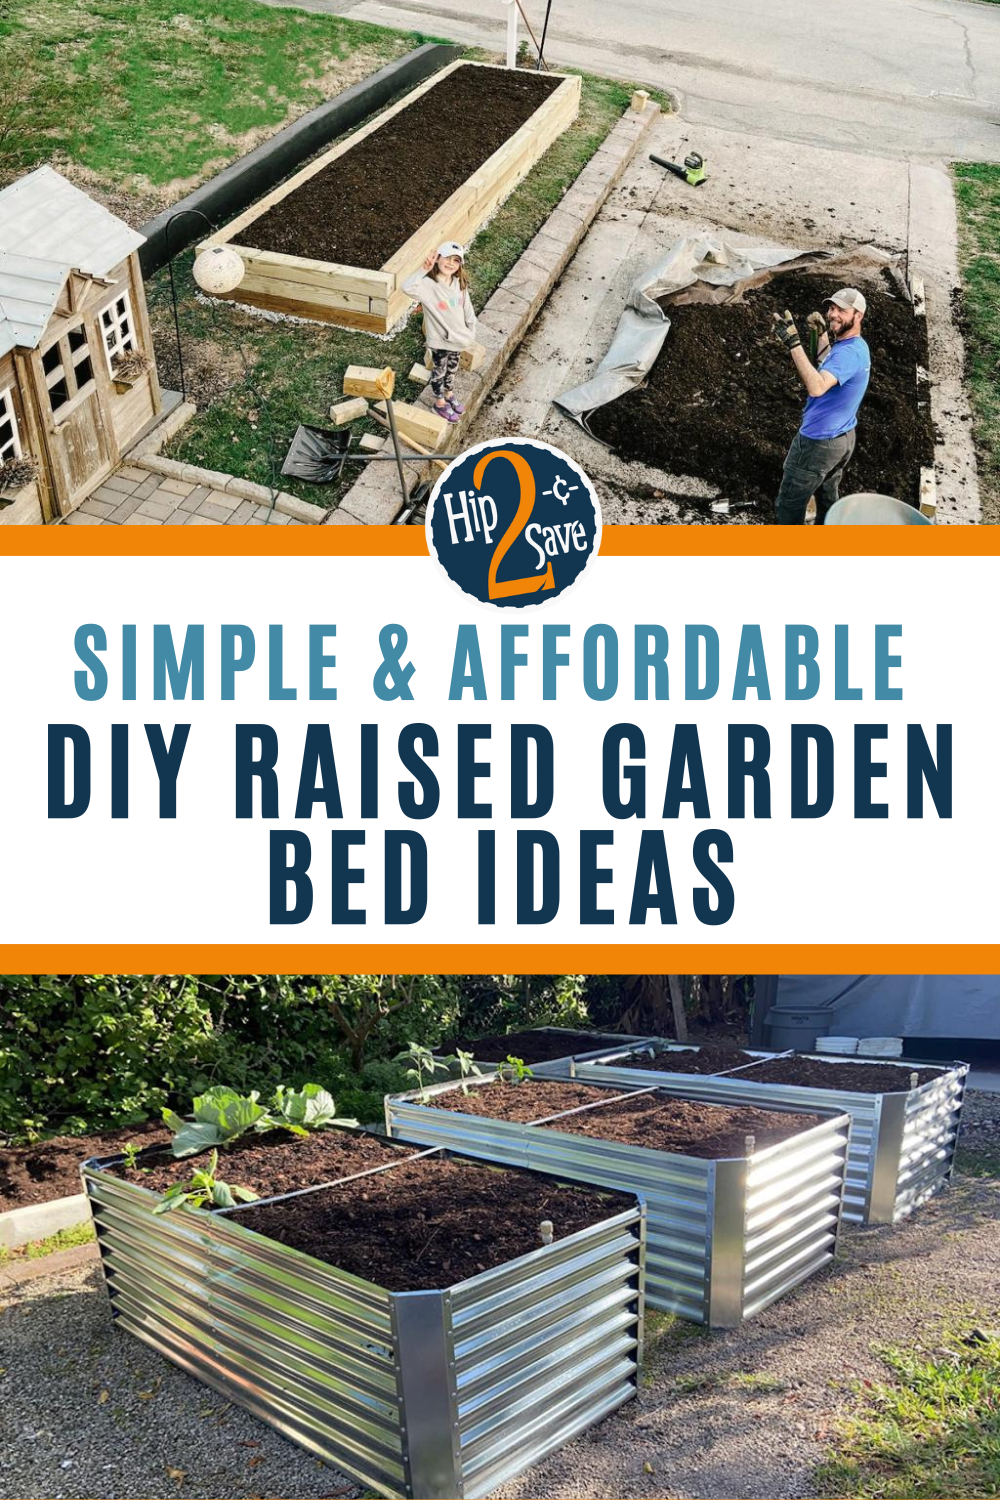
Our DIY raised garden bed ideas are simple and affordable. Make your dreams come true with our easy tutorial and start your garden today!
Have some future raised garden bed plans? I built a DIY garden box, and I’m sharing tips on how you can do it too!

I want to preface this post by saying I fully realize we didn’t use the most budget-friendly materials for our DIY raised garden bed. Sadly, we had previously bought our timbers for a full-size bocce ball court that didn’t pan out during our backyard project. Since they couldn’t be returned and we didn’t want hundreds of dollars to go to waste, we decided to repurpose them for a beautiful raised garden bed instead.
There are many ways and many different types of materials you can use to build a DIY raised garden bed in your yard. (And they’ll be much more affordable with different materials too!)
My steps below are simply meant to be a guide to help you get your own garden bed started. I share the ideal materials to use to achieve the look and growth you want to. I also share everything we used in case you want to build something similar.

On another note, you’ll notice we used clean gravel for the base of our garden bed.
We used a thin layer of clean gravel to level our ground and provide a surface for our timbers that will prevent them from rotting. This is totally optional and not suitable for all conditions. If you are using it, it’s important to use clean gravel as opposed to other rock mixtures with small particles, so your garden will have good drainage. (Clean gravel means gravel that is free from fines or dust, so water can drain freely.
Note that if you’re using clean gravel in your DIY raised garden bed you will need to ensure your soil is deep enough for all of your plants’ roots. Ideally, you’ll want at least 8″-12″ of rich soil to ensure healthy root growth.
In our garden, we have about 18 inches of rich soil for our plants. Any roots that grow deeper than that will be able to reach the native soil through the thin layer of clean stone. Avoid using rocks at the base if your soil layer isn’t deep enough, as this can restrict root growth.
Here’s how to build a raised garden bed of your own:
DIY Raised Garden Bed
PrintSupplies Needed
- Wood (we used timbers, but any pressure treated, pine, cedar wood will work)
- Tape measure
- Landscape fabric
- Organic compost (i.e. rich soil)
- Staple gun
- Flat shovel (optional for cutting sod pieces)
- Clean gravel (optional)
- Hard rake (for gravel and soil)
- Rebar (if using timbers)
- Angle grinder (for cutting rebar)
- Hand sledge (for hammering rebar)
Directions
1
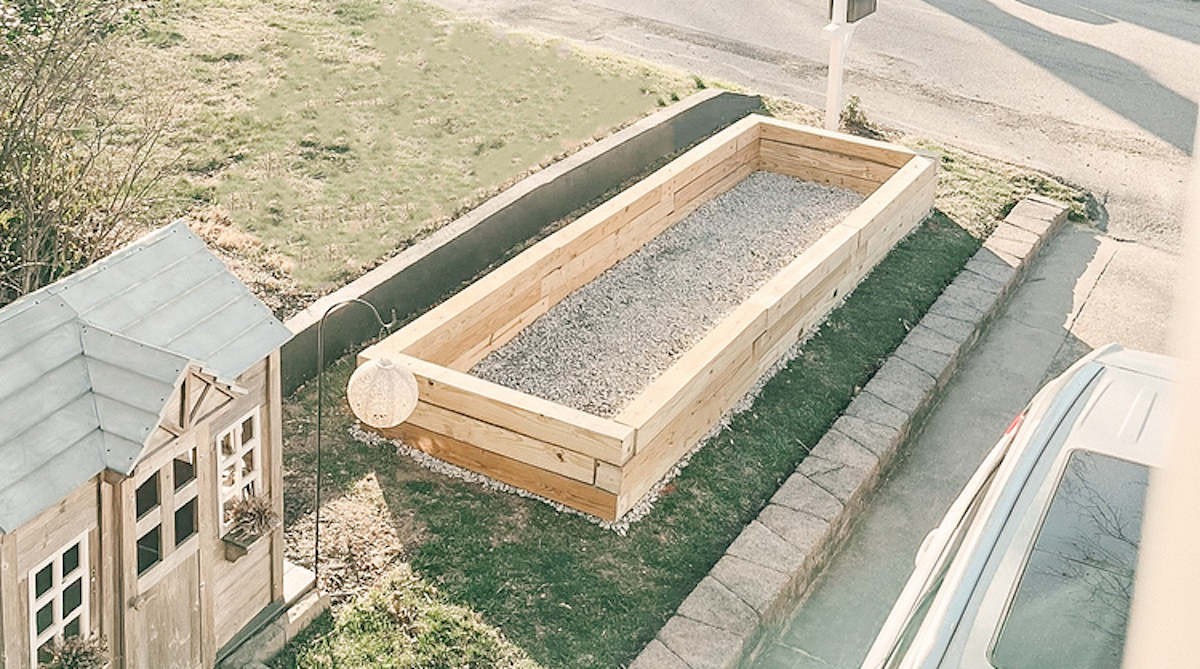
Decide where your raised garden is going to go. You need a space that will get at least 6 hours of direct sunlight per day. Measure how big you’d like your garden to be. Stake the corners of your garden so you know where each side will be placed.

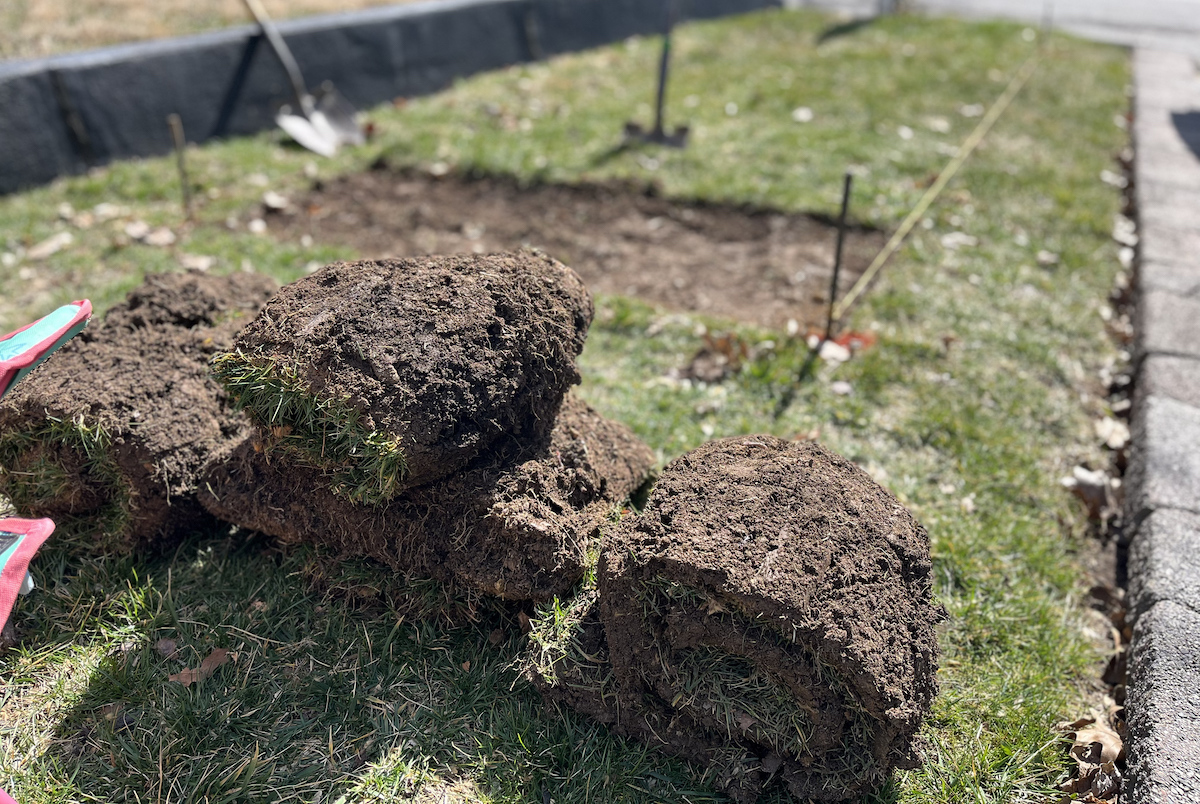
2
Take your flat shovel and begin cutting out all your sod if you’re planning to have a more permanent raised garden bed. We were able to use our sod in other places in our yard that didn’t have good grass growing so it’s a win, win!
You can skip this step altogether if you don’t wish to remove grass. Just be sure your soil will be deep enough so it doesn’t grow up through your garden.
3
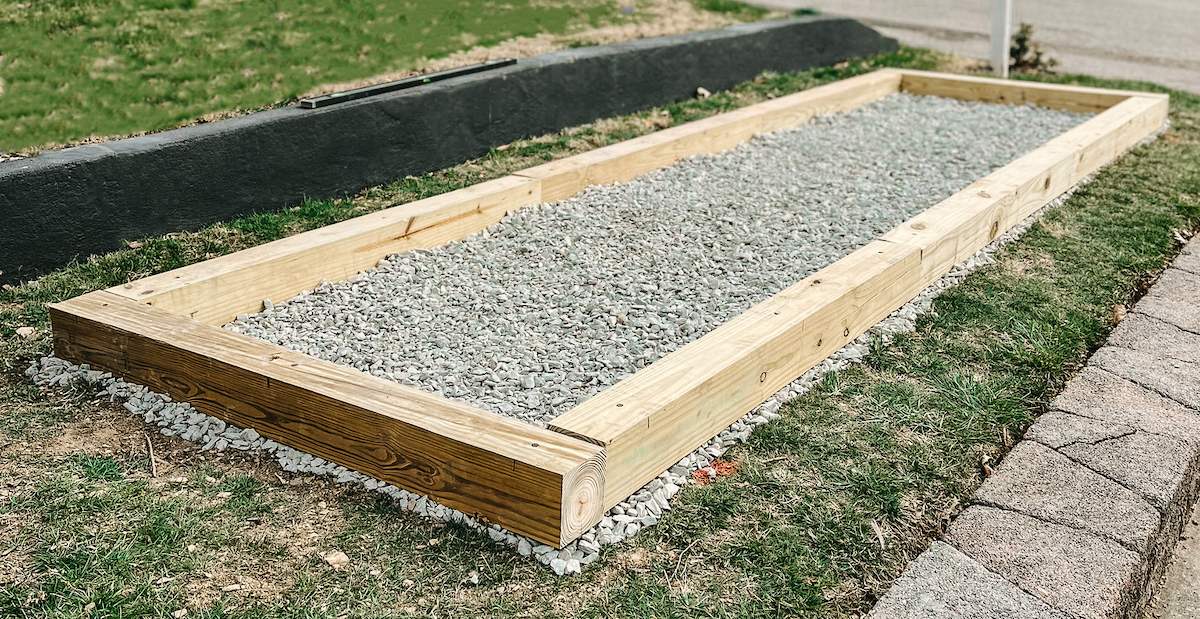
Add the clean gravel into your cleared space if you’re using it as your base. Since our garden area is rather large, we had ours delivered by a local company by the ton. Use a hard rake to spread your gravel and make sure the area is level once it’s filled.

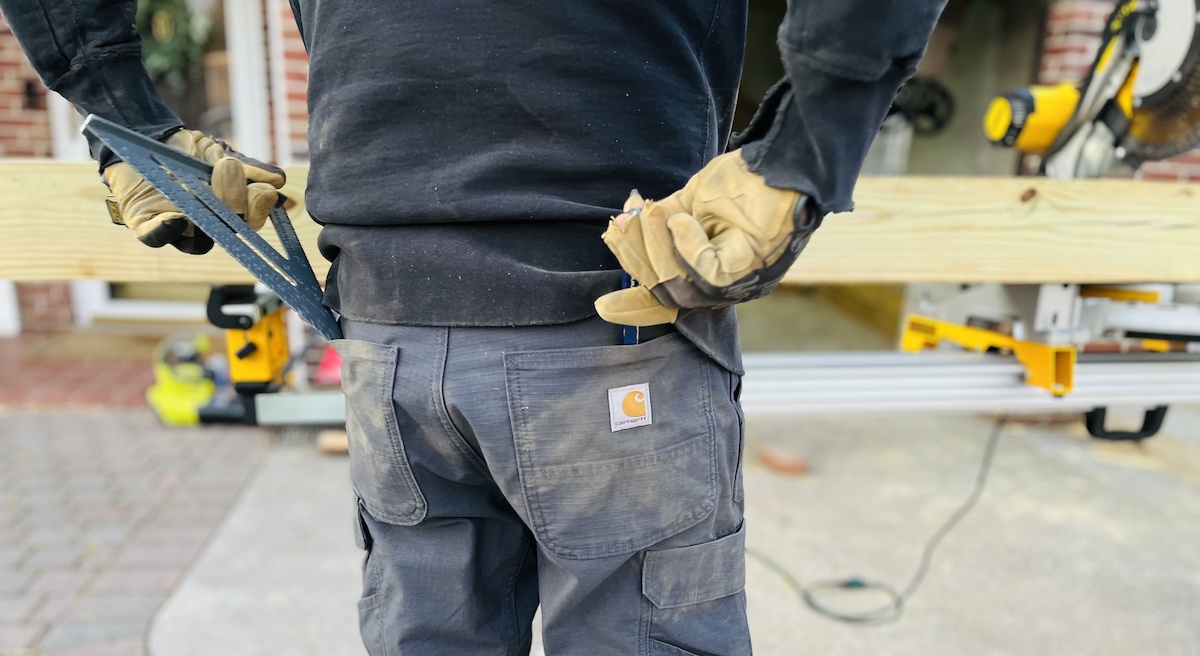
4
Begin cutting your wood to size. Again, timbers are not necessary for a DIY-raised garden bed. Pine, pressure-treated, or cedar of smaller sizes are all great options for your garden bed too. The size, width, and material you choose will depend on how durable you want your garden to be and the overall look and style you want to achieve.
5
Begin placing your wood pieces in the area you have measured for your DIY raised garden bed. If you’re using large timbers as we did you will want to rebar your timbers in place, but ensure all timbers are level before doing this.
You will want roughly 12-inch lengths of rebar, 3/8-inch in diameter. Use an angle grinder to cut rebar if needed.
Pre-drill holes where you want your rebar and use a hand sledge to drive rebar into timbers. We used 2 pieces on each end and 3 for the longer middle pieces.
Repeat this step until your garden bed is deep enough.
(If using smaller pieces of wood to build your raised garden bed, you can simply use screws to attach your edges to a 4×4 corner piece and skip the next step.)
6
Make sure each layer of timbers overlaps to create a sturdy frame. Rebar the final two layers of timbers so that the rebar goes through to the bottom third layer.
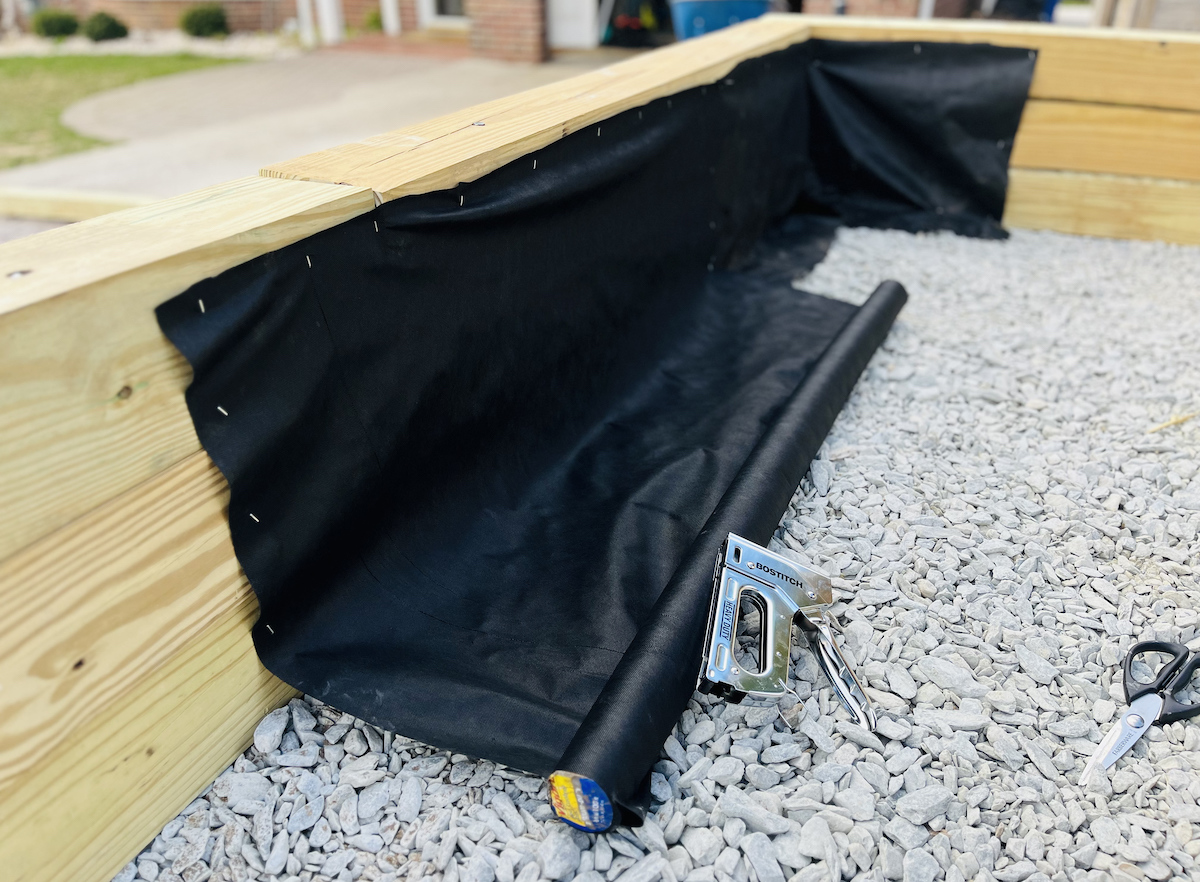
7
Place landscape fabric on the inside of your garden bed using a staple gun. This will help protect your wood and will keep your soil from escaping if you have any large cracks. If you’re not using gravel, you can also place it at the bottom of your garden. Landscape fabric can also help prevent weed growth. However, just be sure your landscape fabric does not disrupt the exchange of air, nutrients, and water in the soil.
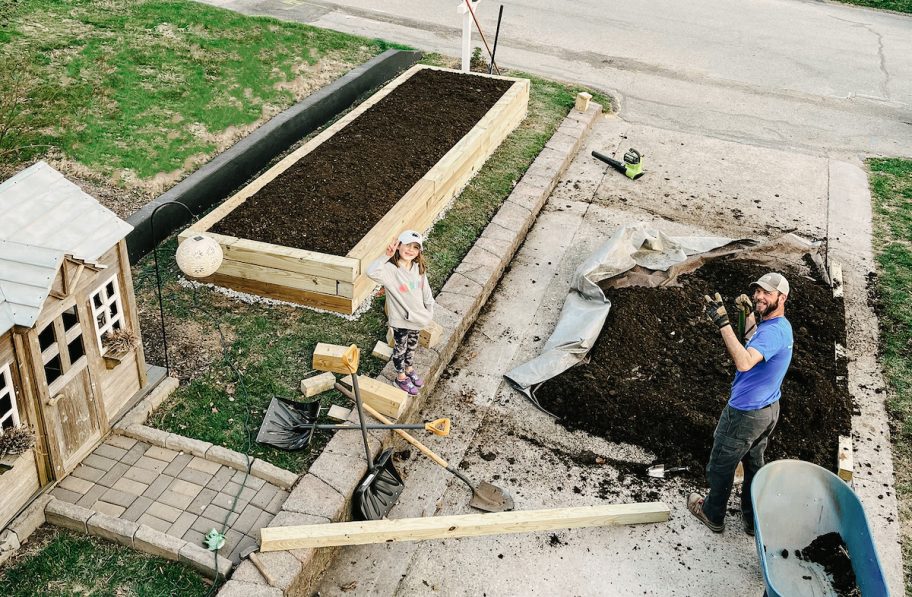
8
Fill your garden bed with soil that is loose, well-draining, and full of nutrients. Compost is ideal for every garden bed since it helps retain the adequate moisture and will provide your plants with the nutrients it needs.
We used a 50/50 ratio of mushroom compost and topsoil from a local gardening company that delivers by the ton.
As a tip, you can bottom-fill your garden bed with organic matter such as leaves, sticks, and rotting firewood. These will decompose over time and will help save on the amount of soil needed in your garden. Just be sure you have about 8″-12″ of soil on top.
Don’t want to use timbers for your garden? There are many inexpensive raised garden bed ideas:
Consider building a garden with 4x4x1 wood pieces, as this blog did for just $100. It will be much more affordable and simple to build compared to using large timbers, which require many more tools and time.
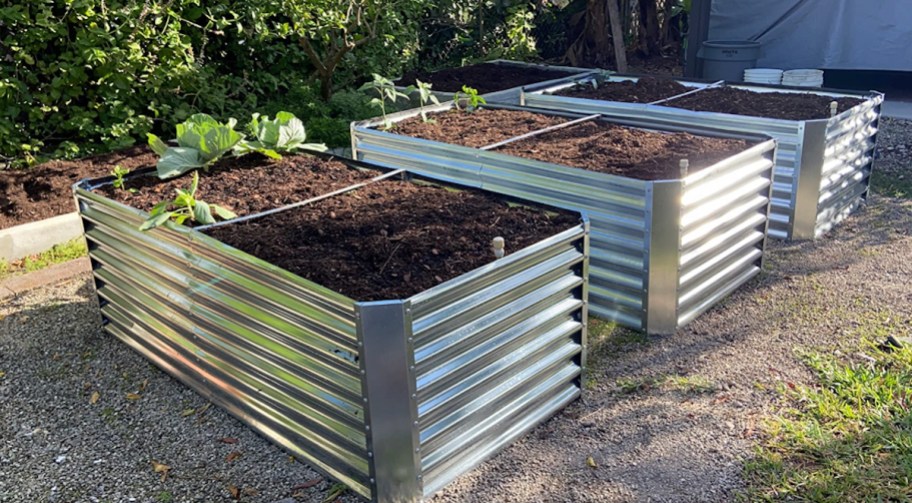
Or consider buying a raised garden bed kit to make your project even simpler.
Amazon, The Home Depot, Lowe’s, or any garden supply store has a plethora of raised garden bed kit ideas. From metal garden beds to elevated ones, the options are endless!
Now you’re ready to plant your seeds!

Growing from seed is so fun, and I find Baker Creek to be a great resource! If you’re still deciding what to grow or looking for new ideas, they have a huge variety of heirloom seeds to choose from. Plus, shipping is always free on every order. 🙌🏼
I also love our new seedling square, which makes planting seeds effortless, and it’s kid-friendly too!

Our slate garden stakes are a stylish way to keep track of what’s planted where, but popsicle sticks work just as well, too. ☺️
Hip Tip: Score a FREE Baker’s Creek Seeds catalog for 2027 and plan your dream garden!

Take your DIY raised garden bed one step further and naturally protect it from the elements and pests.
We wanted a modern-looking garden, so we opted to pine tar it! Authentic Pine Tar mixed with a 50/50 ratio of Purified Raw Linseed Oil is completely non-toxic. So it’s a great, environmentally safe choice for a garden. Plus, I just love the matte black look it gives wood, and you don’t lose the beautiful grain either. This mixture will also provide a natural repellent to bugs, pests, and water, making your wood last much longer.
Ideally, you want to apply this before you fill it with your compost/soil. However, we applied it afterward, as it was a last-minute decision.
If you find yourself with extra Authentic Pine Tar to spare, you can use it on your wood fence, too!

We used the same 50/50 mixture of Authentic Pine Tar and Purified Raw Linseed Oil on our backyard fence and are so happy with the results all around! 😍

Happy gardening, Hipsters! 💚 Let us know what kind of garden you’ll be building in the comments! 🤩


What was the quantities needed of pine tar and linseed oil did you need to do the garden? To do the fence?
Hey, Su! I think we used about 2 gallons of pine tar and linseed oil each, but it’s been a few years, so I’m not 100% sure. I’d recommend calculating based on standard paint coverage—figure out the square footage of your fence and go from there! I hope this helps. 🙂
We have friends who made a garden with an old kiddie pool as the base–not exactly subtle, appearance-wise, but it worked! I figured I’d share in case anyone else has one sitting around and is trying to save money.
Also, the bed you build looks amazing, Sara!
Thank you so much, Beverly! I love the kiddie pool idea—such a smart, resourceful way to grow food on a budget. Appreciate you sharing it! 🤍
Hi, I wanted to mention that we did a Straw Bale Garden this year and it has been a great experience! You condition the bales for about 2 weeks before planting, and you can plant just about anything in them. I was looking for a frugal raised bed option, to save my middle aged back and knees, lol. The bales cost $6 each at our local co-op and can hold multiple plants per bale. My plants are thriving and we love that we were able to skip tilling, there’s no weeding, and no pests! For reference, you can access free instructions on many State University Agriculture Extension websites, and we first saw the idea at a poultry judging competition for my kids. We live in the county outside of Nashville, but I think I’ve even convinced my Mama, who lives in the city to give it a try because it’s SO easy! I love supplementing our grocery supply with homegrown produce, especially since we have 4 HUNGRY kids and prices are so high. It’s very gratifying and I hope this idea is encouraging to anyone who’s on the fence about trying a garden. Thank you Sara for sharing this!
Thanks so much for sharing your experience with this, Anna! My husband was JUST talking about trying this, so it’s great to hear it’s been so successful for you! Happy growing. 💚